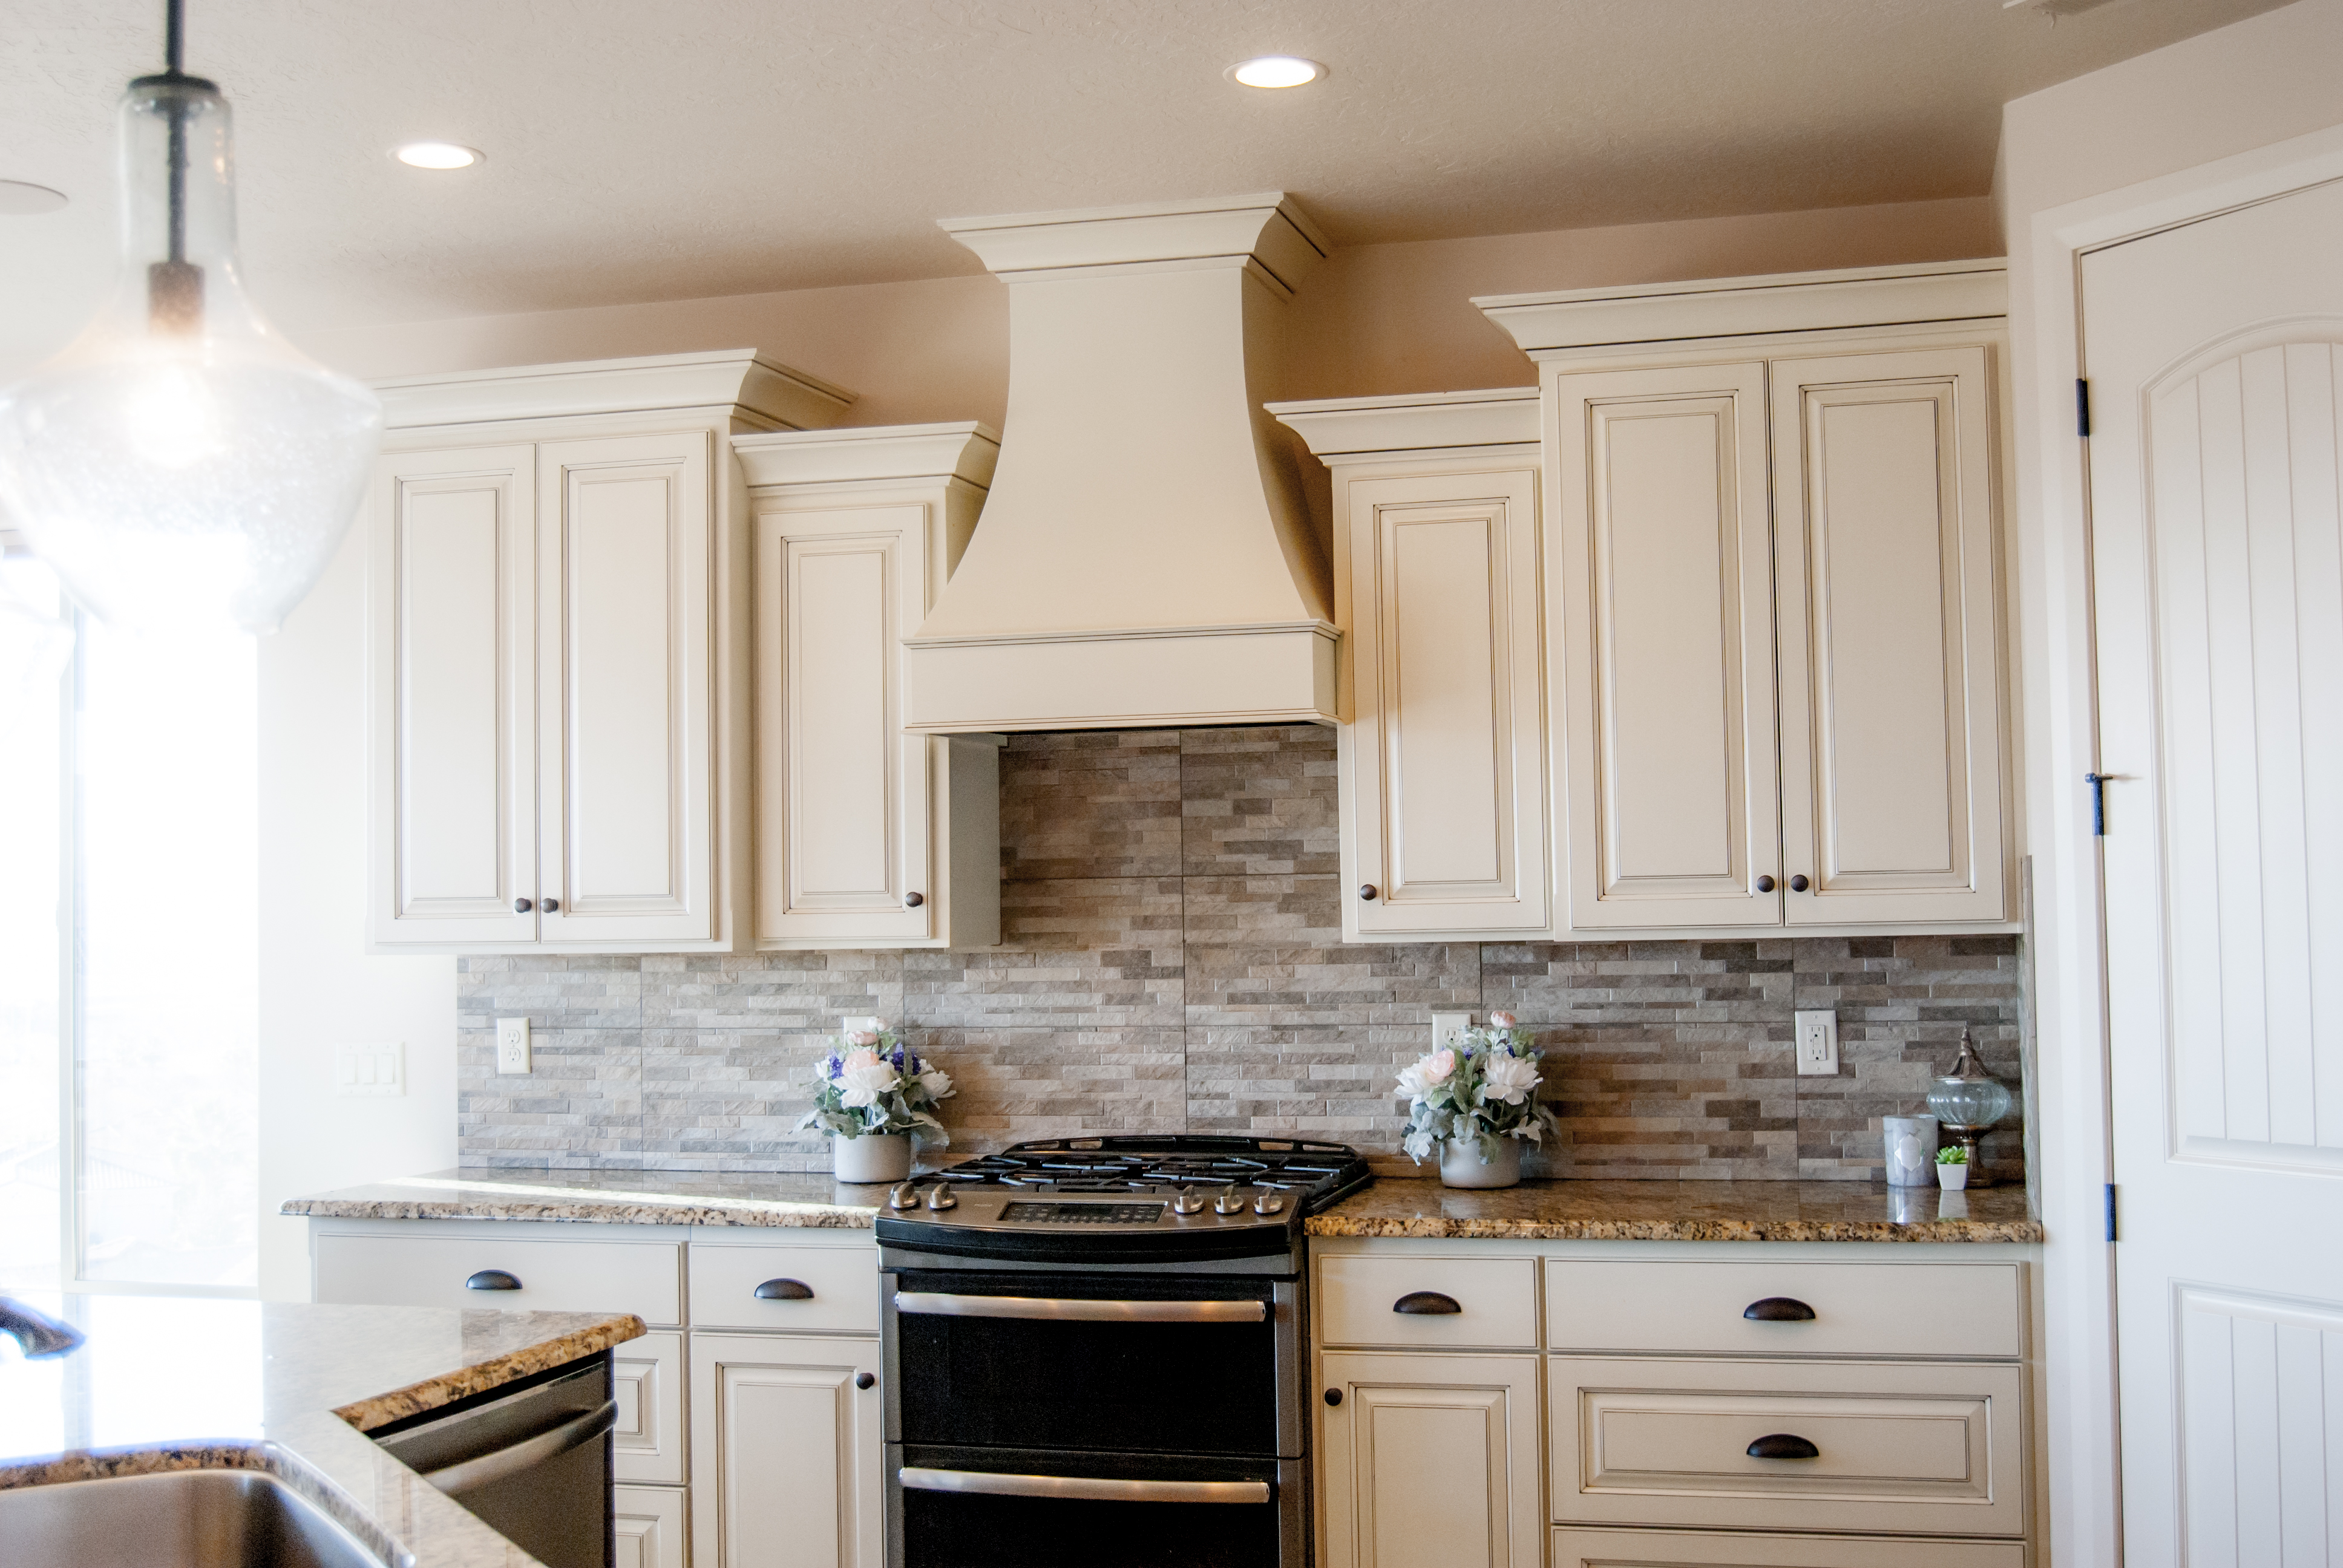
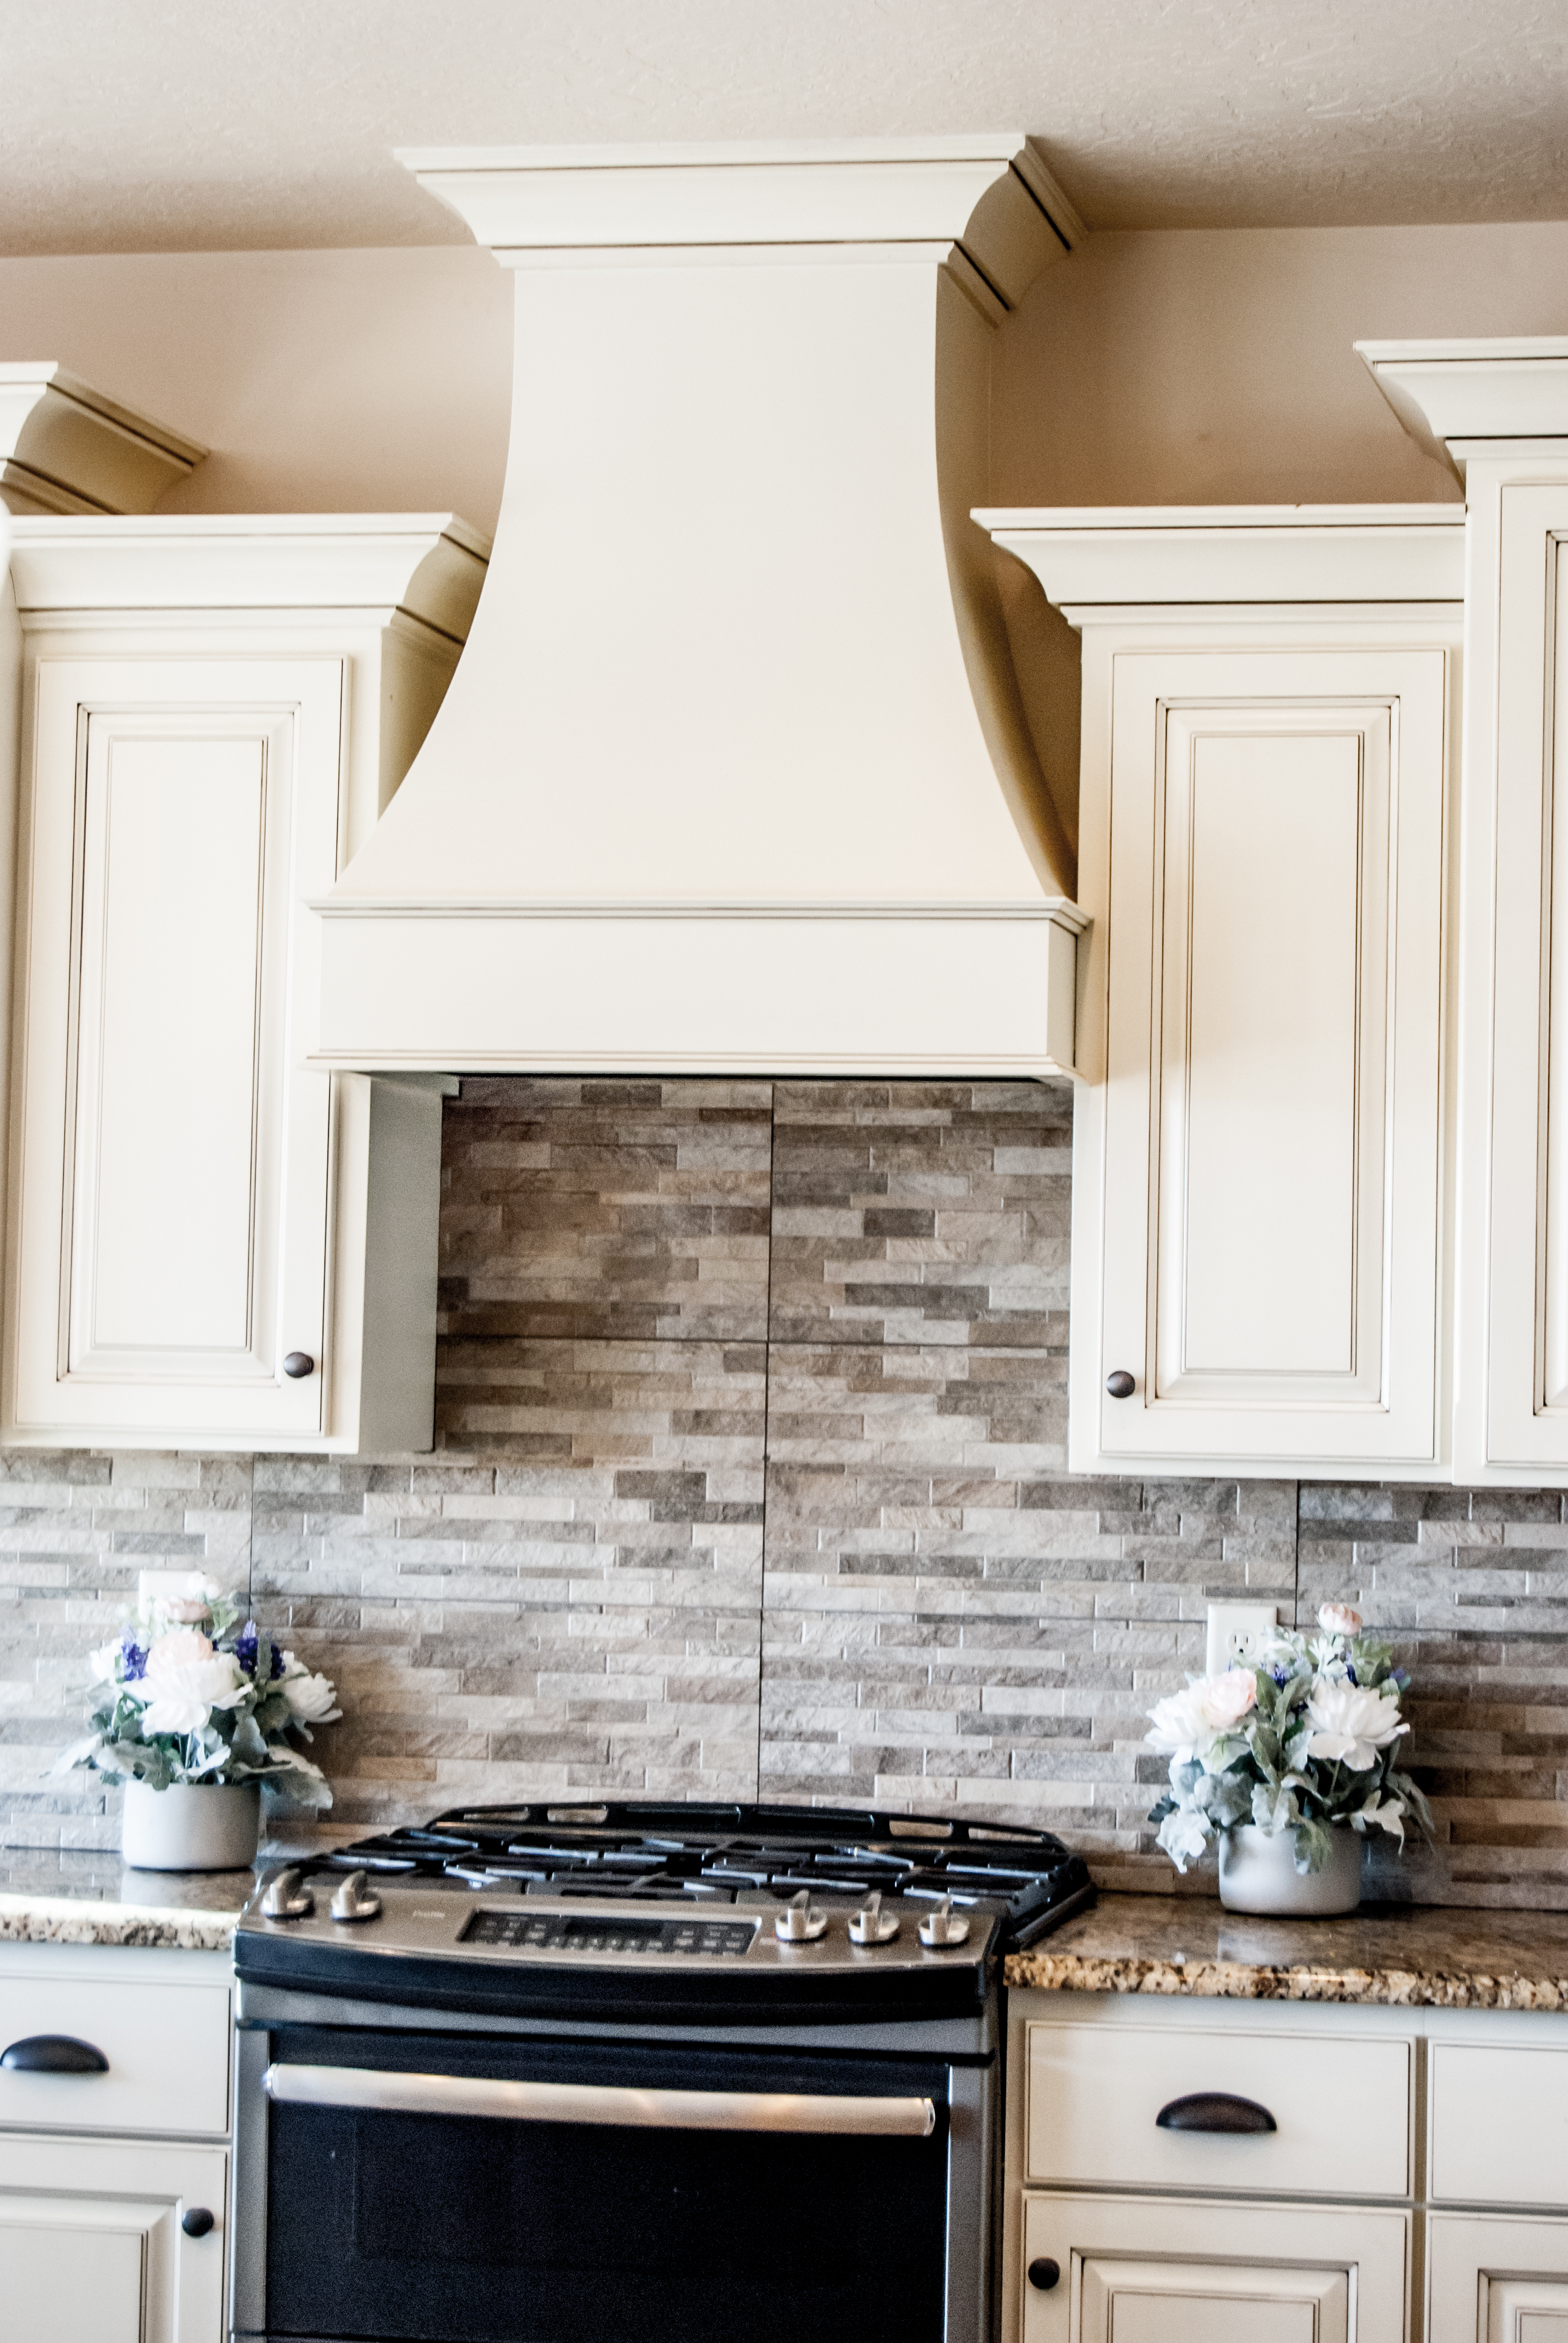
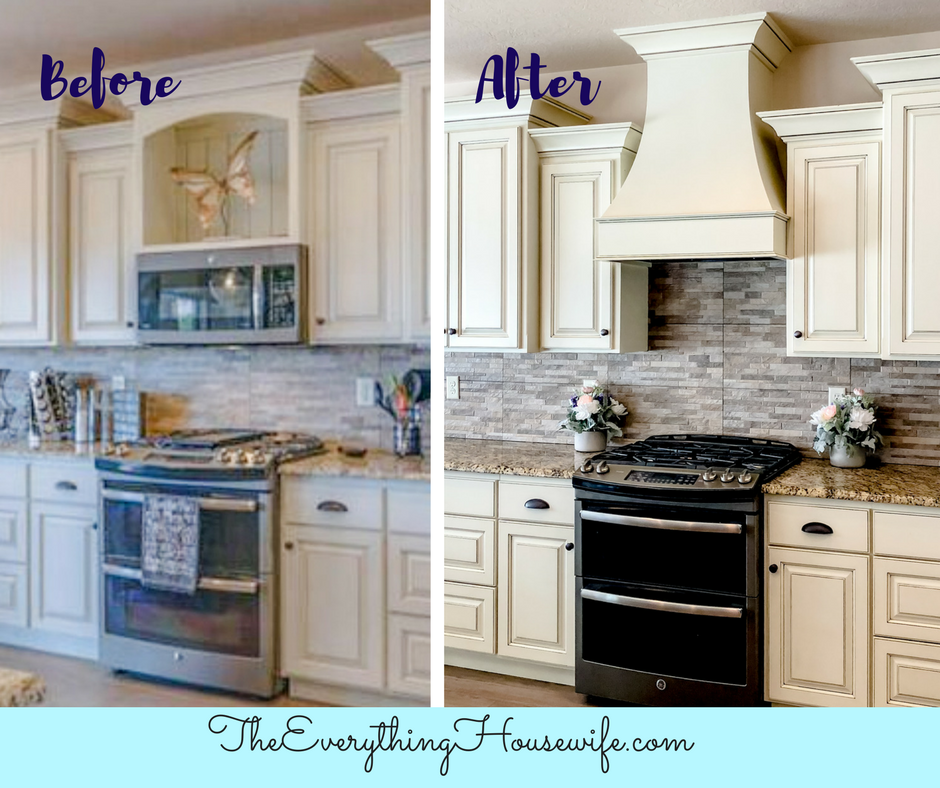
DIY Hood Vent Installation
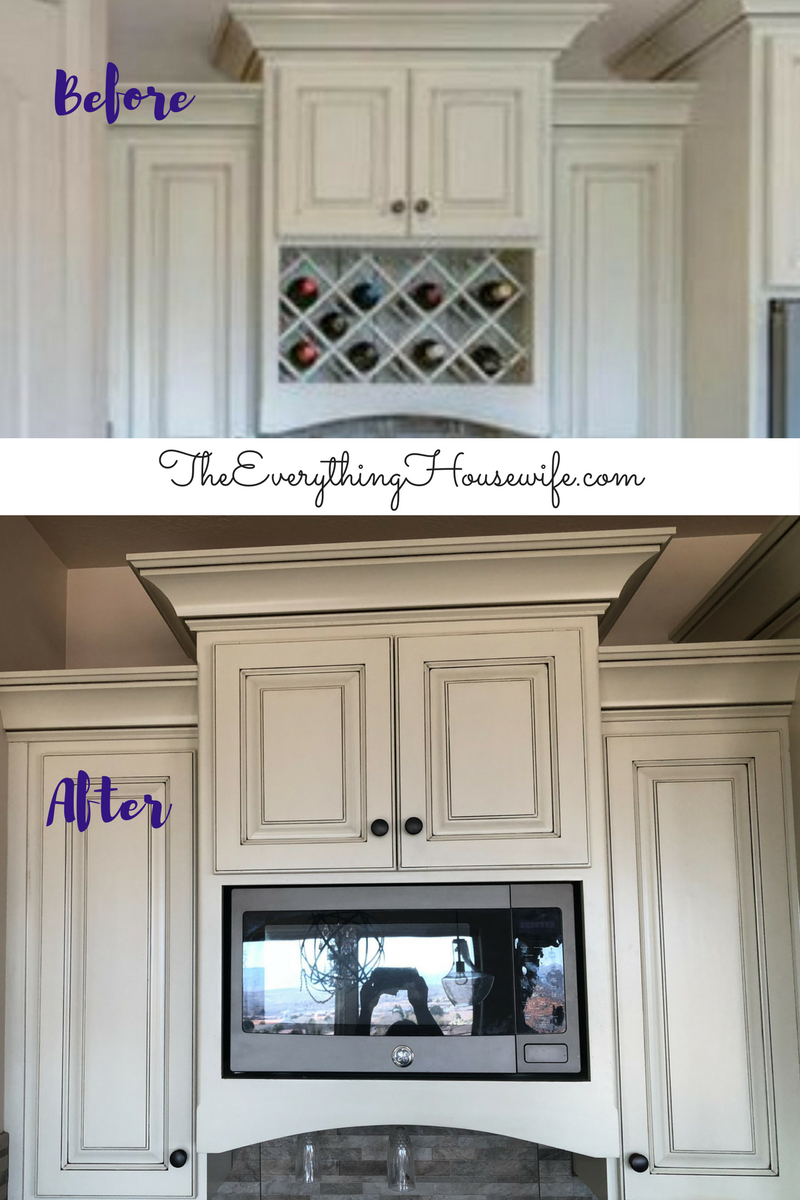
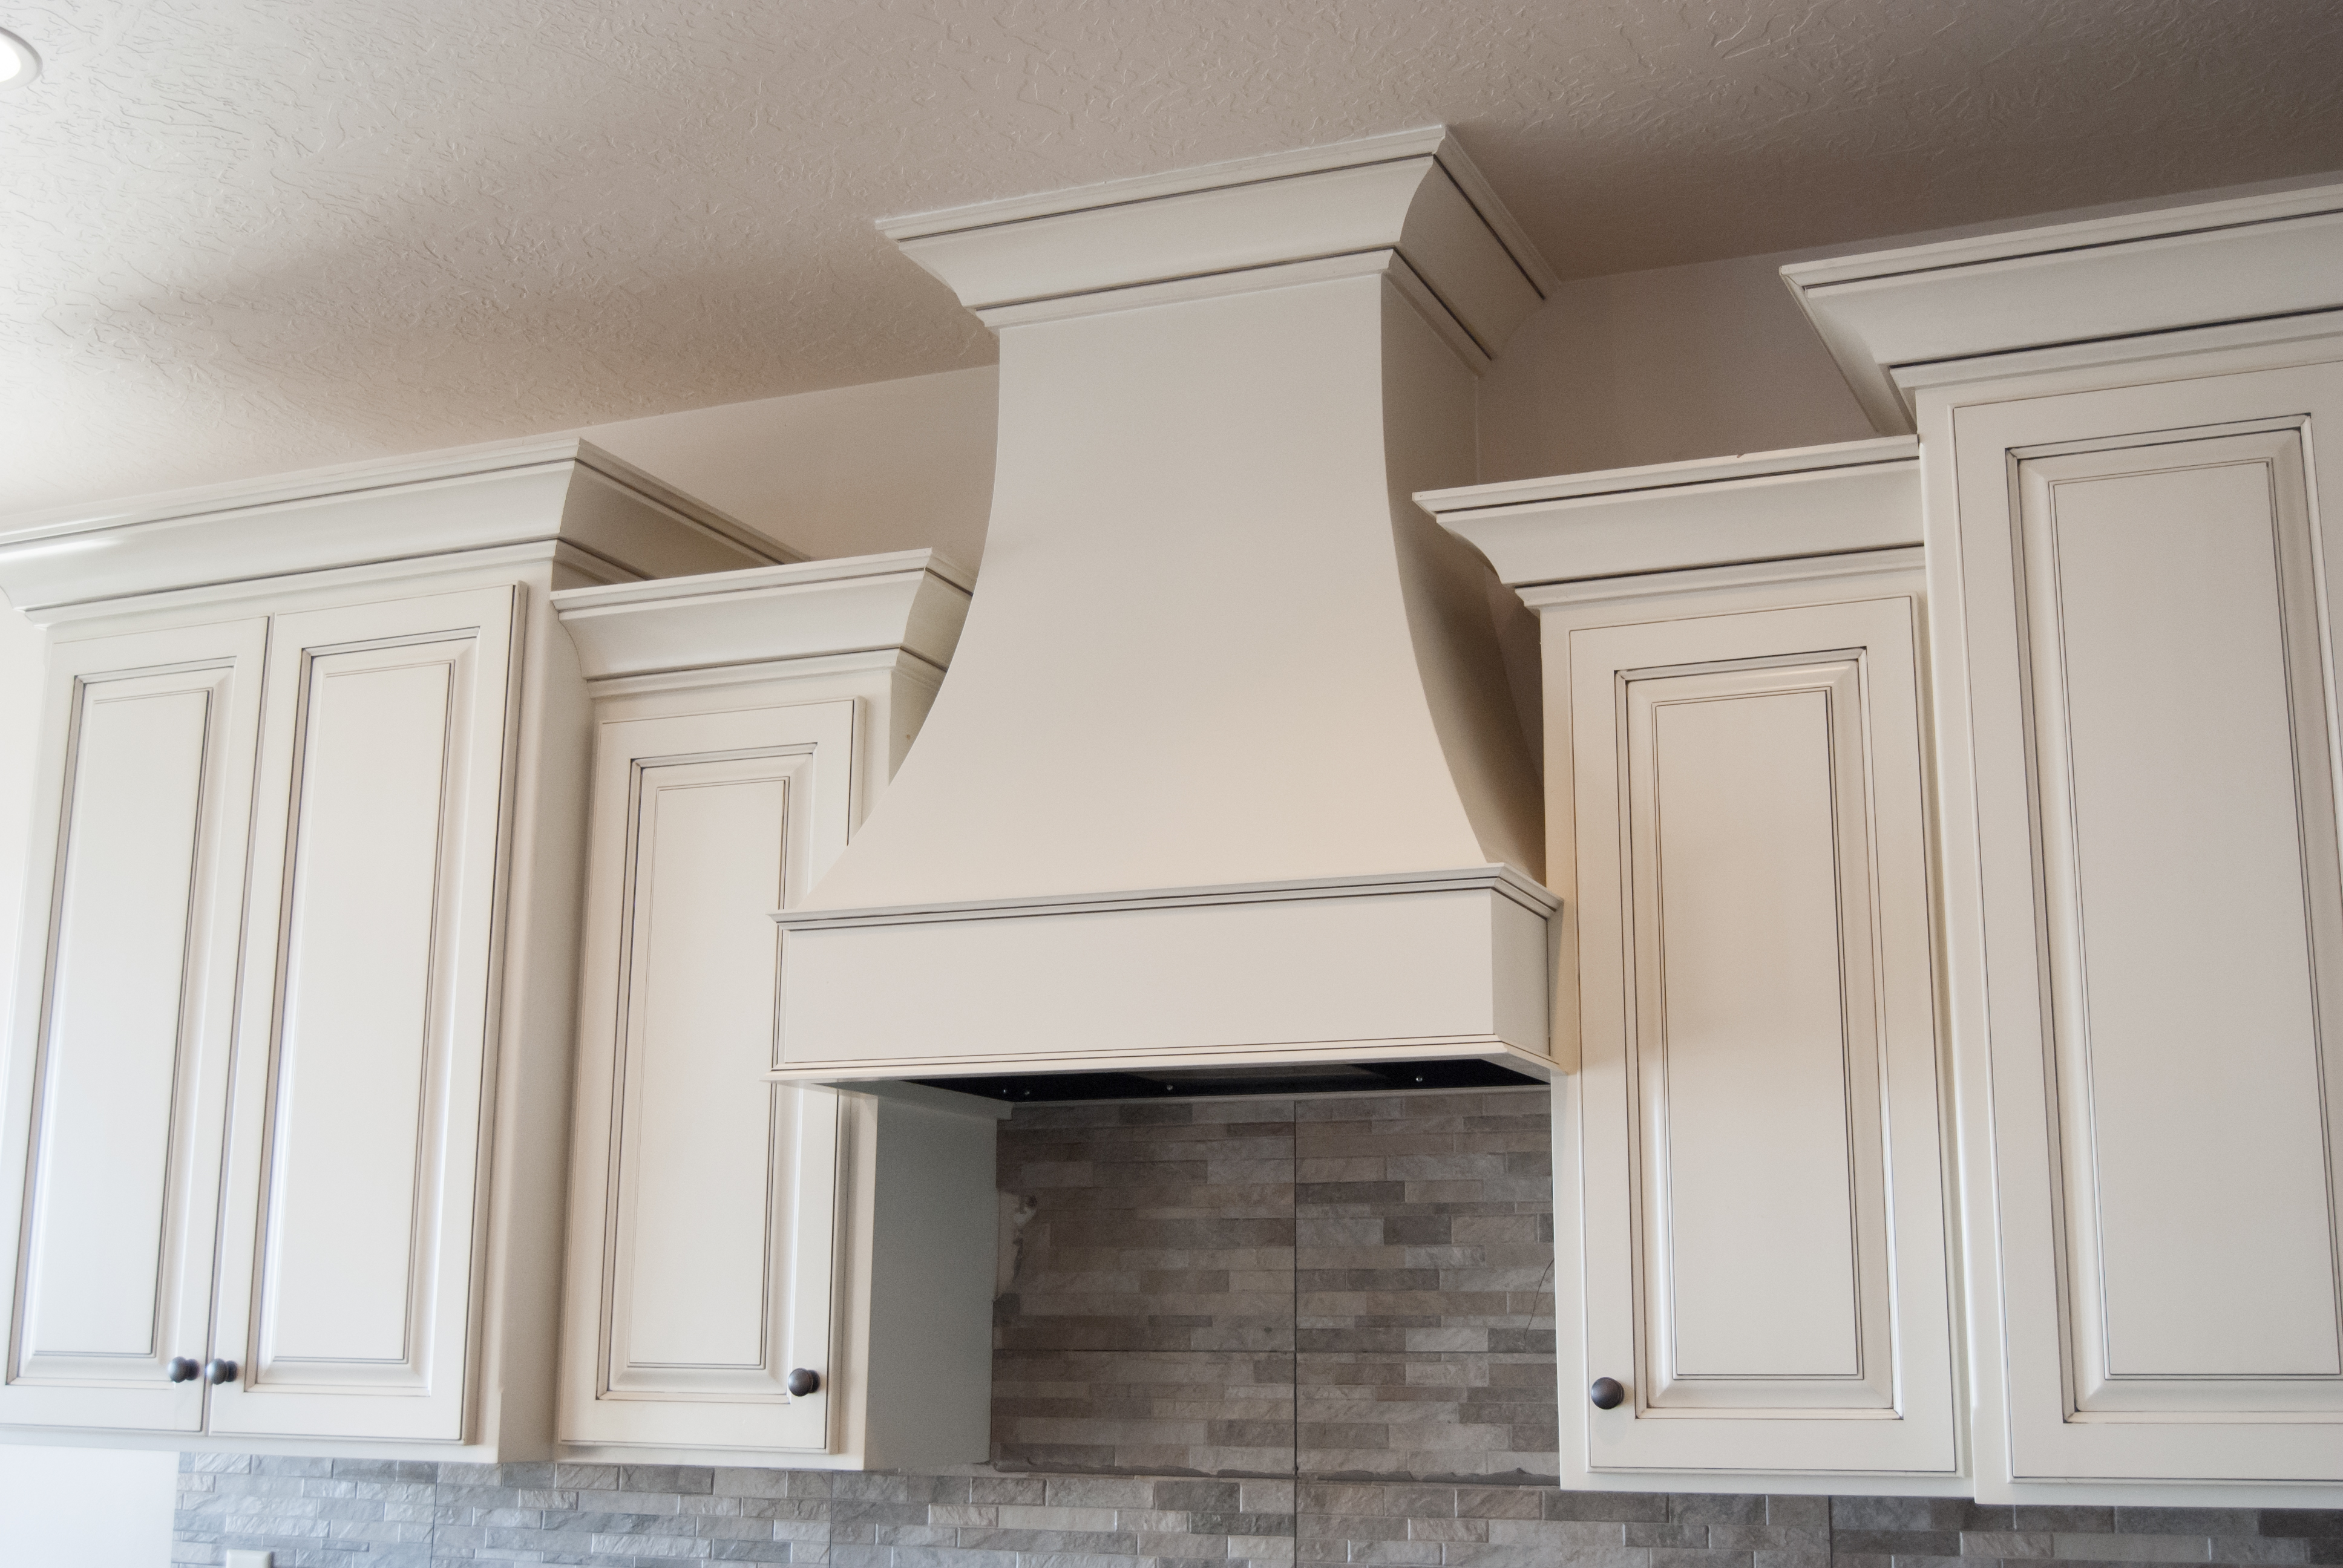
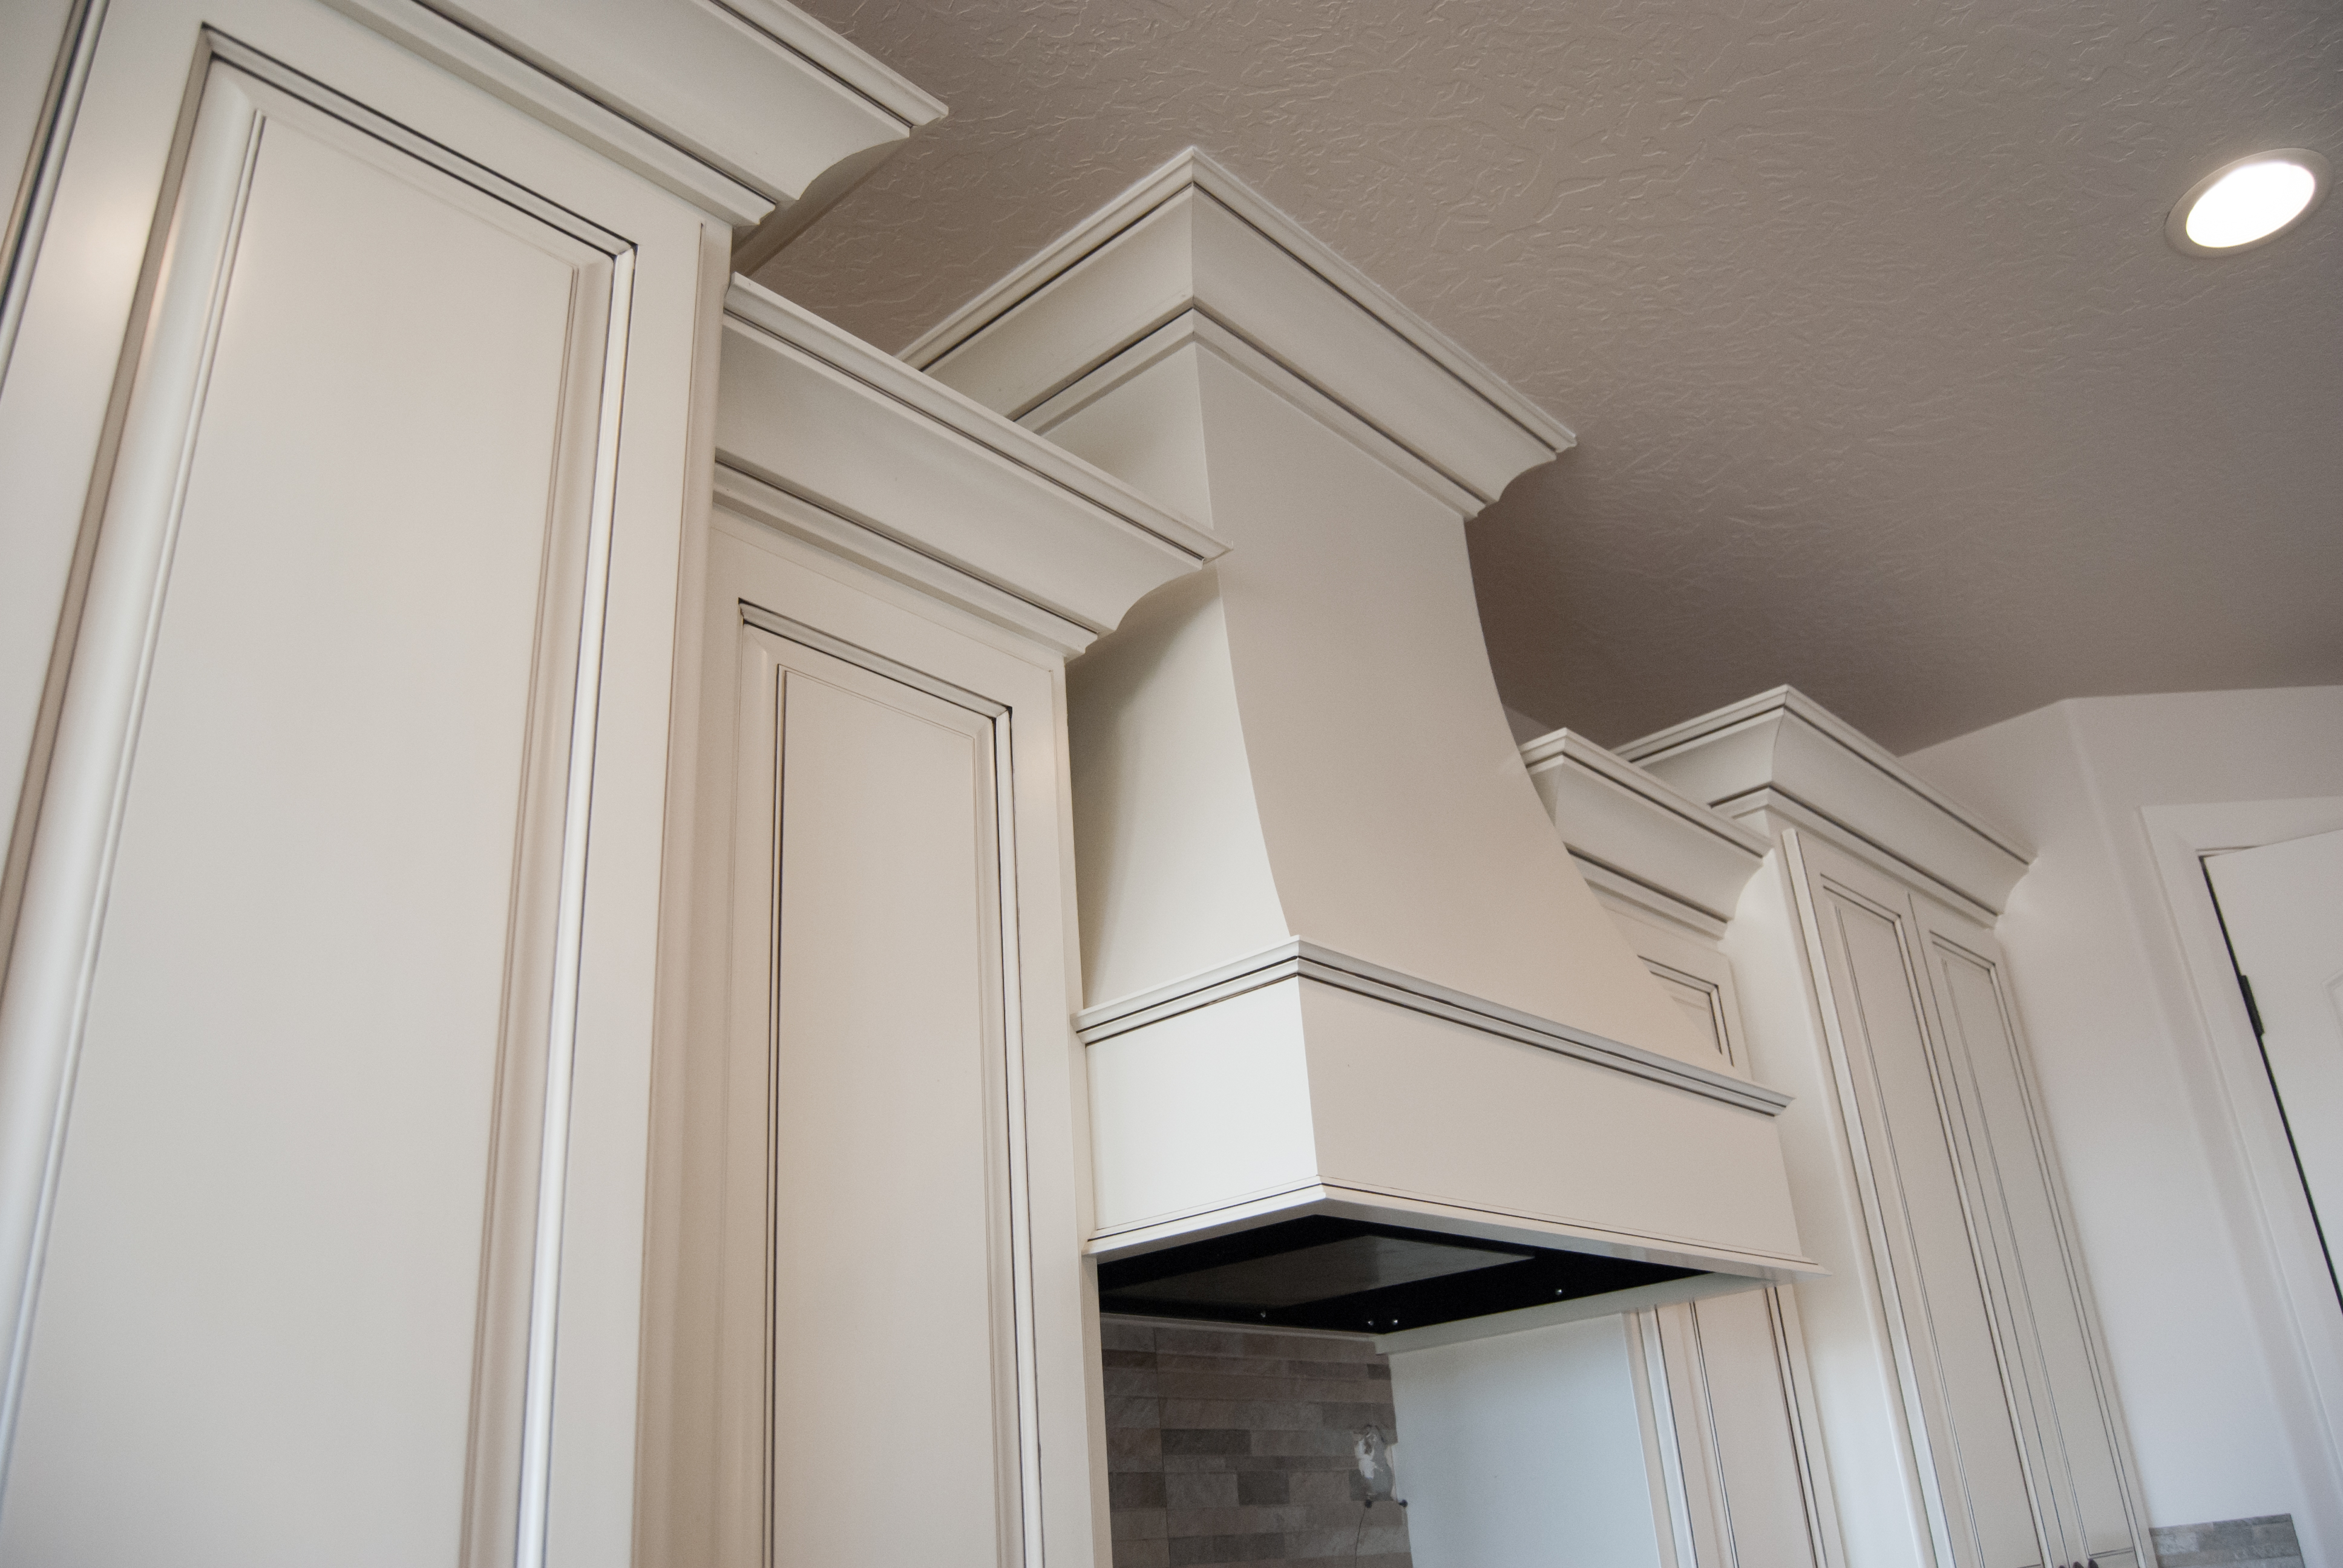
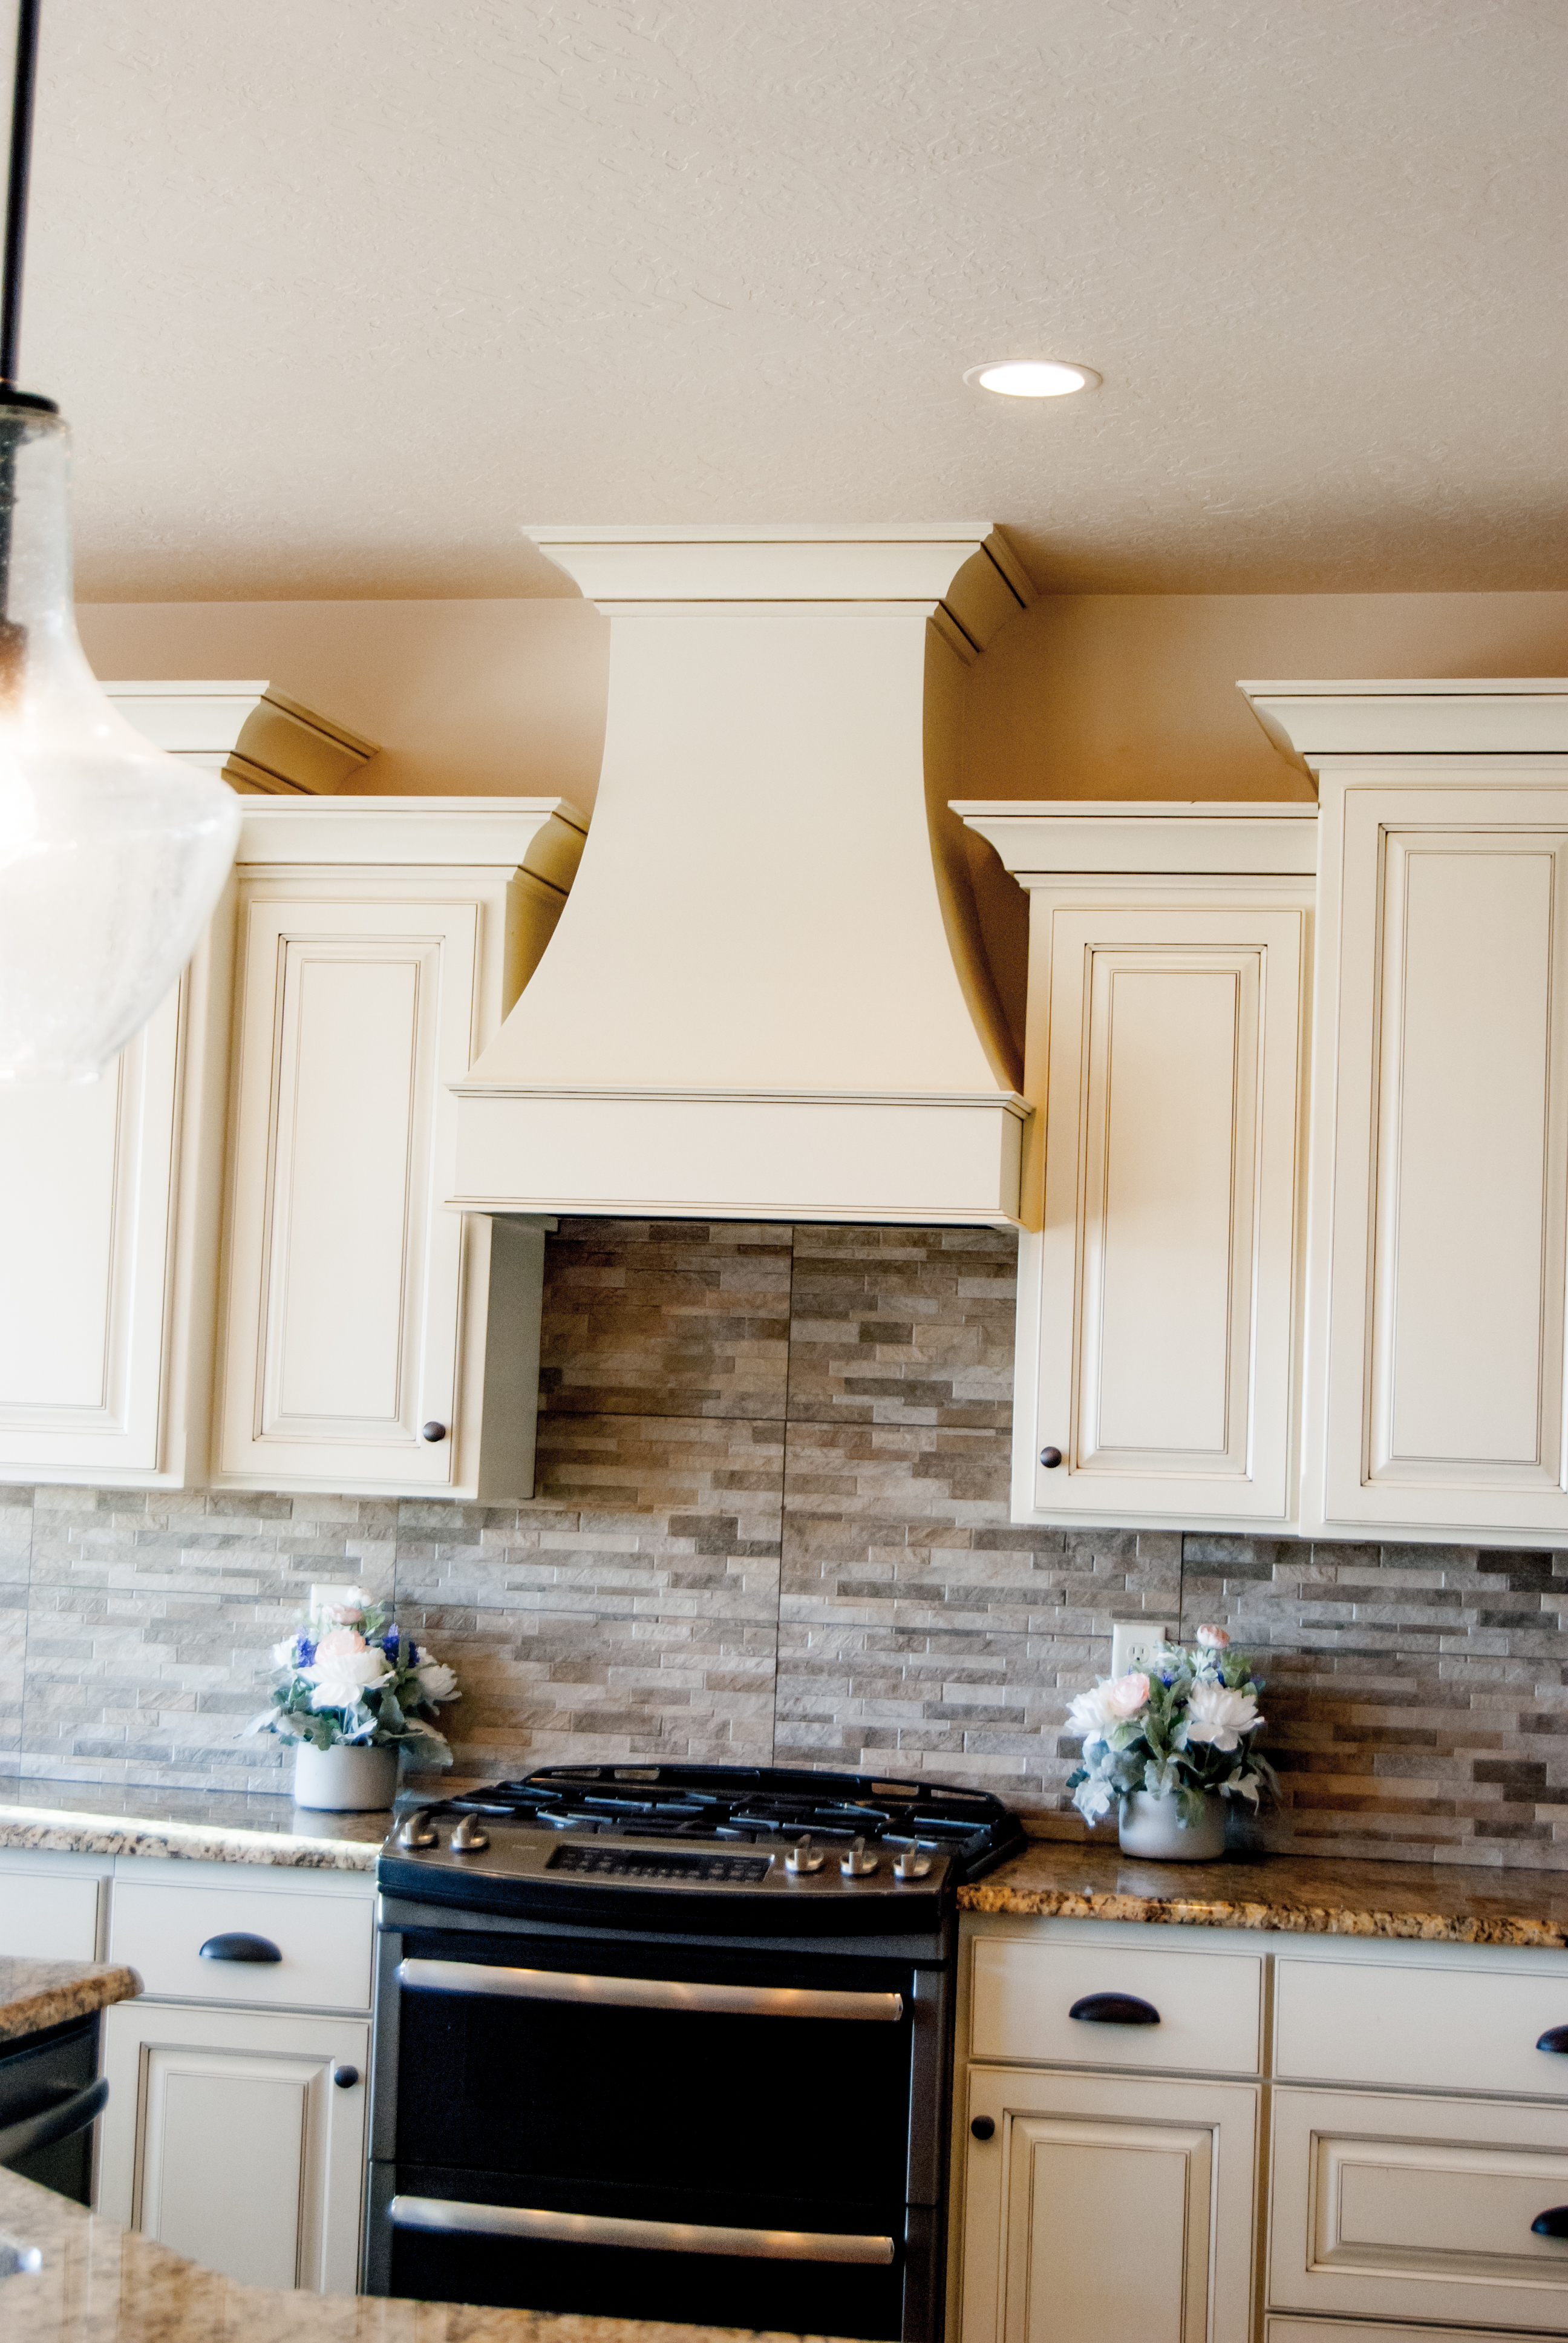
We recently replaced our microwave with a vented, custom hood. These are the Before and After photos of the entire installation process. We paid to have the hood built, however, I have included interior photos of the hood, and how it was installed for those of you who might like to tackle building this hood on your own. This hood has beautiful curved edges! My husband did all the venting himself. I hope this post motivates you to tackle a hood vent in your own kitchen! Hood vents really add value and beauty to a kitchen! On a side note, we replaced the wine rack for the microwave. We removed the racks, and ran wiring from an outlet to create a plug for the backside of the microwave. I have also included a before and after of the microwave. I apologize for the low quality of the BEFORE photos. These were photos from the original listing of the house and so the quality is not as great, but you get the idea!
DIY Hood Vent Installation
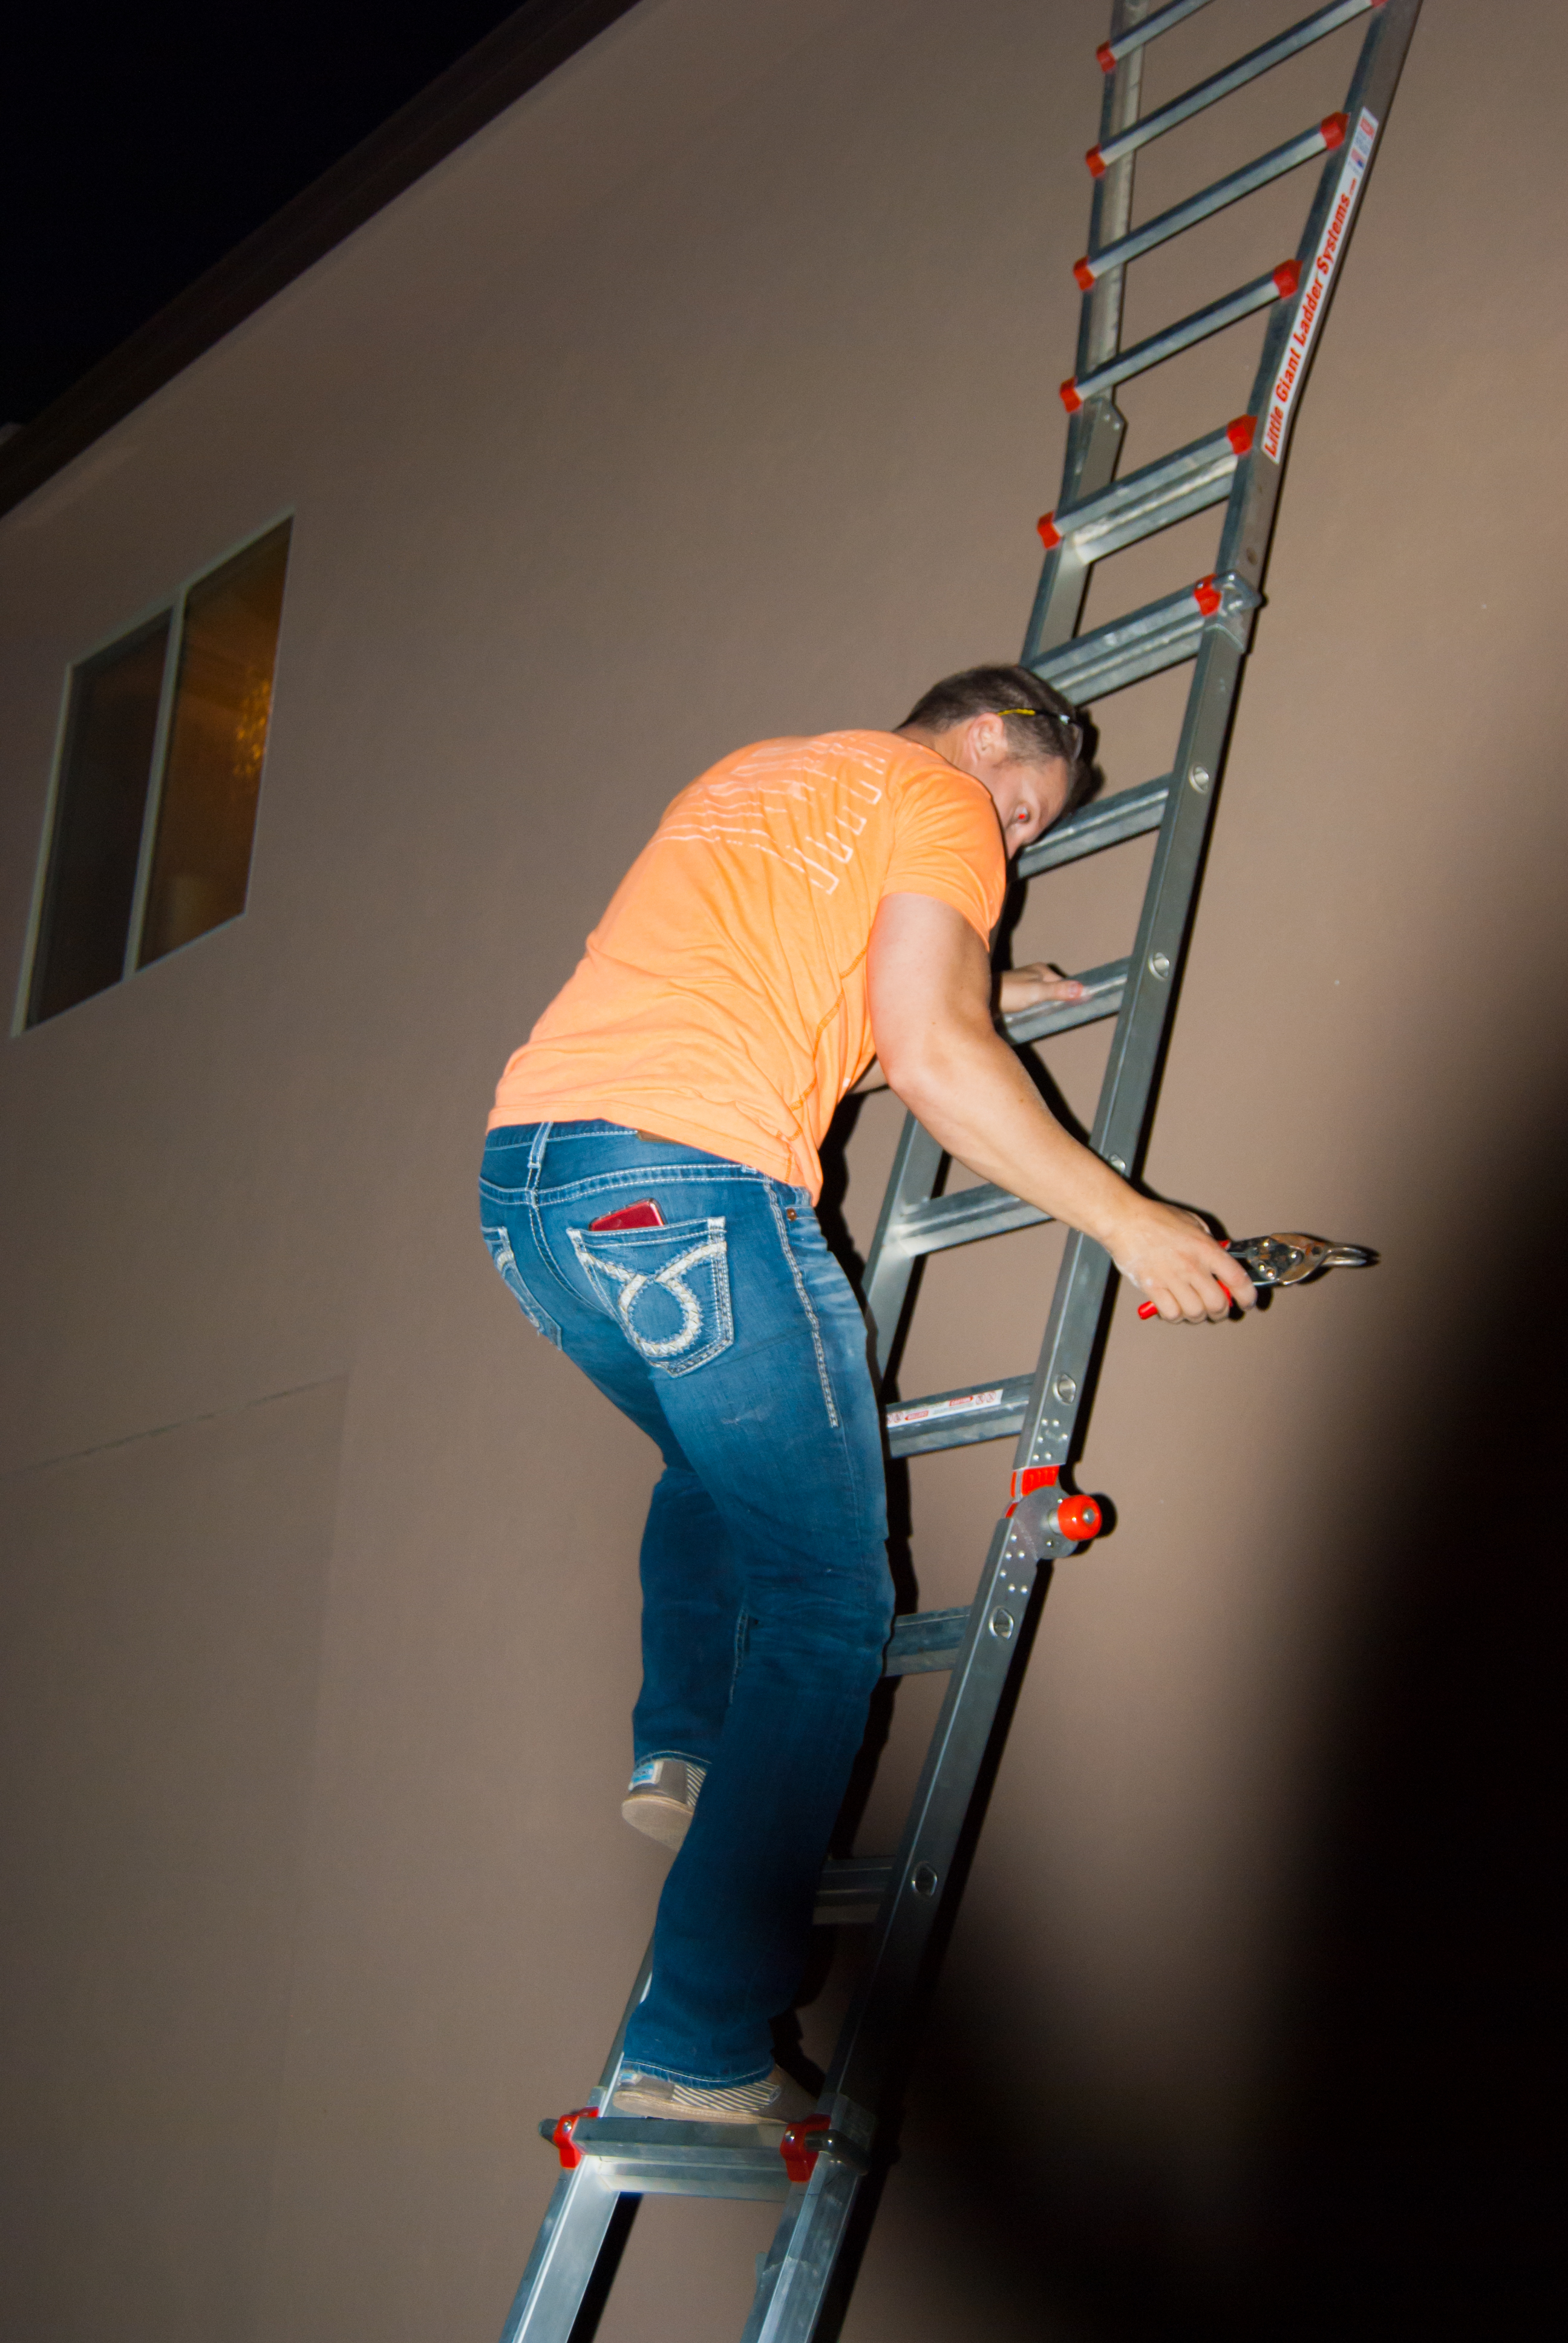
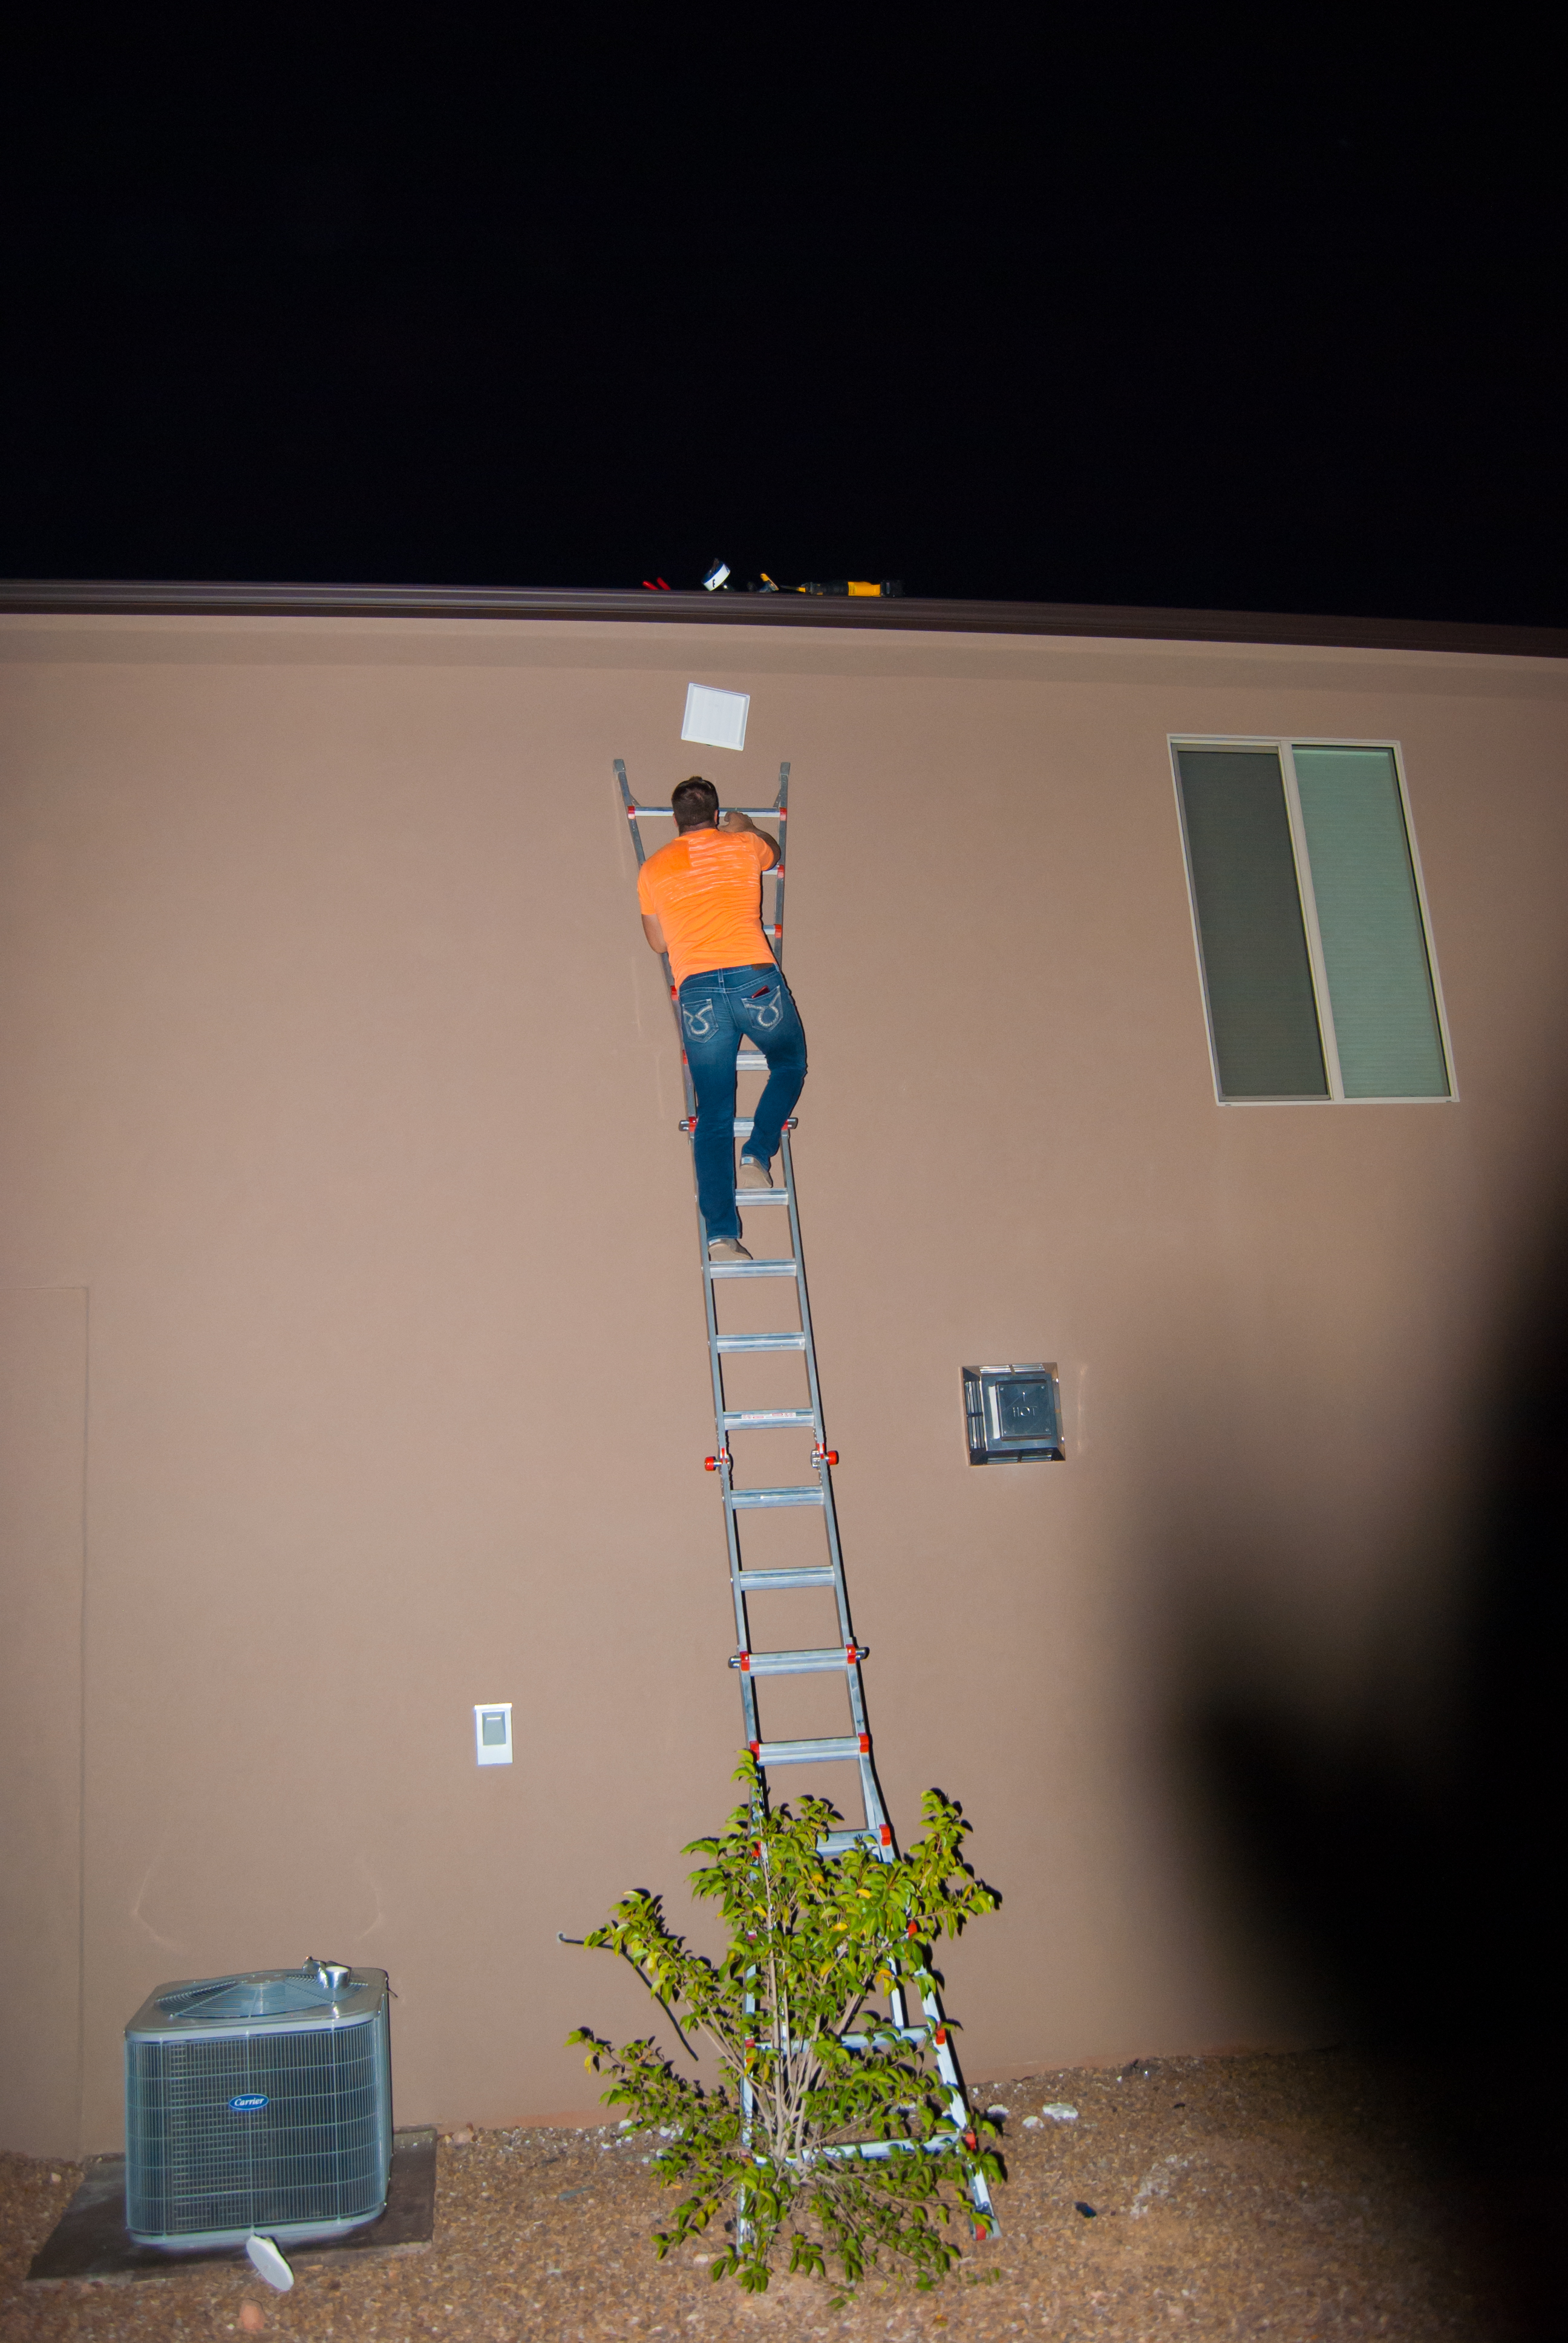
I swore we were done with DIY projects when we moved into our new home. But alas, I was wrong! We were in the process of remodeling our basement, and the installers for our custom hood vent for the upstairs kitchen would be coming in the morning. But wait!!! Major problem!!! No one had showed up to vent hood out the side of the house. So what do I do? I lay down to take a nap! That’s right. I said I took a nap, and what happens? I wake up, and my husband is on a ladder that reaches two stories up the side of the house, and he has managed to cut a hole through the side of the house without waking me. Leave it to my hubby to save the day!
Make Sure You Check Out Some of my other DIY Projects: KITCHEN,LIVING ROOM, MASTER CLOSET, OFFICE DIY OUTDOOR SOLAR LANTERNS ,
When we moved into our new home, I was so excited about the floor plan. It was everything I had dreamed of. It is a walkout basement with the most amazing view, and an open concept living room and kitchen. I LOVE to cook, but every home we have lived in thus far had the kitchen separate from the living area, and so I always felt so alone while I was cooking meals in the other room and everyone was visiting or watching TV in the living room. So this new house was a dream, minus one small detail. I wasn’t in love with the overhead microwave in the kitchen. It was a big beautiful kitchen with a large island for cooking, and there was no hood vent! Hood vents are a huge upgrade to any home. The vast majority of higher end homes have hood vents, and so if you can add this one small detail to your kitchen, it can be a huge up-sale for your home in the future. When my husband and I decided that we were going to finish our basement immediately after we moved in, we decided to throw in the hood vent for the upstairs kitchen so we could get all the major renovations done at once.
THE PROCESS OF ADDING THE VENT AND INSTALLING THE HOOD
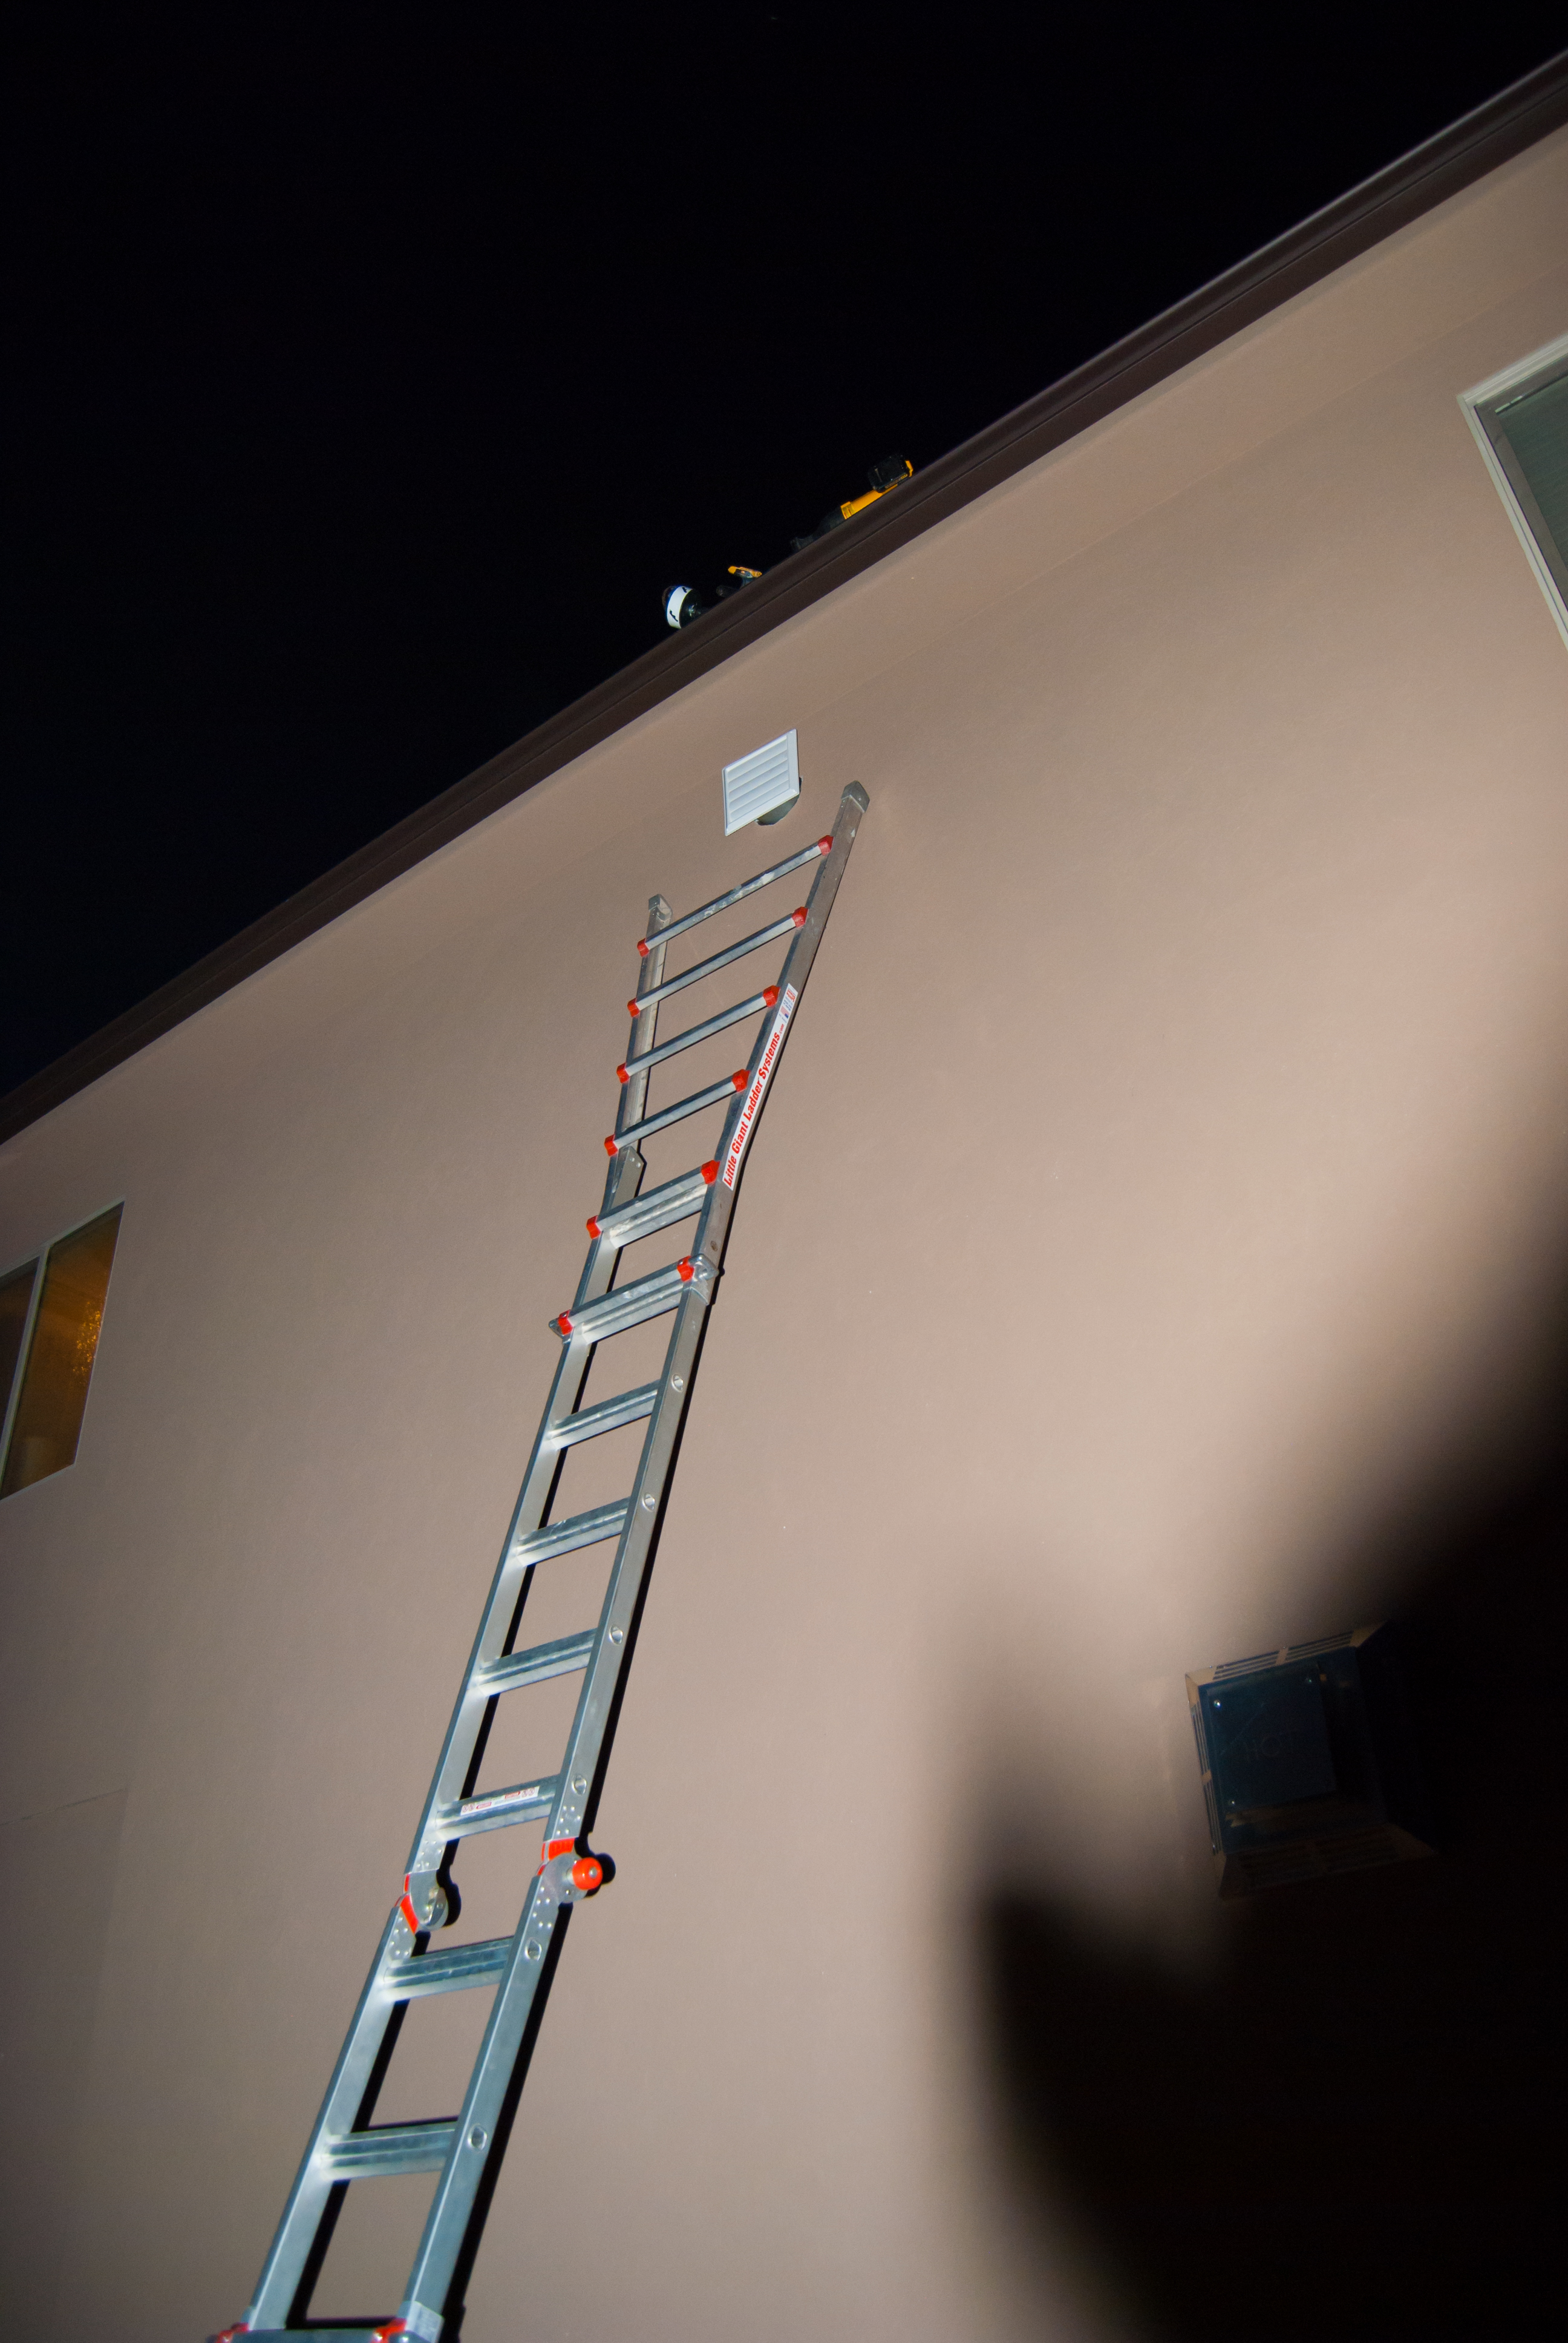
- First you will need a really tall ladder! You will also need courage, not just to climb the ladder, but to have the guts to cut a hole in the side of your brand new home.
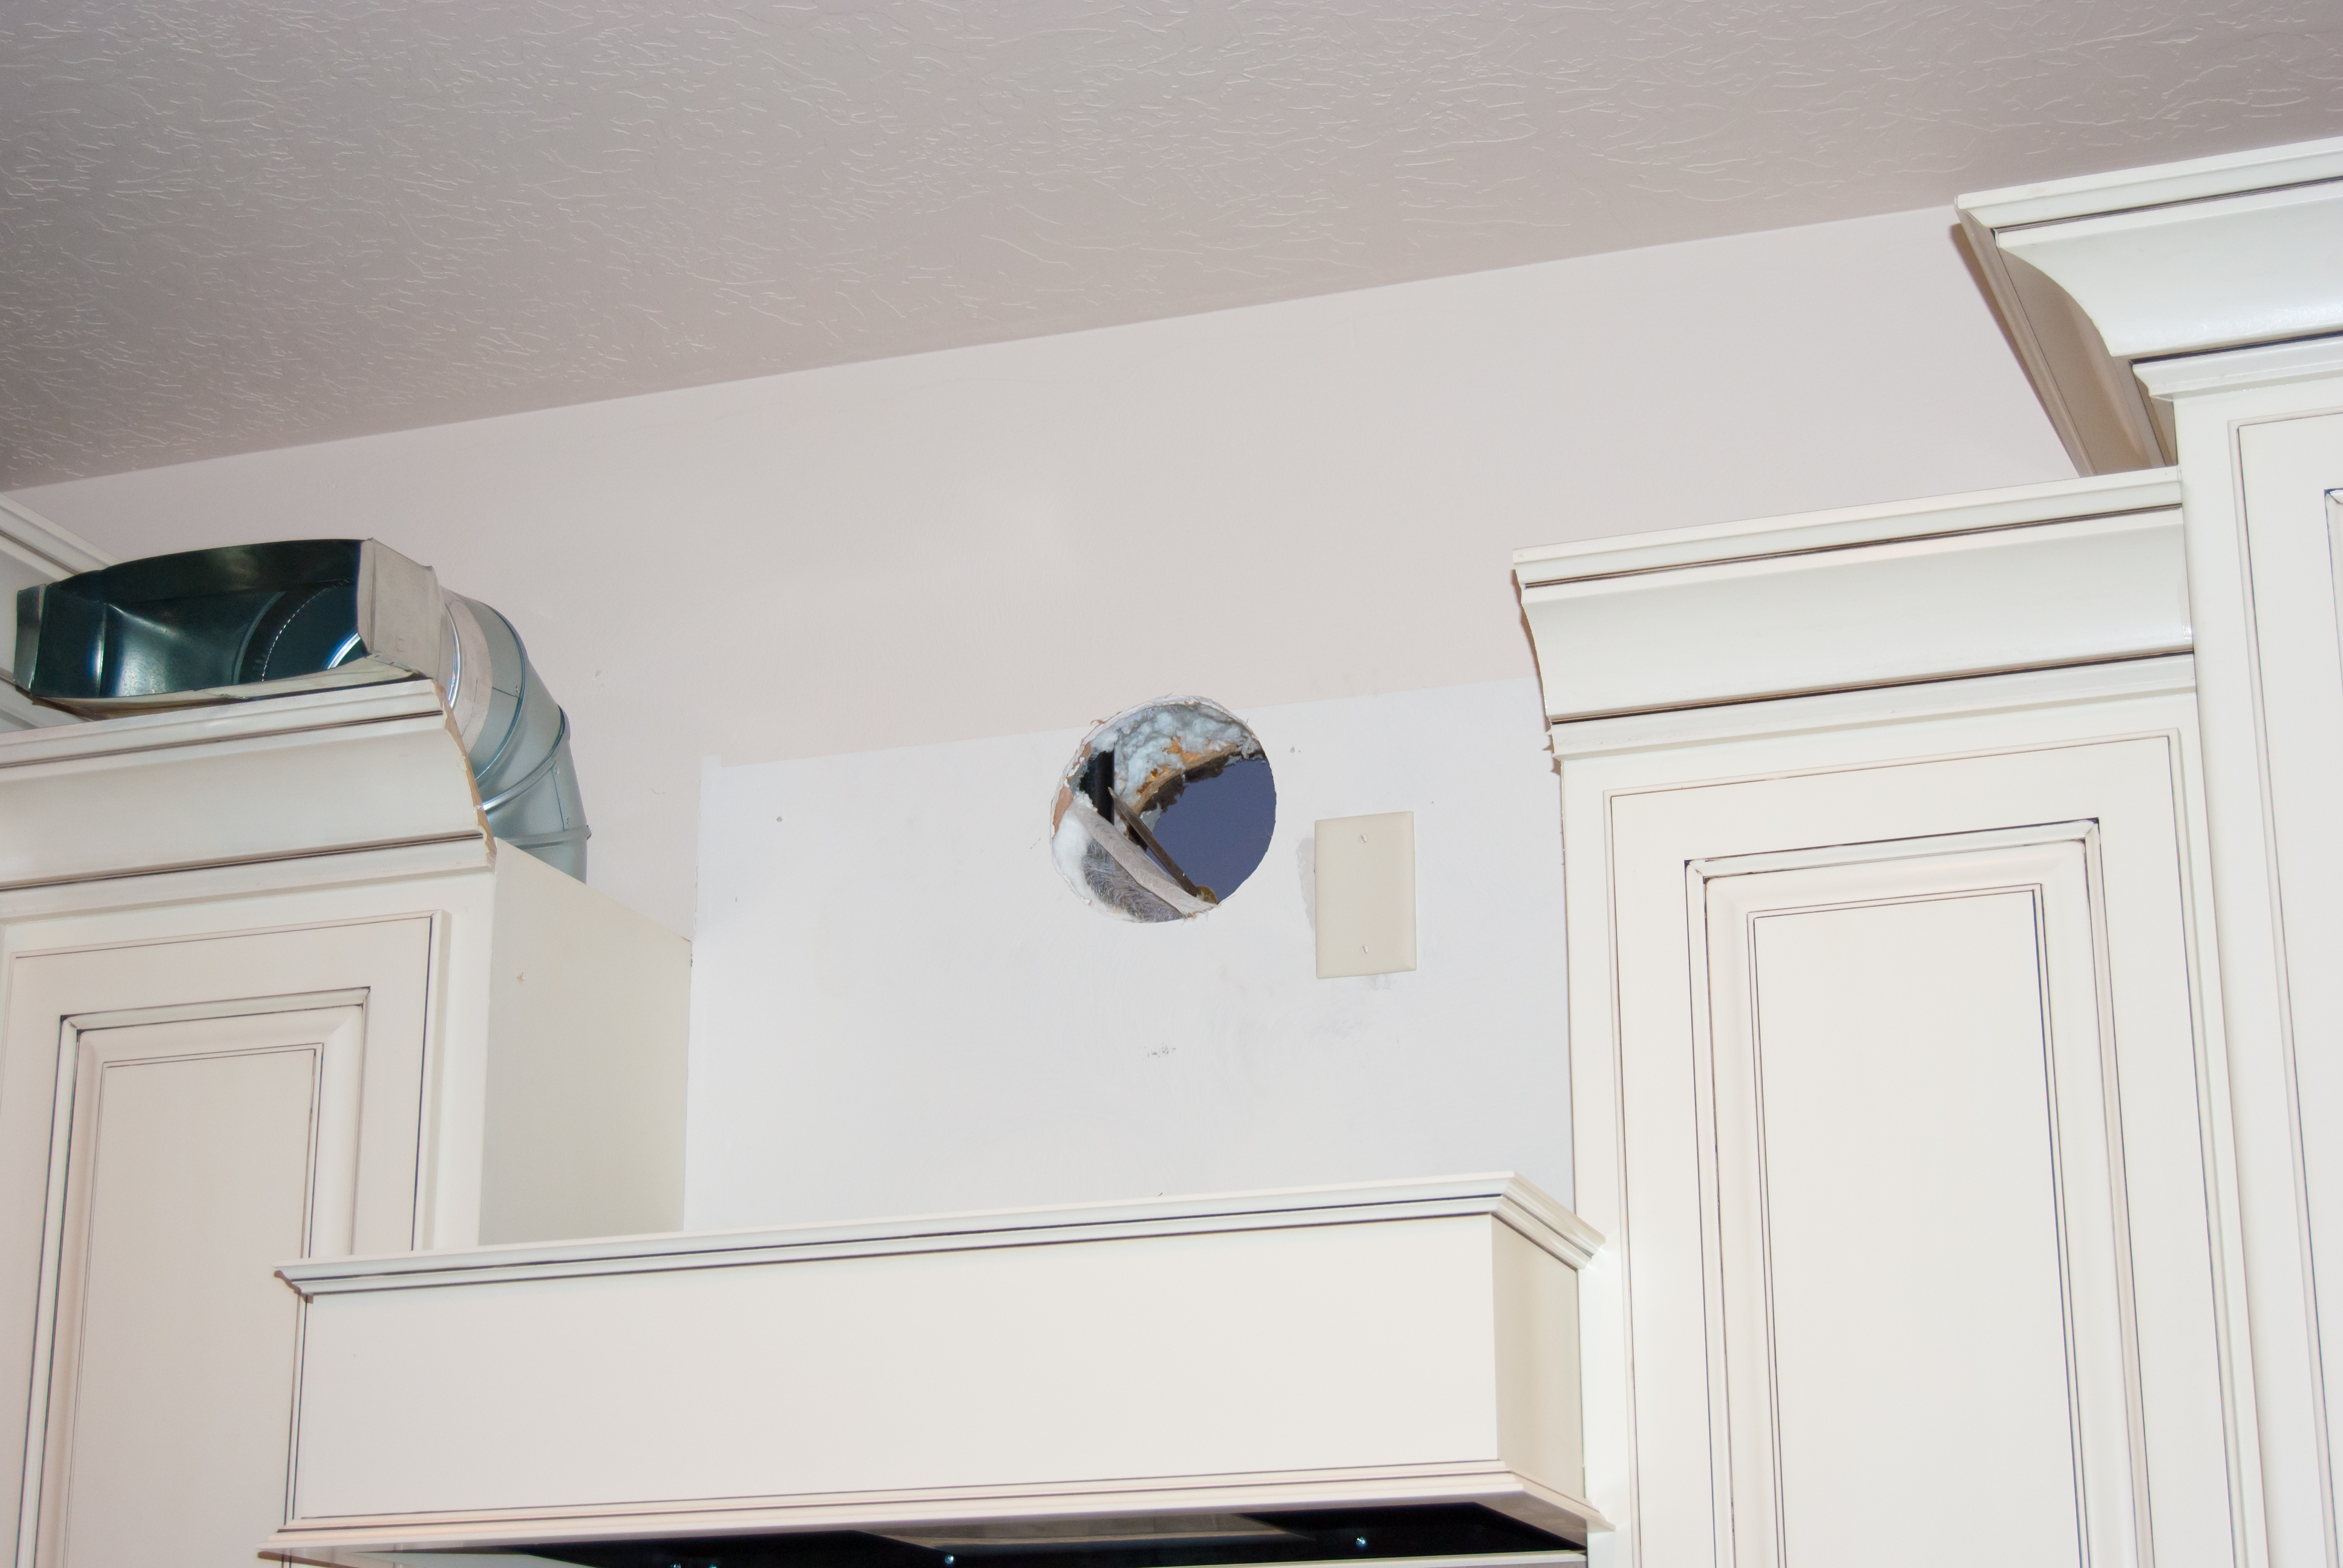
- My husband used a long drill bit to drill a hole through the inside, all the way to the outside of the house. This hole was a “focal point” or “guide” for where he would place all the piping to the outside of the house.
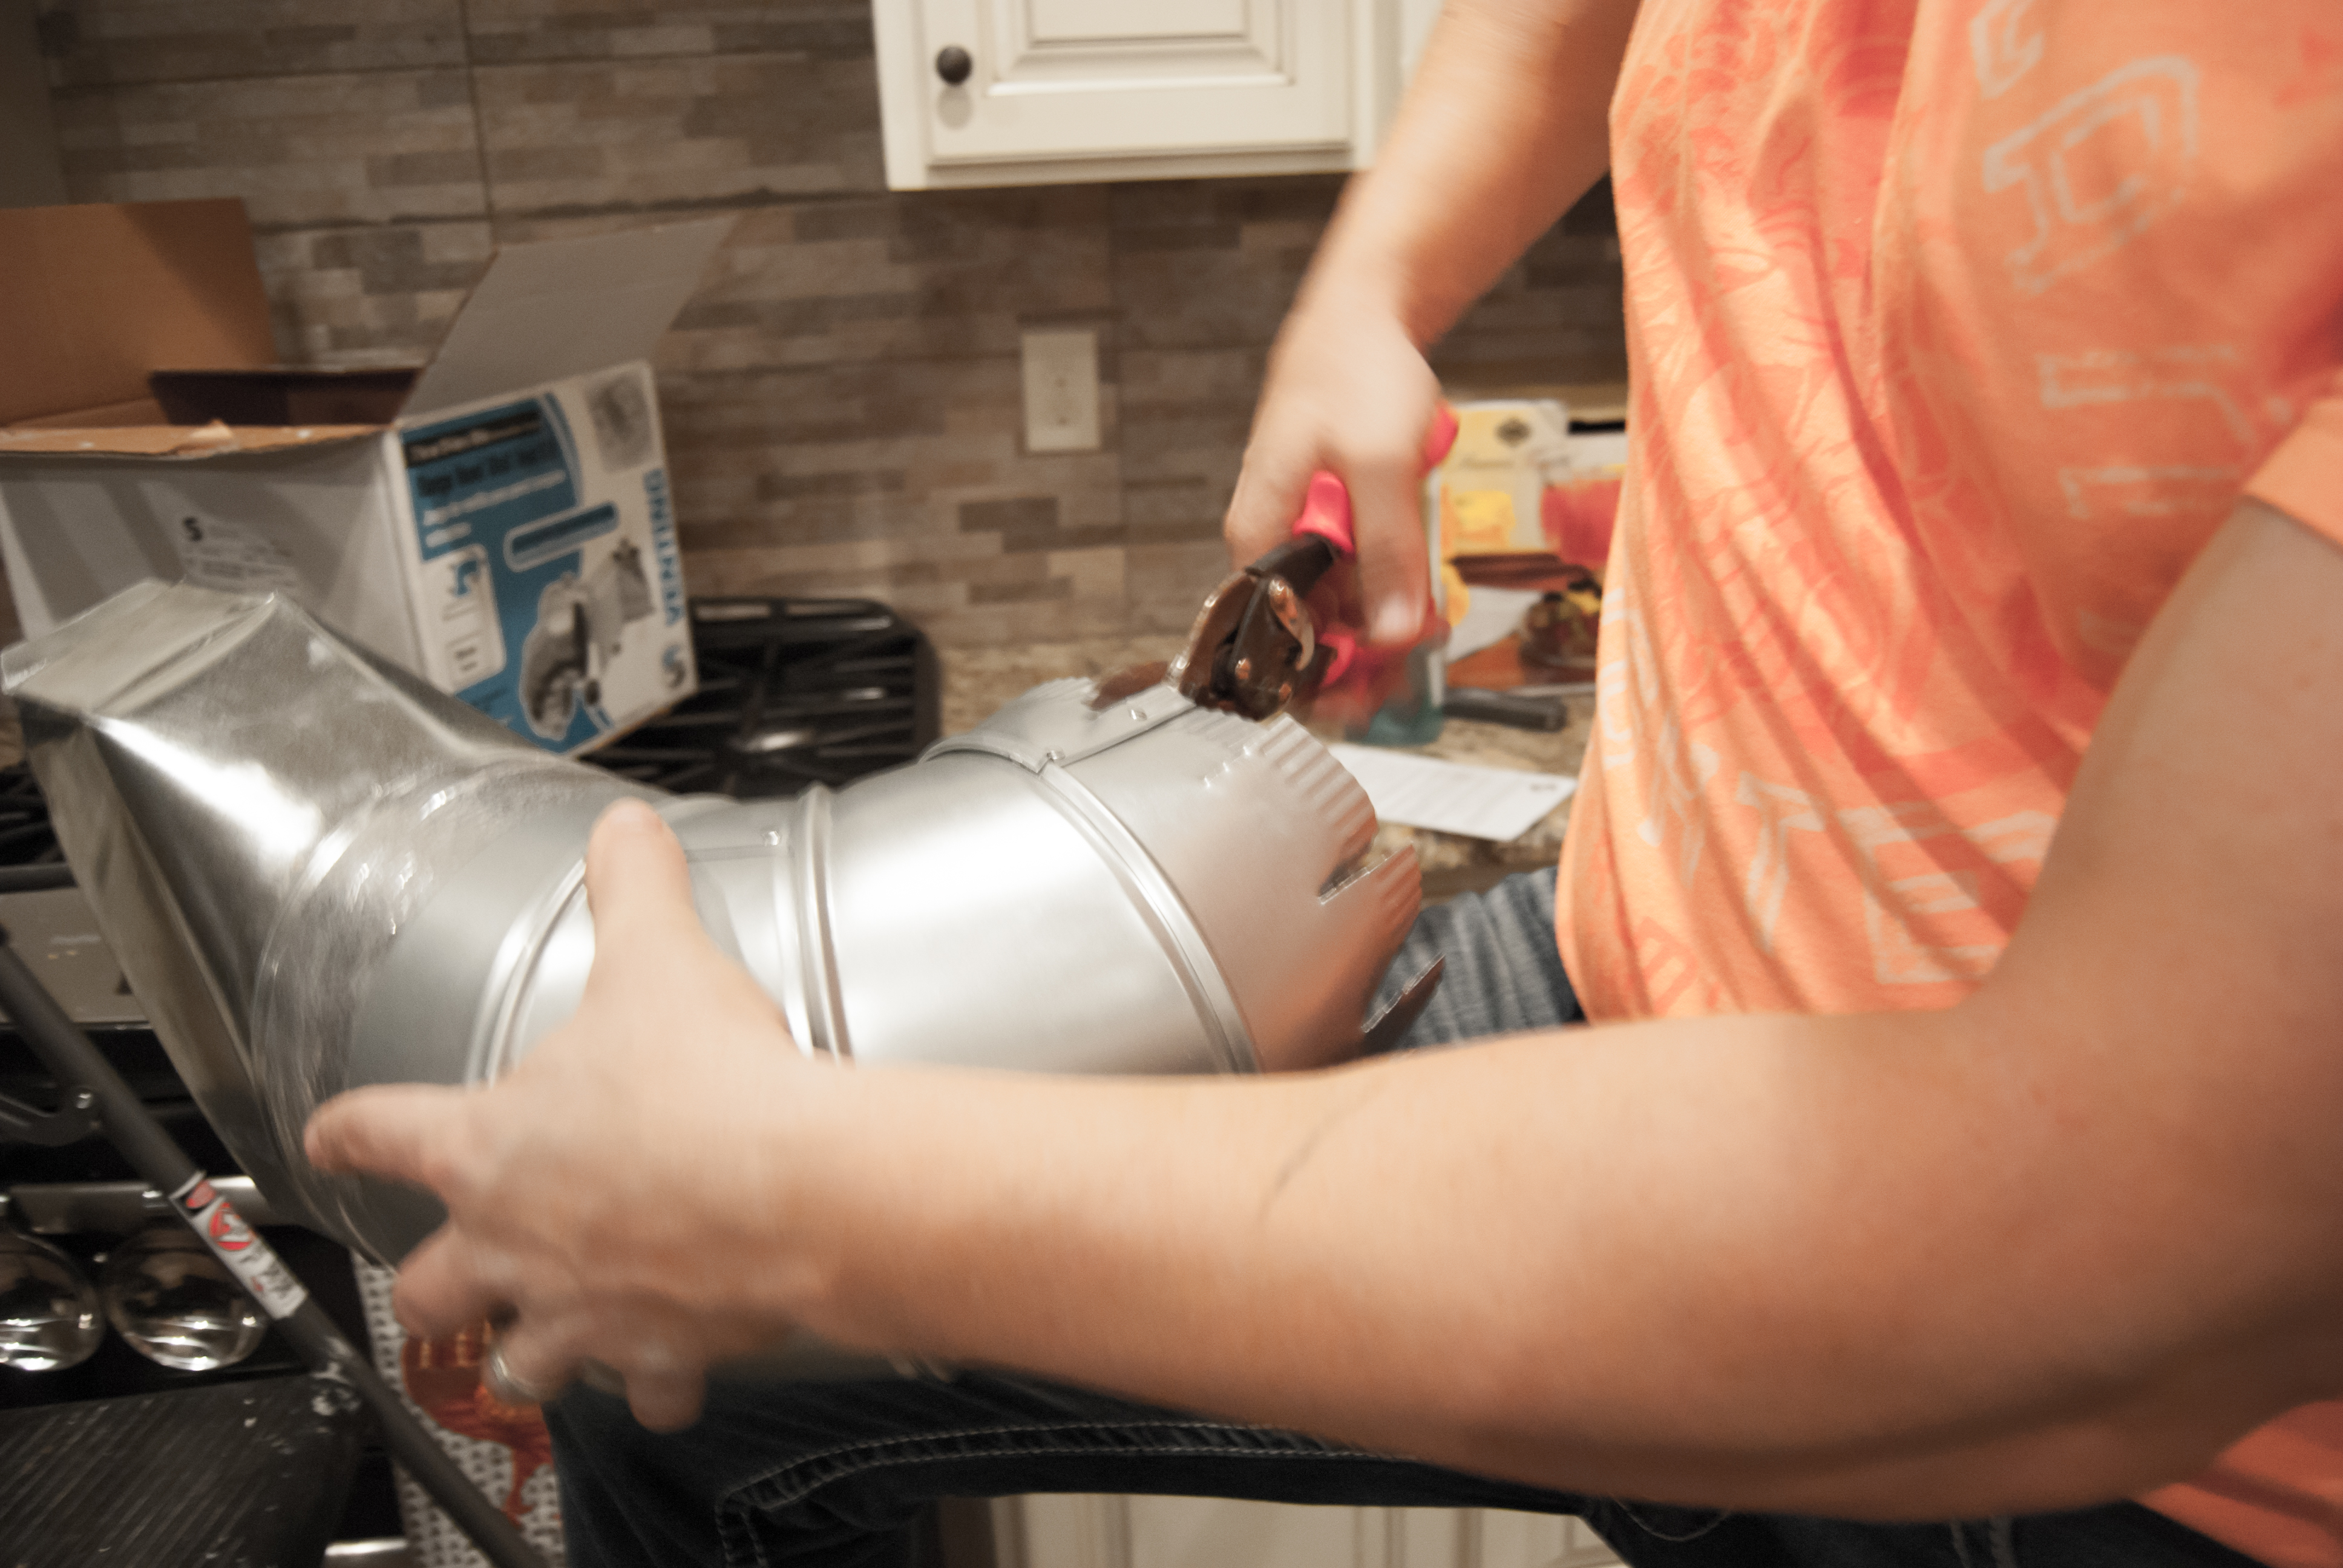
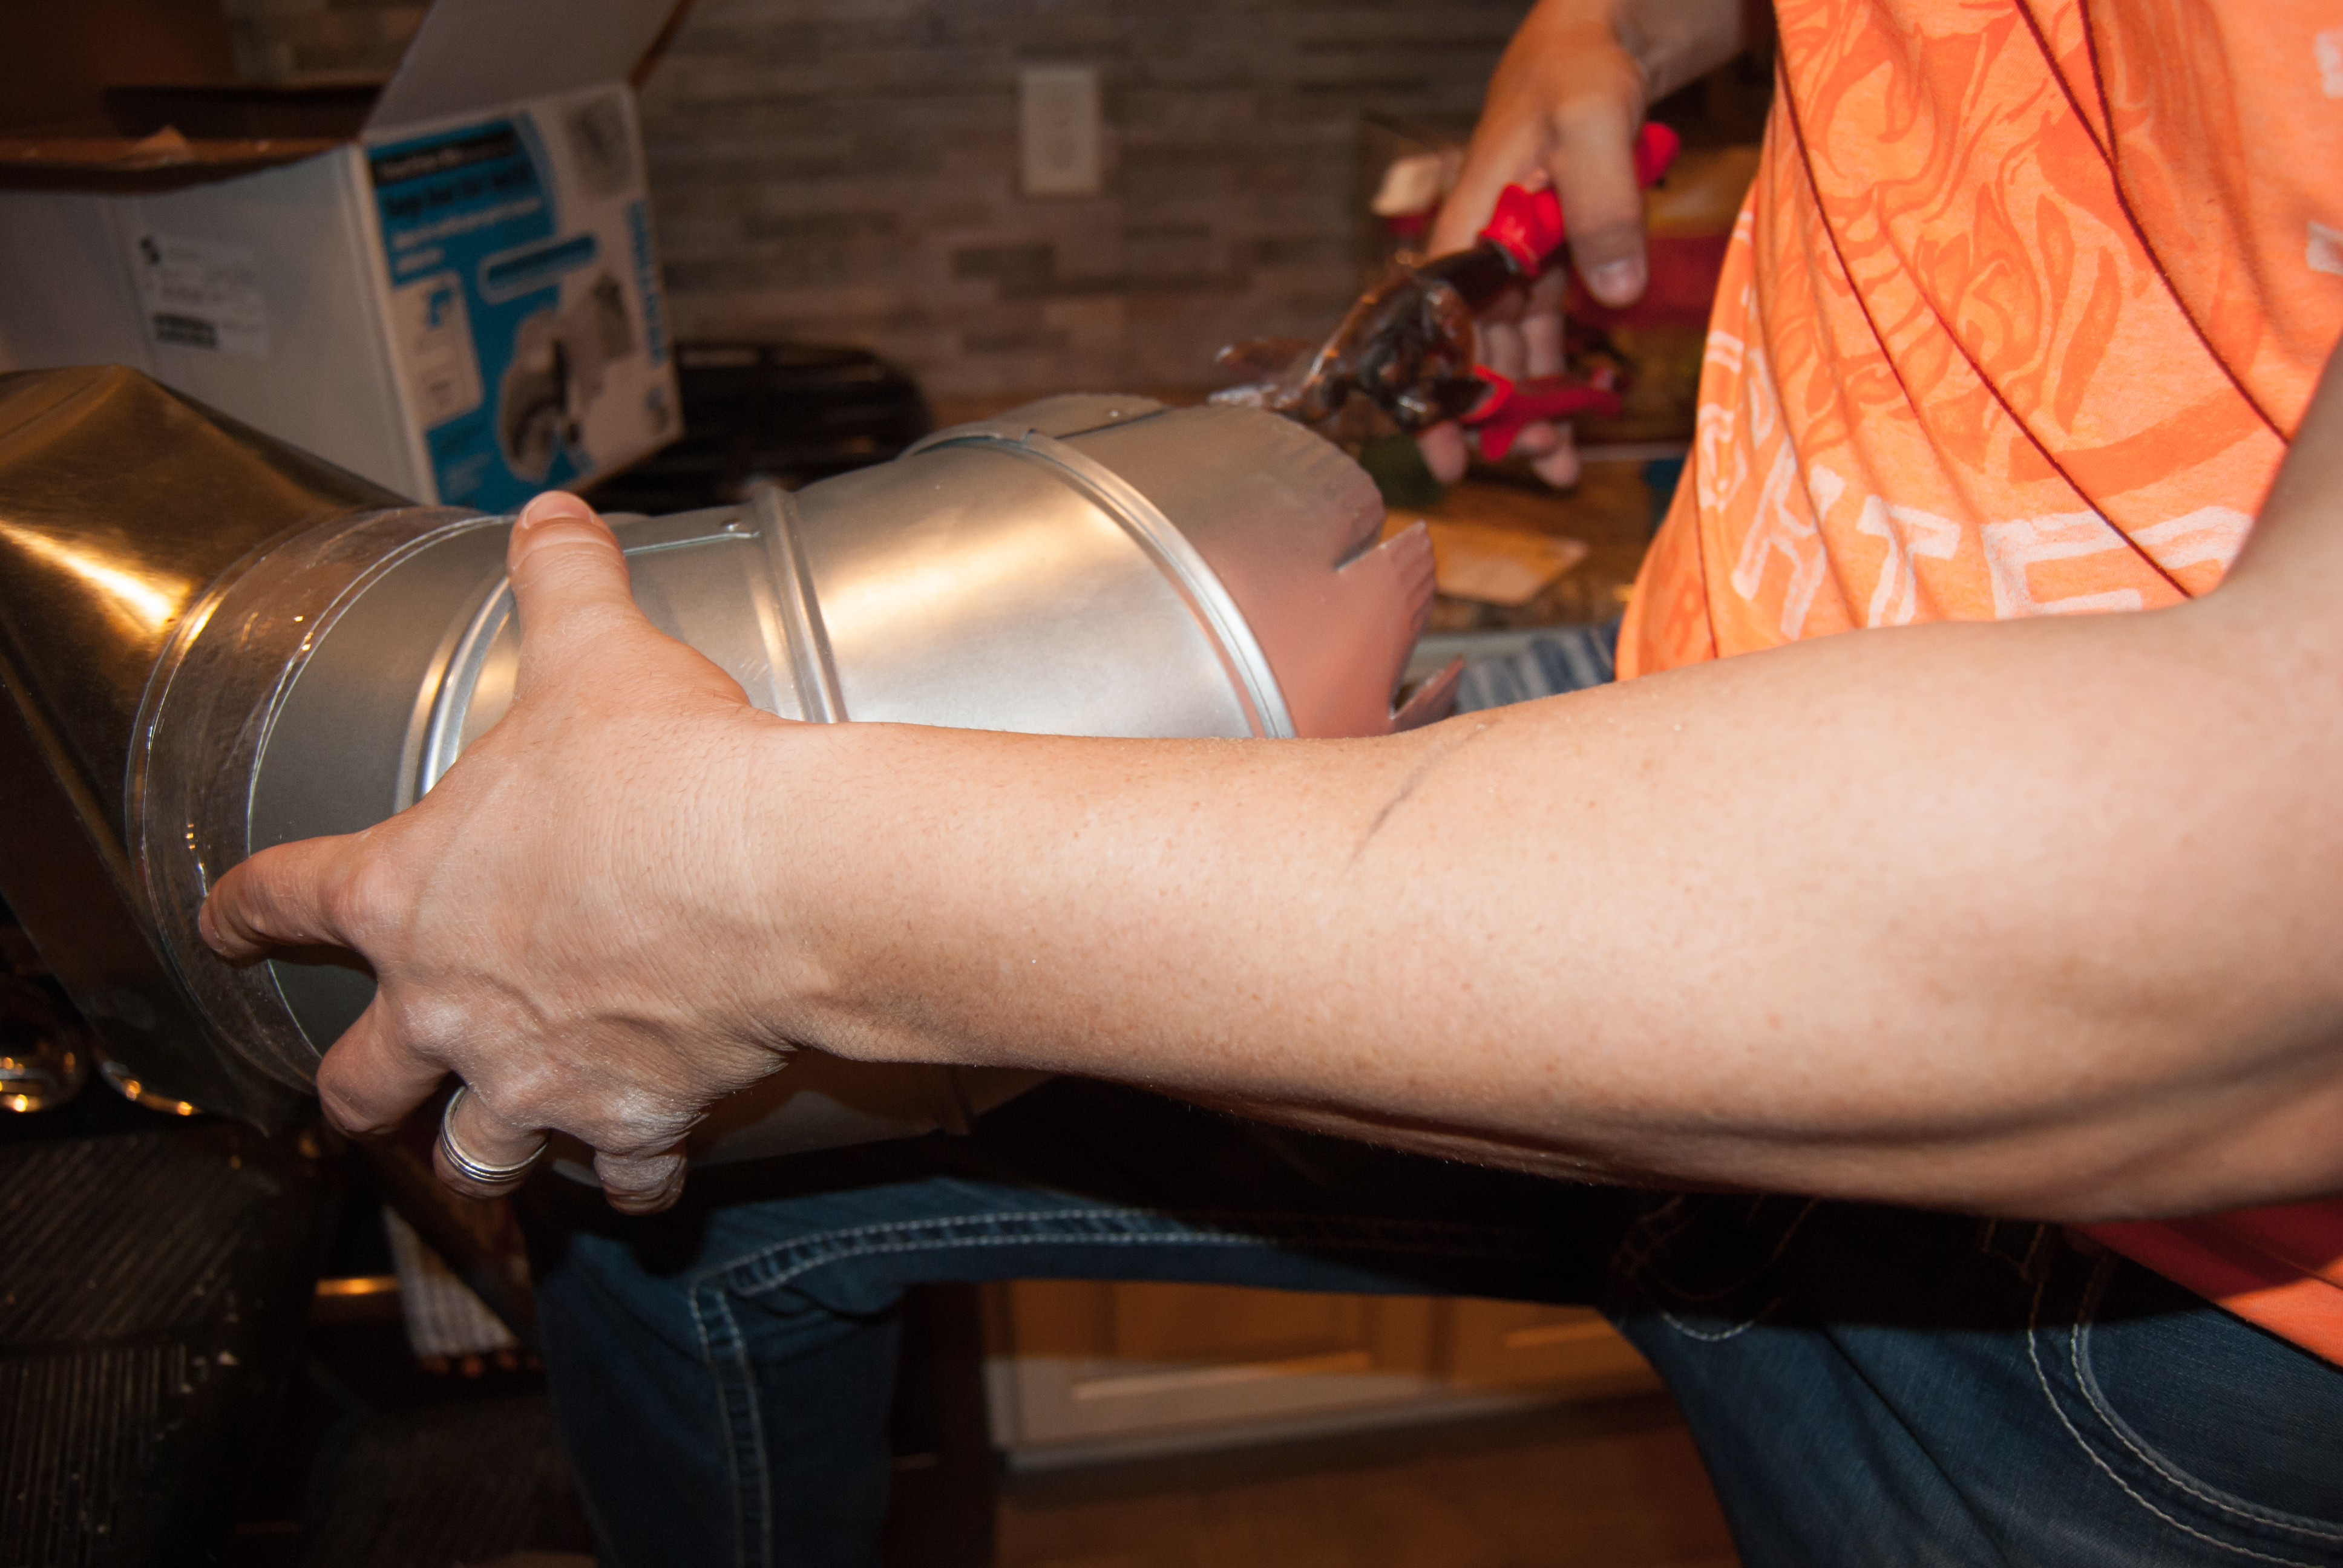
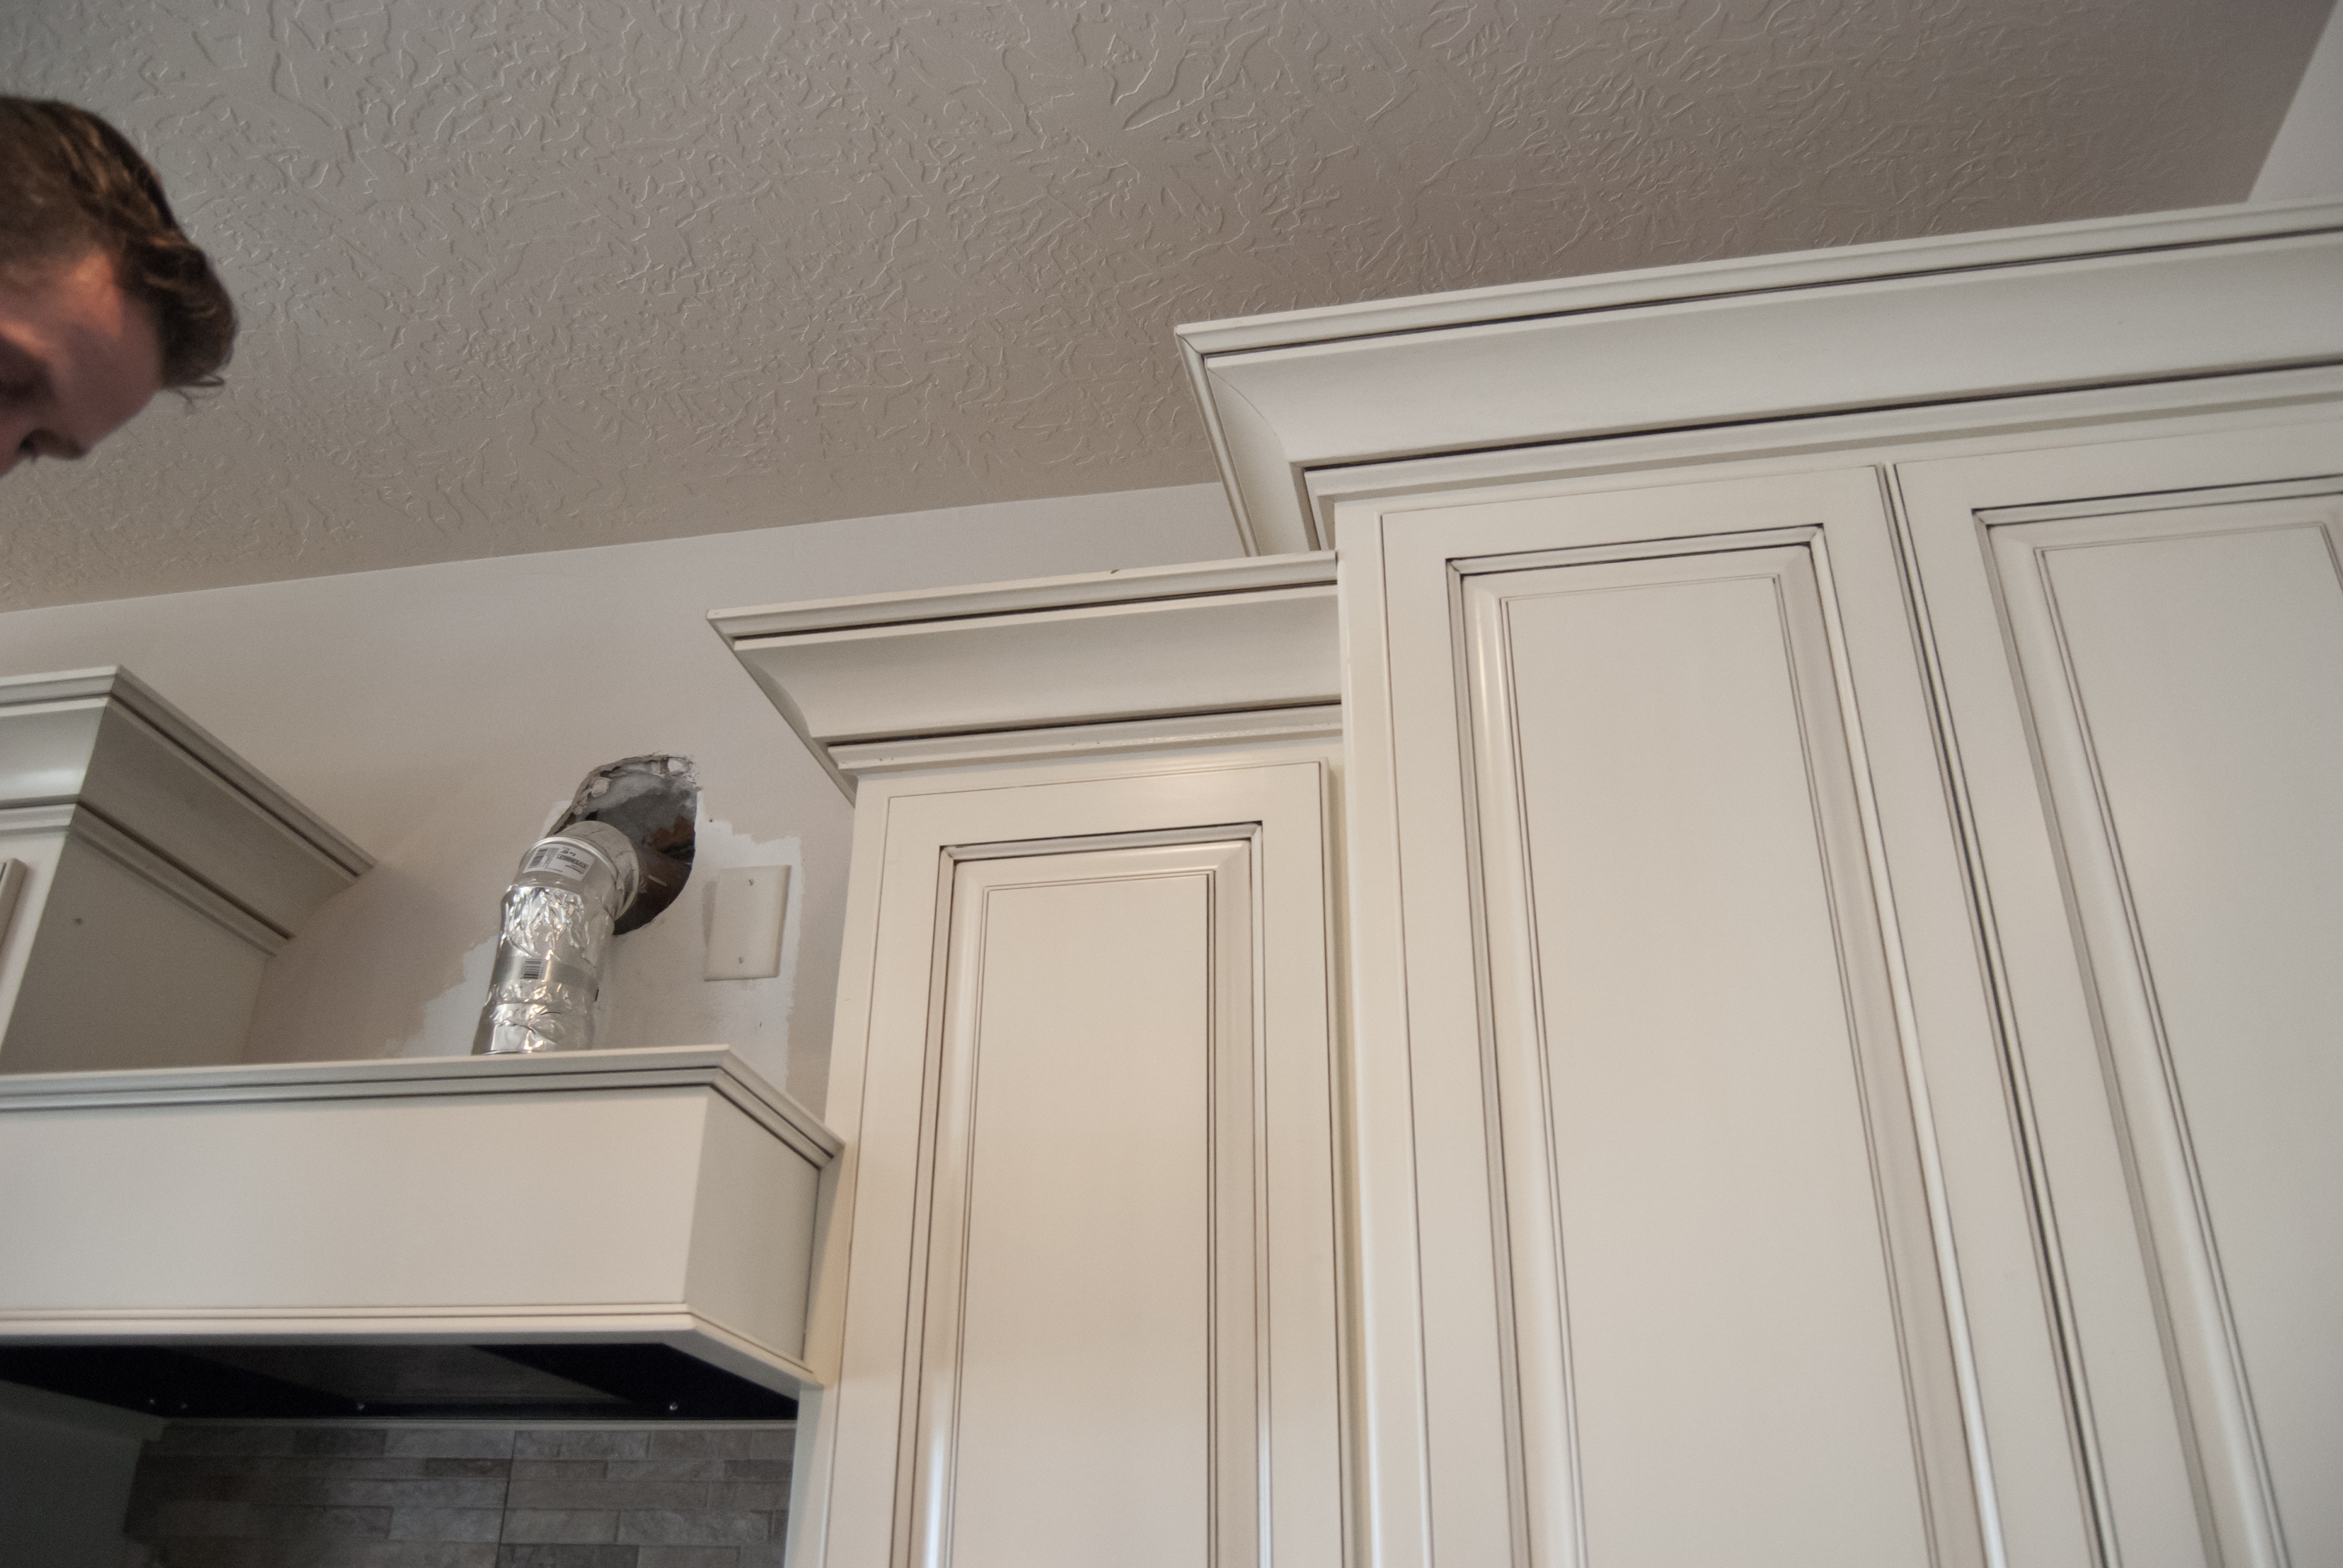
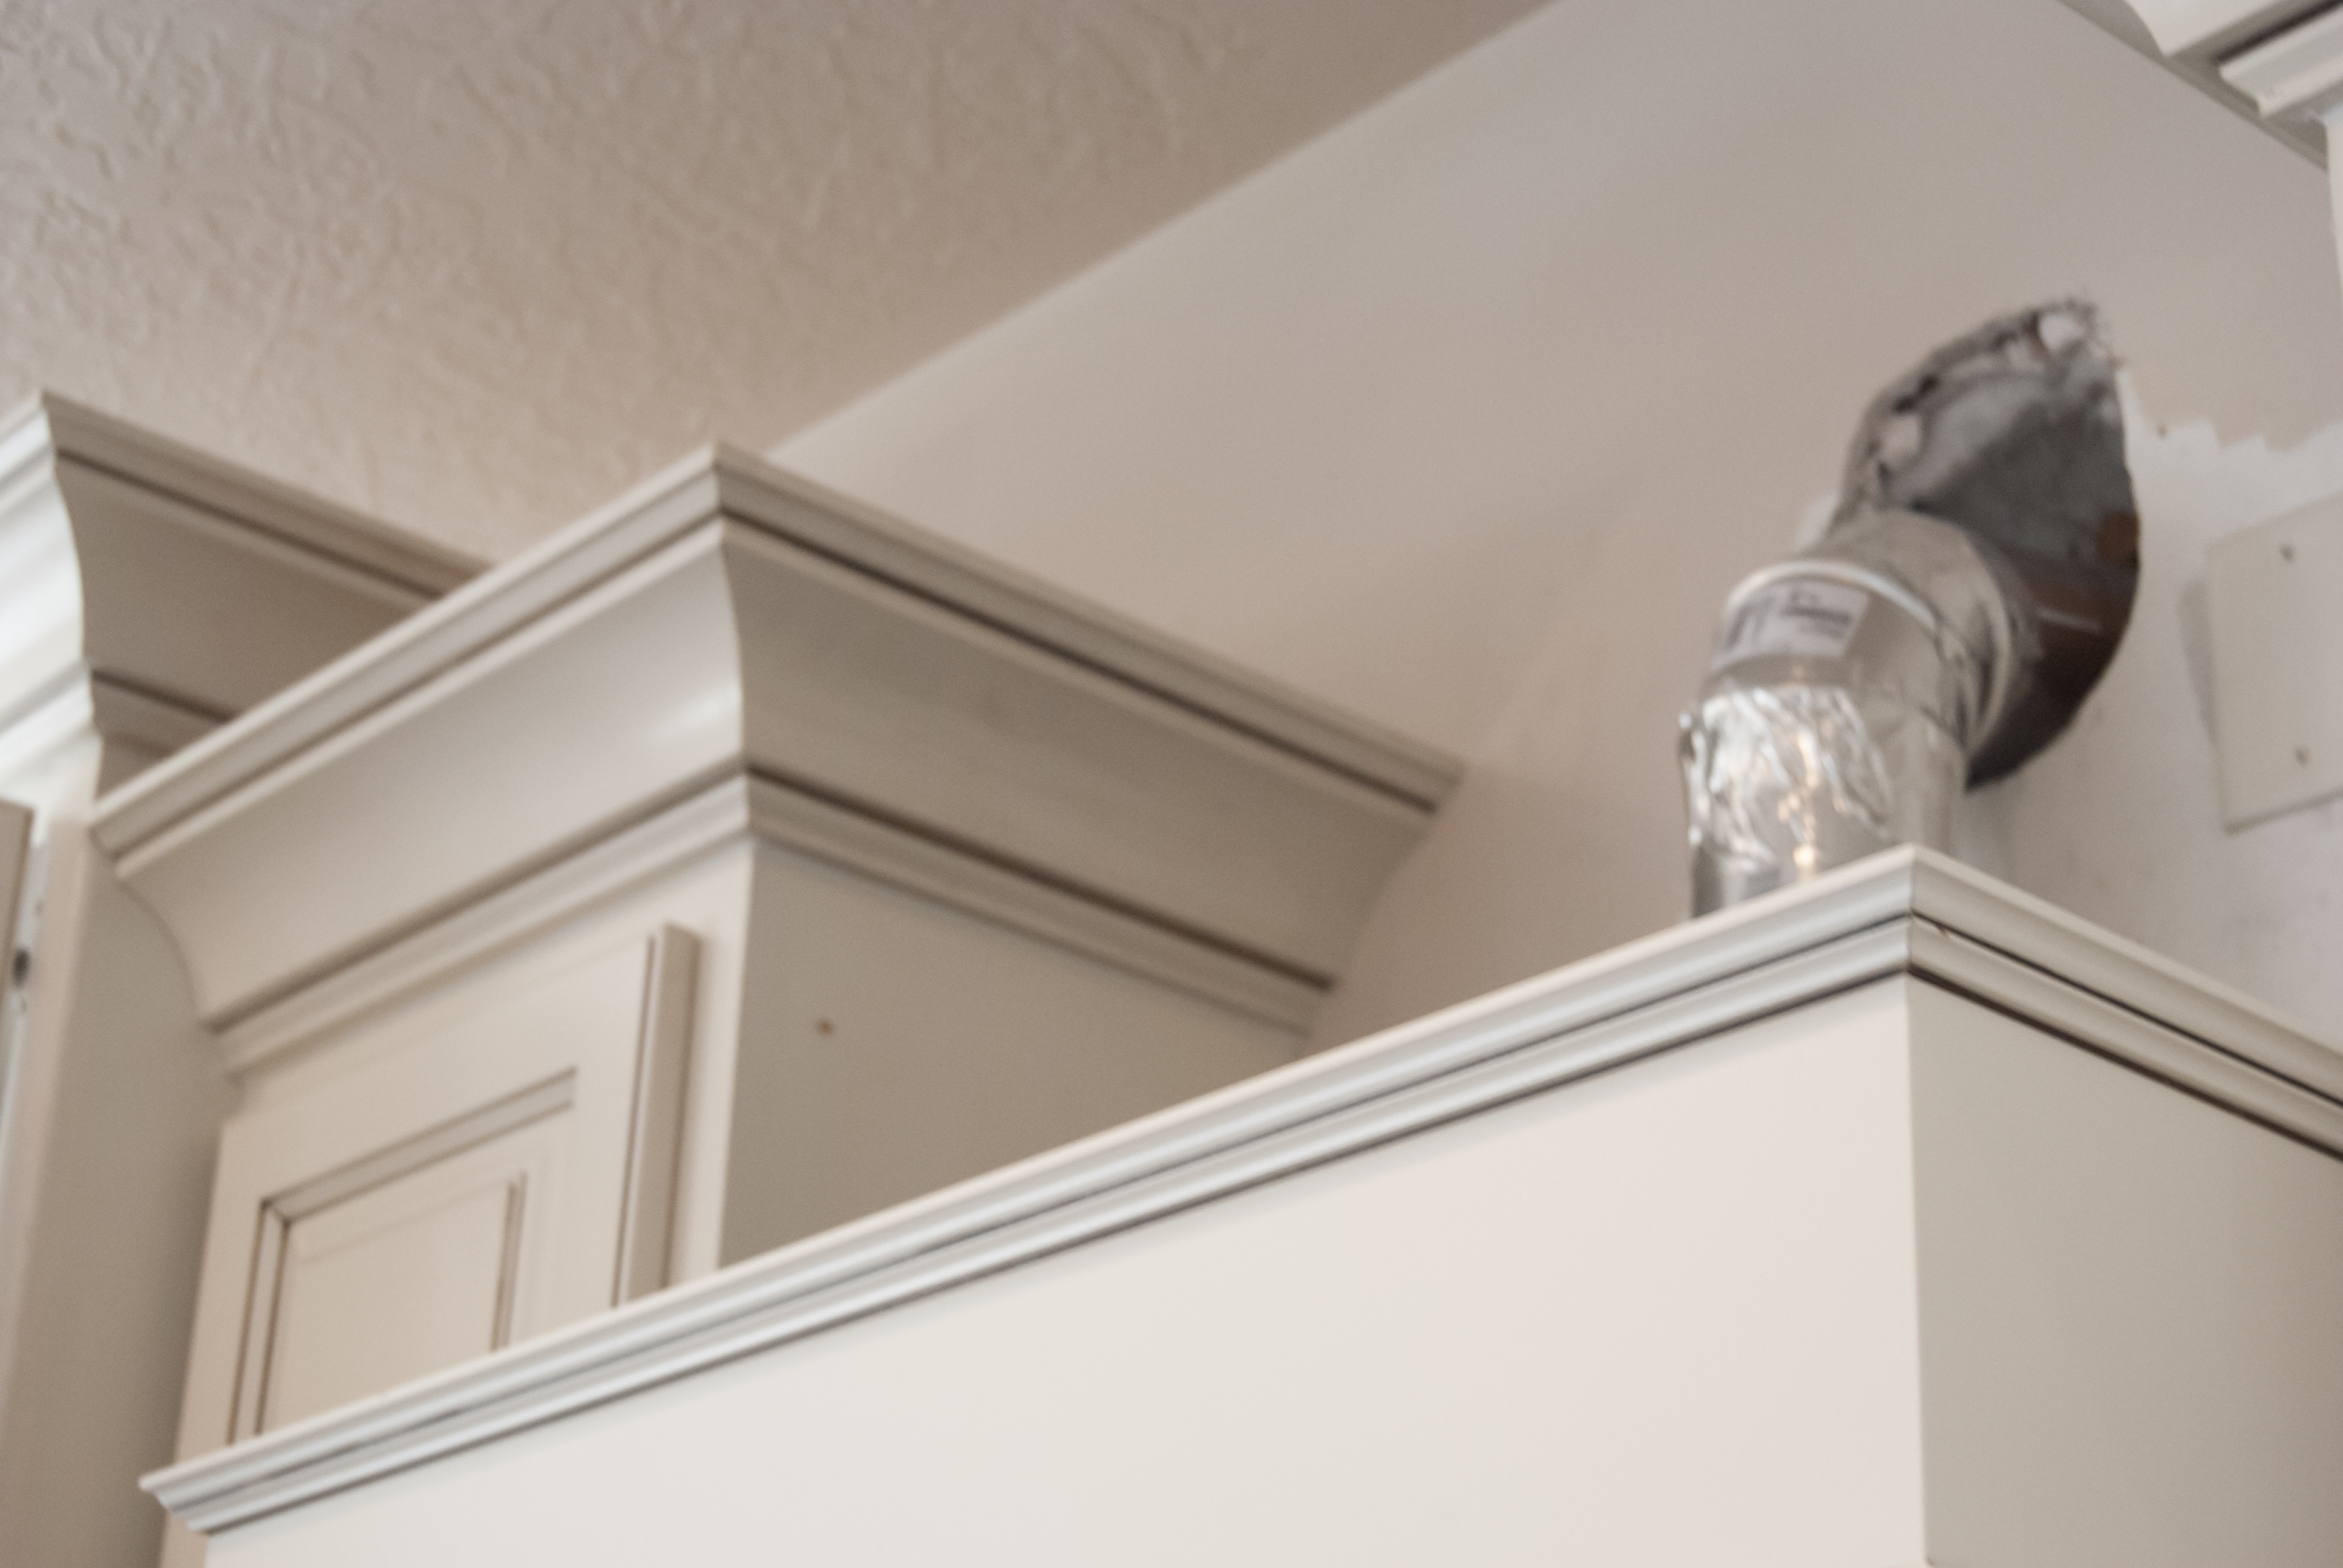
- He then went outside, got on a ladder, and began chipping away at the stucco. He chipped away a hole that was just the size of the piping that he would insert into the side of the house. If you have stucco like we did, you will reach a layer of chicken wire. My husband used pliers to cut through the chicken wire. Then he cut through insulation and drywall. My husband encountered gas lines, and so he shifted the piping slightly to accommodate the lines. Do this carefully, you don’t want to bust a gas line by being too rash!
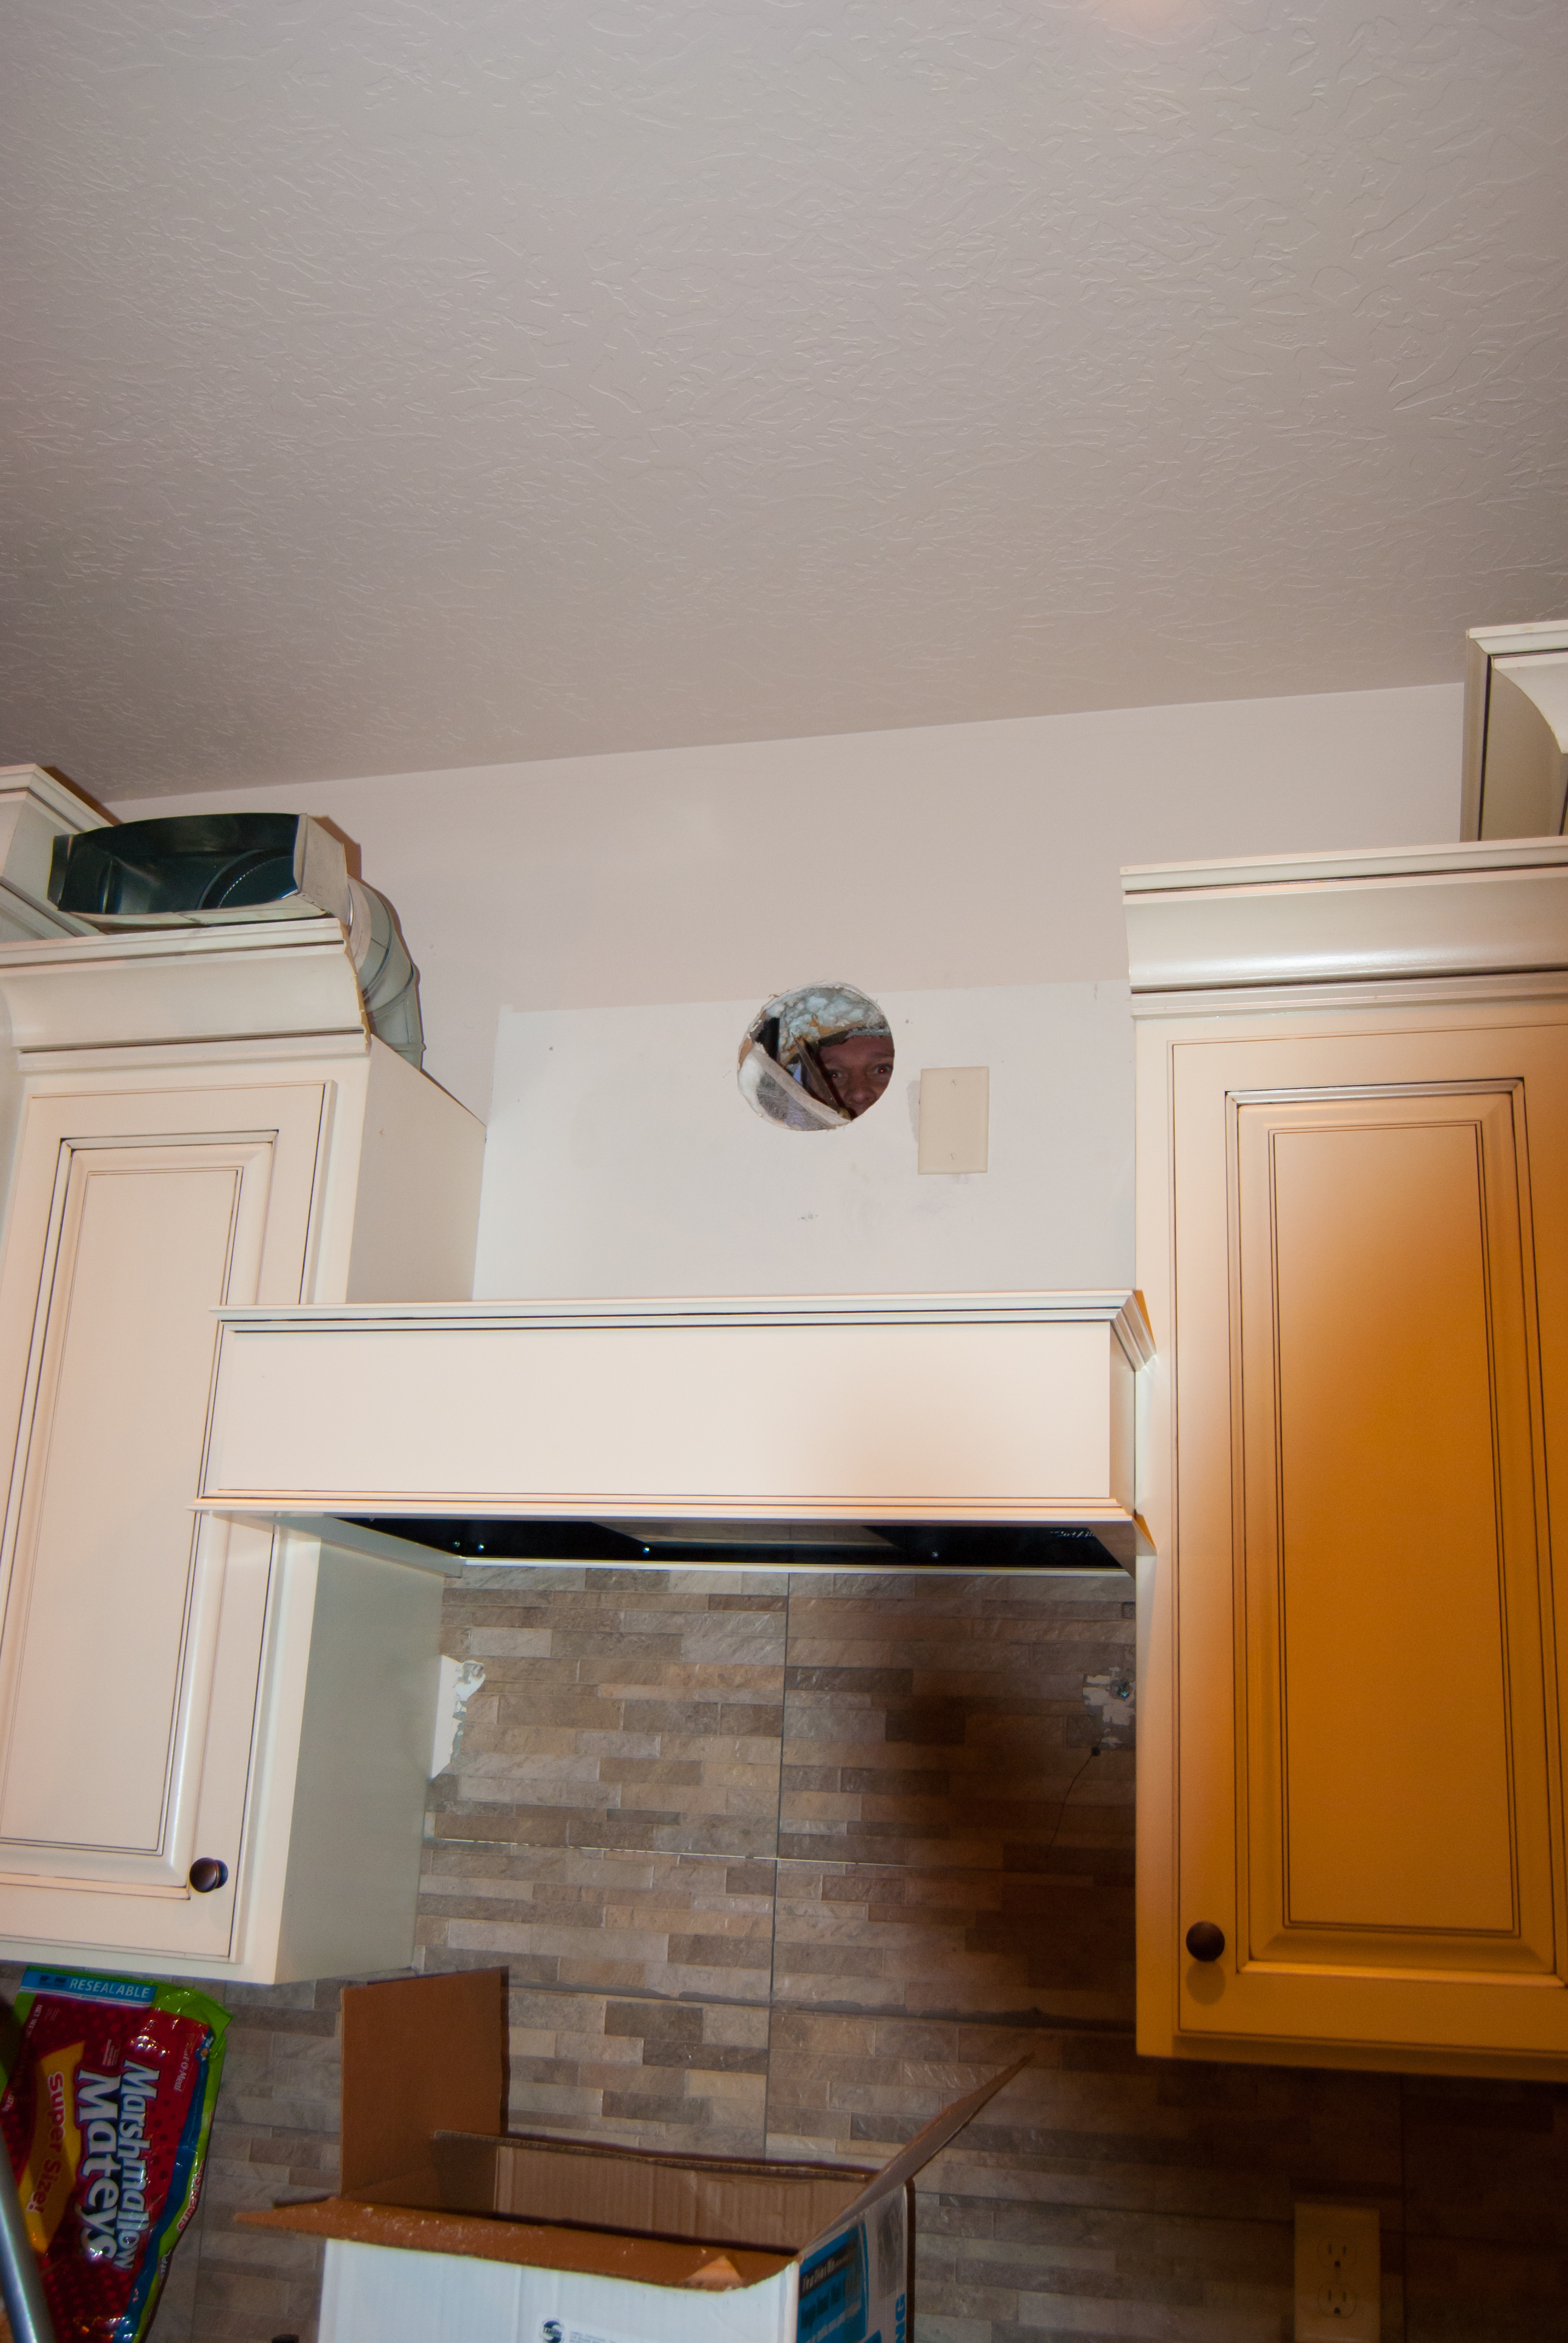
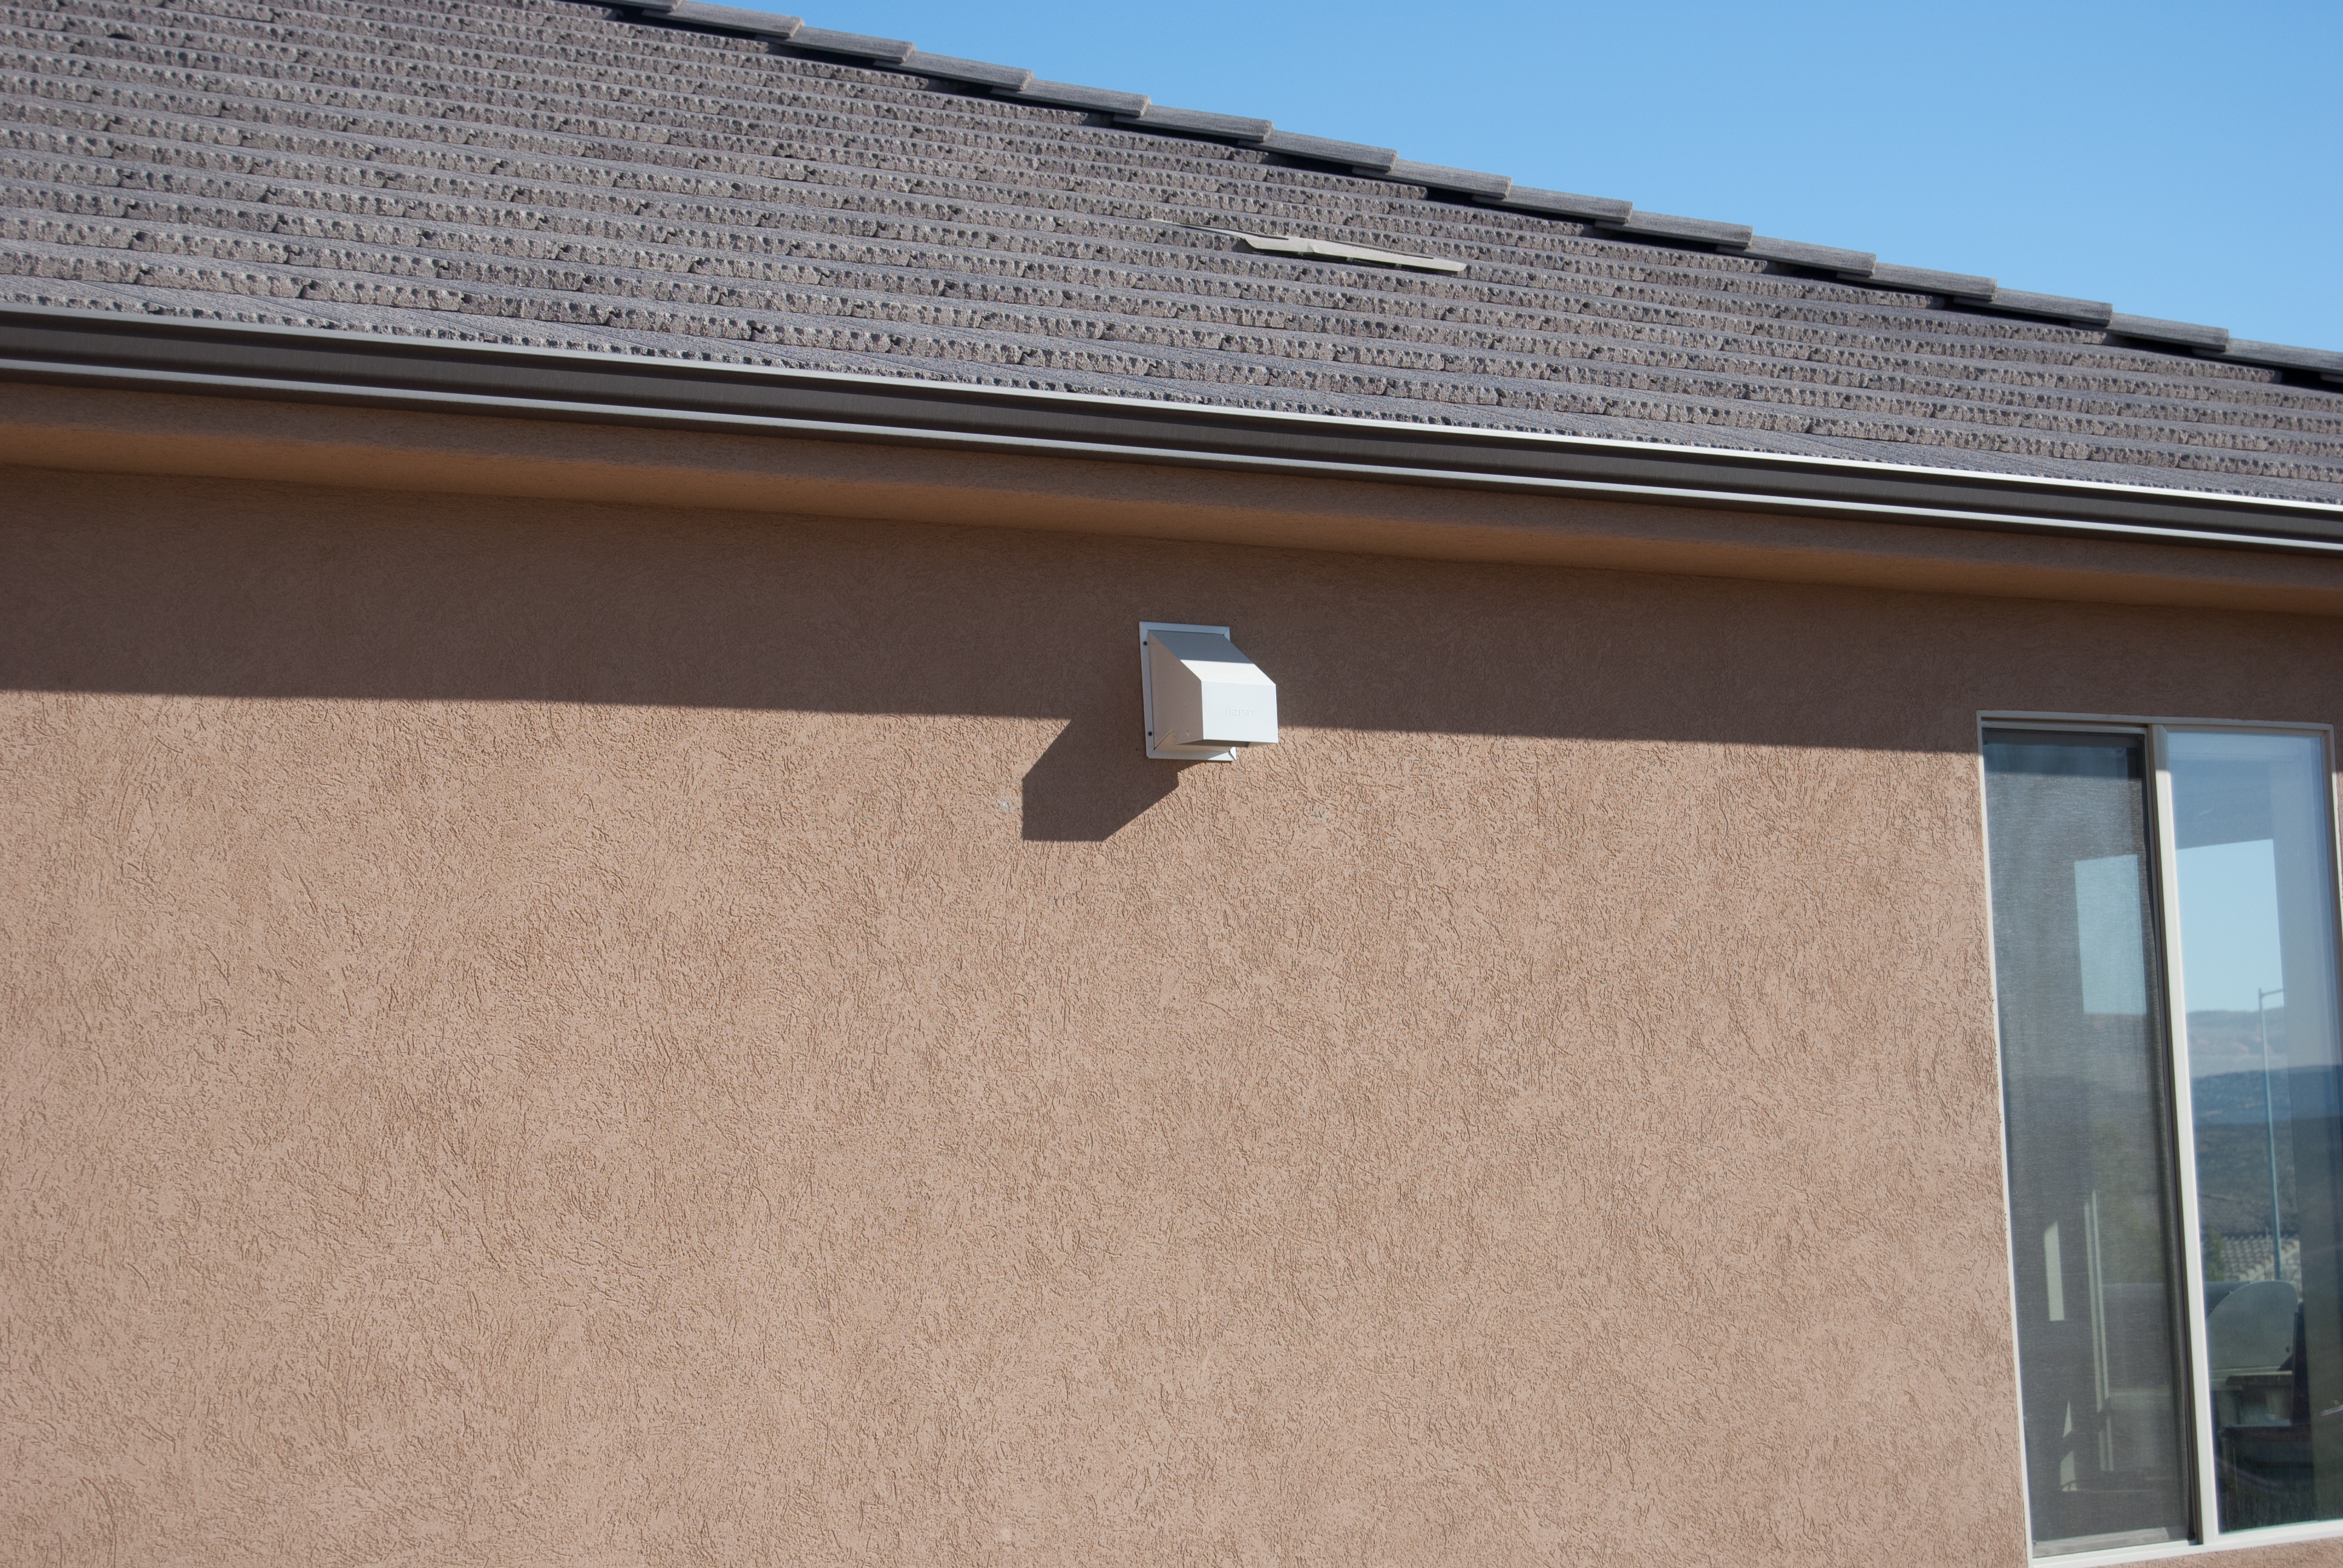
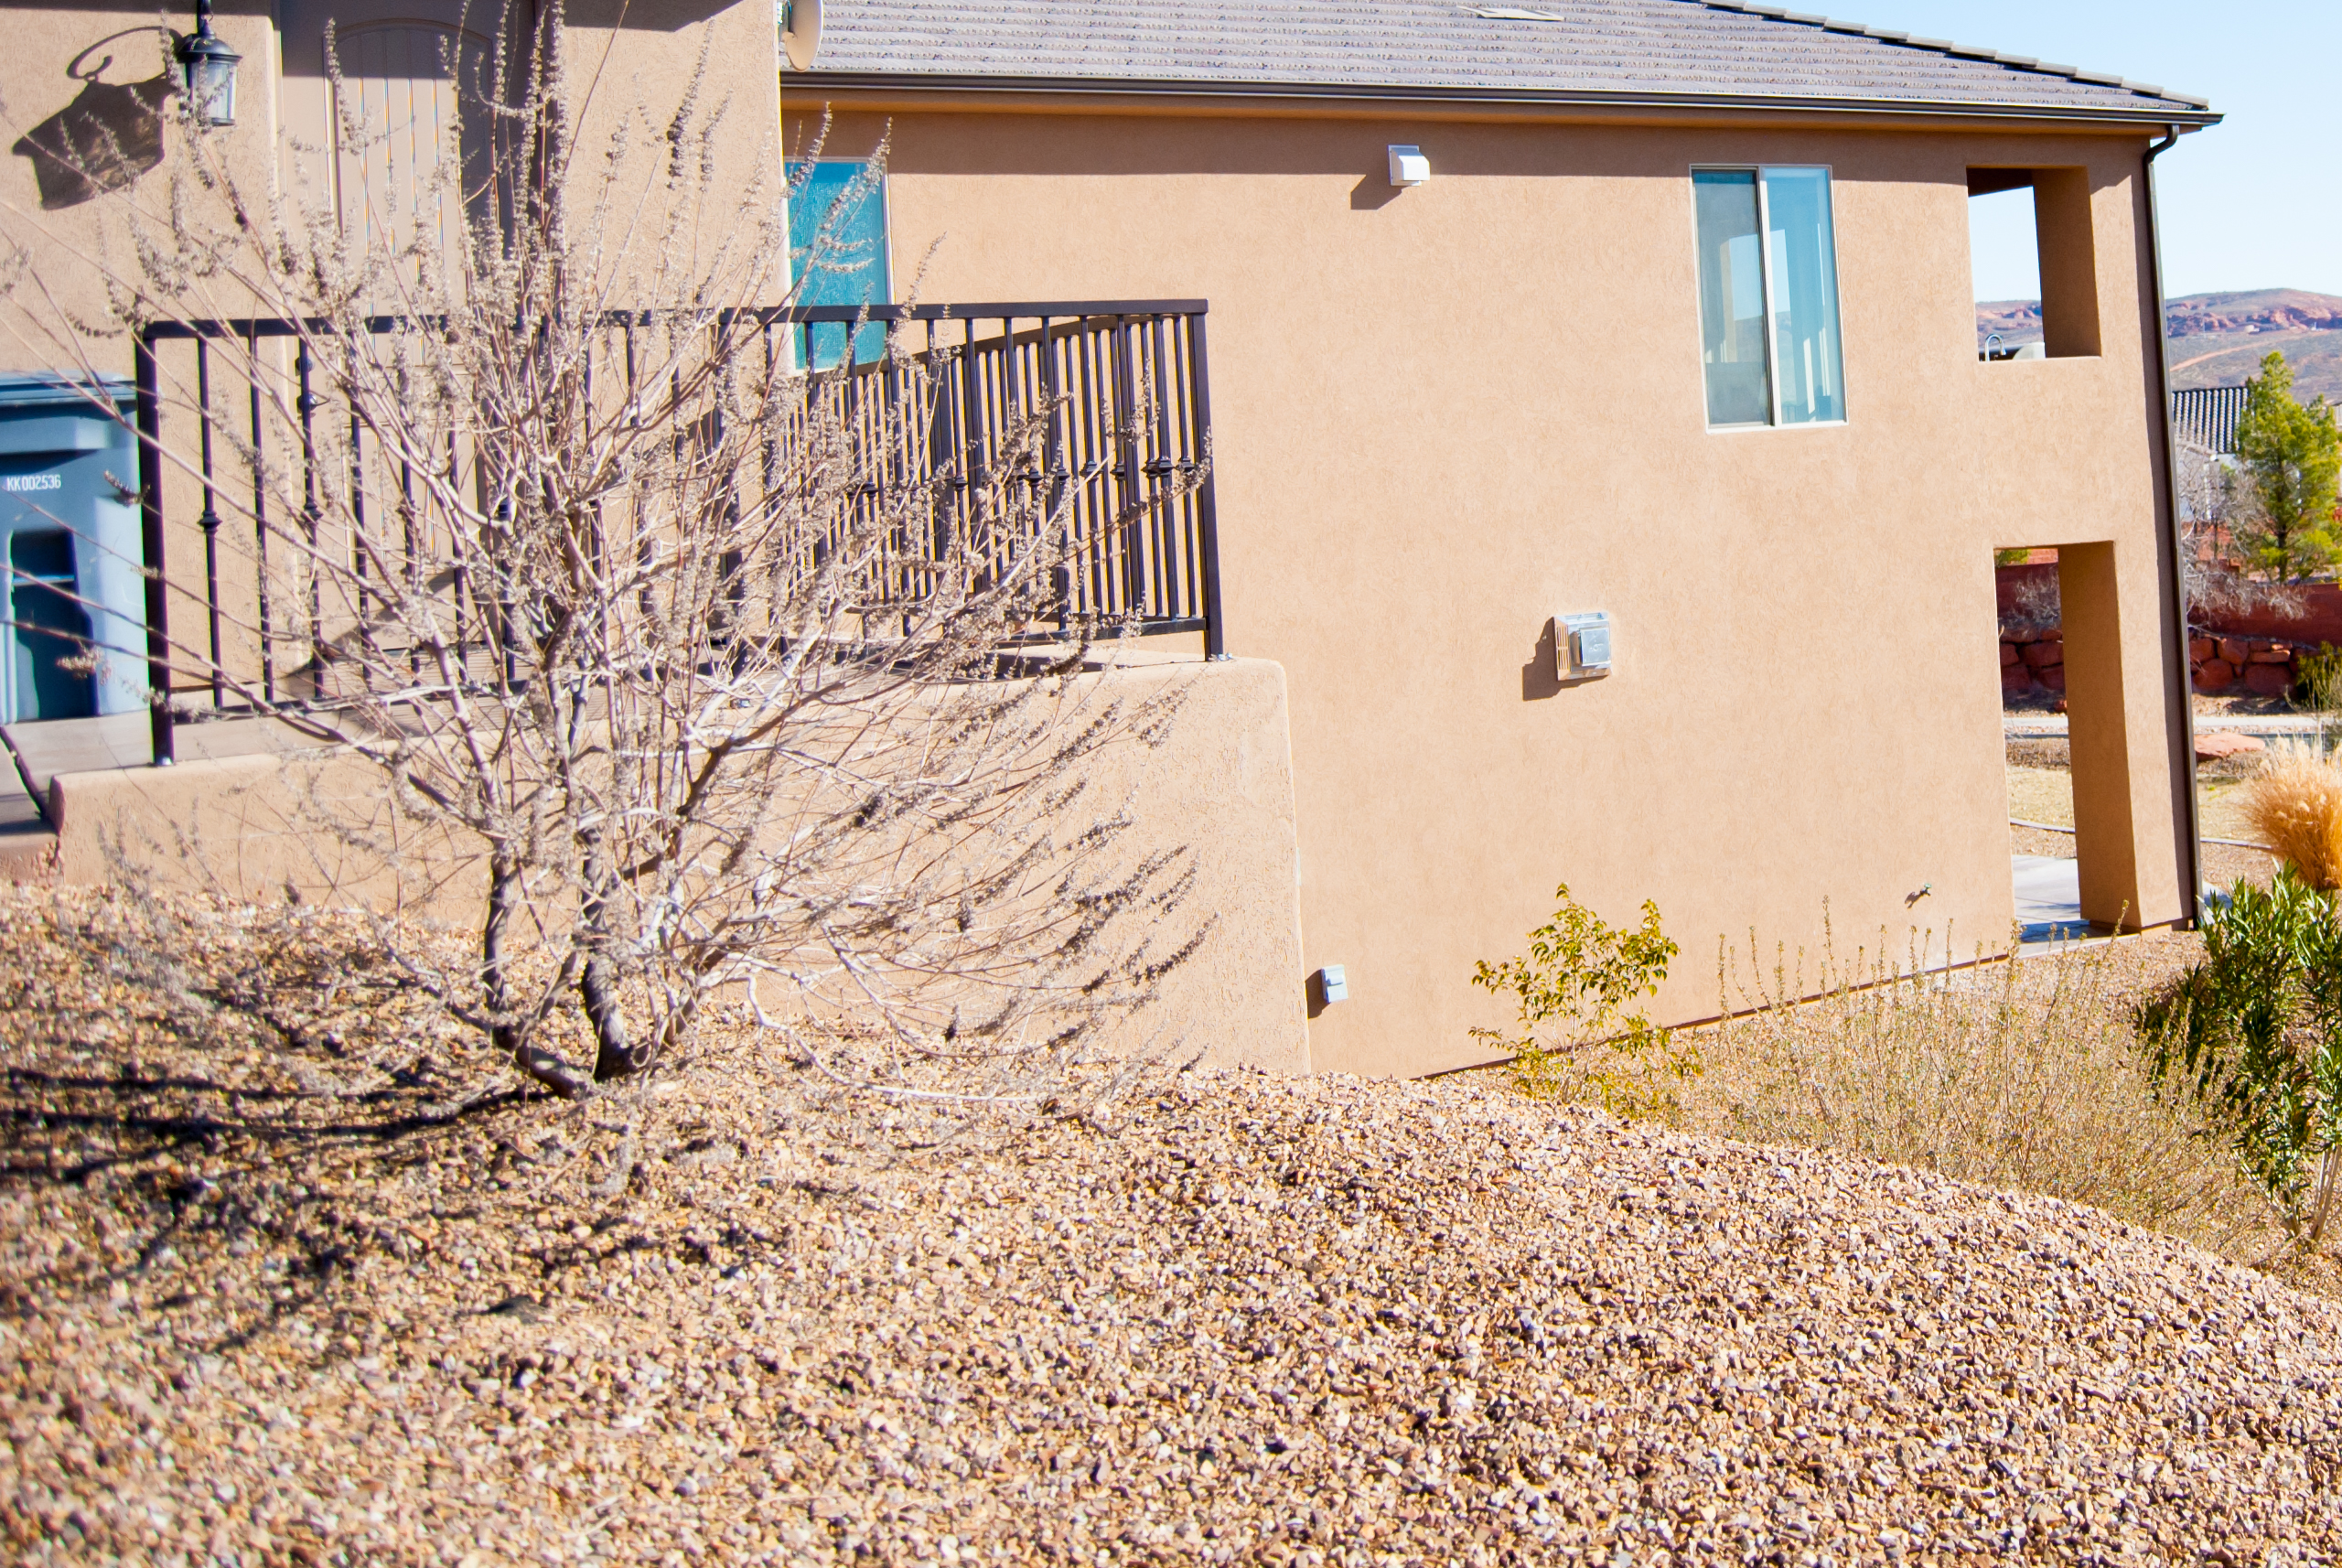
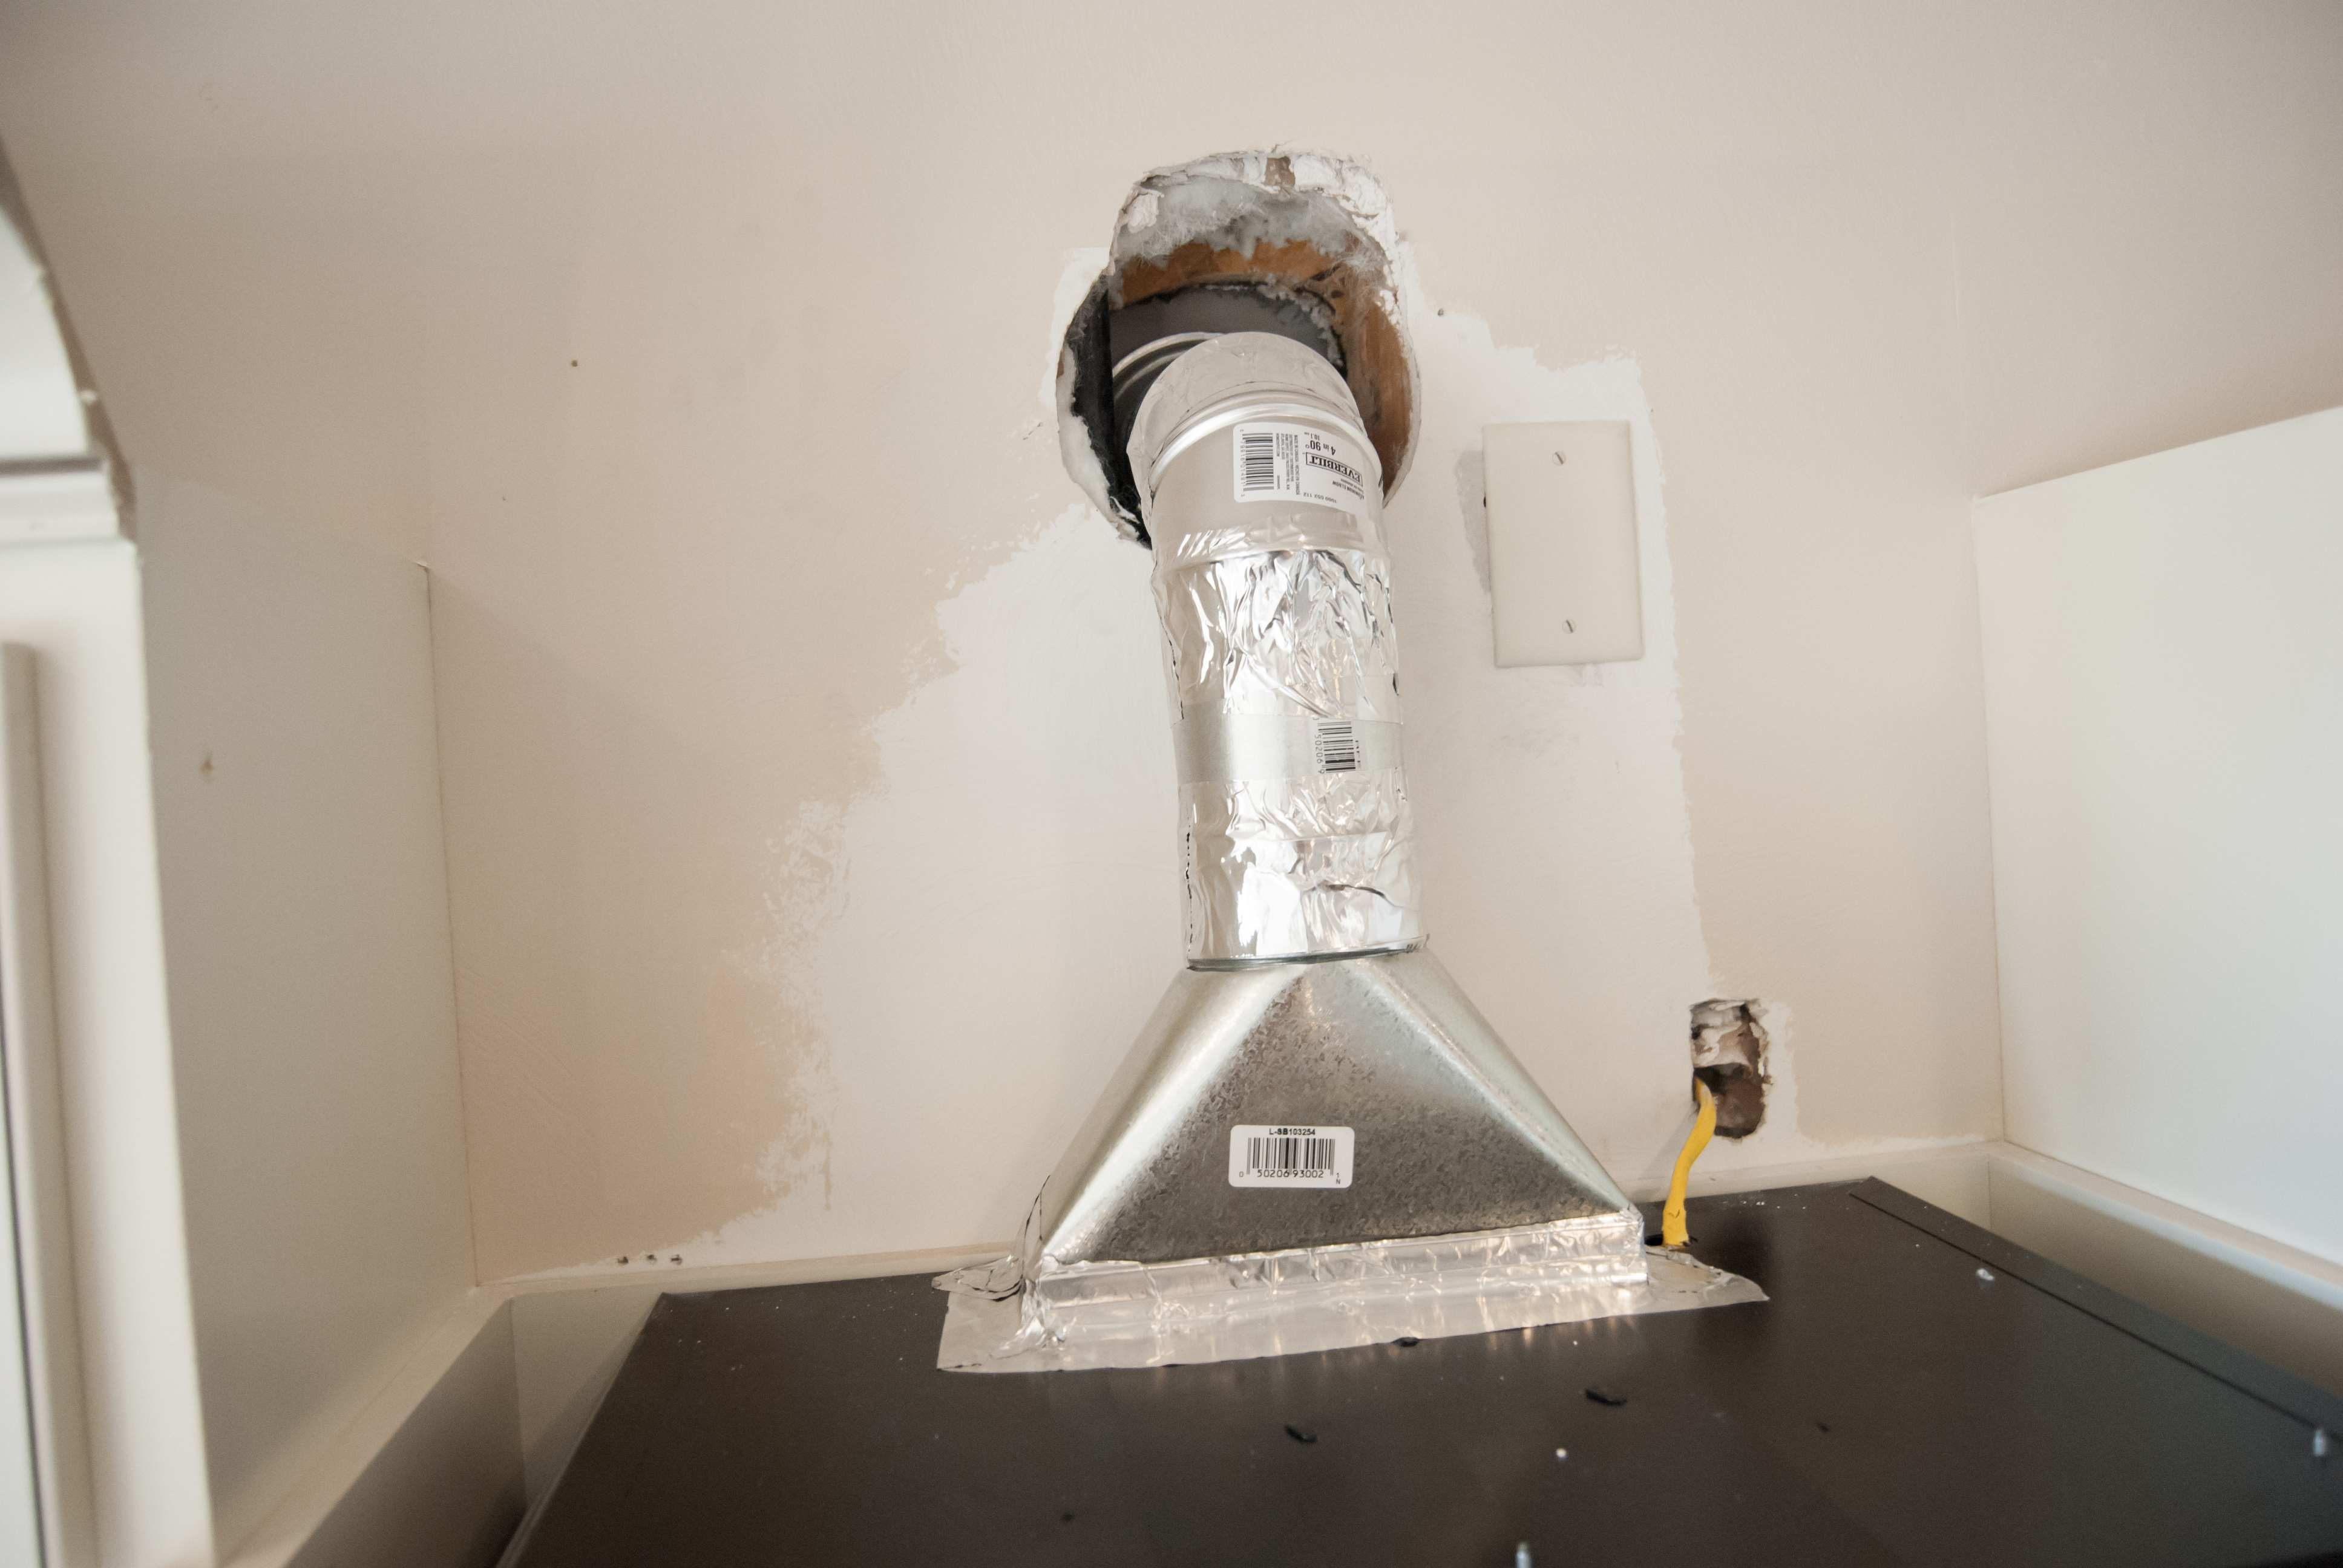
- Install the appropriate size piping pieces. And use that silver piping tape to piece it together. After your piping is installed, you are ready to install your hood vent. You will also need to place a cover on the outside of the house (see photos).
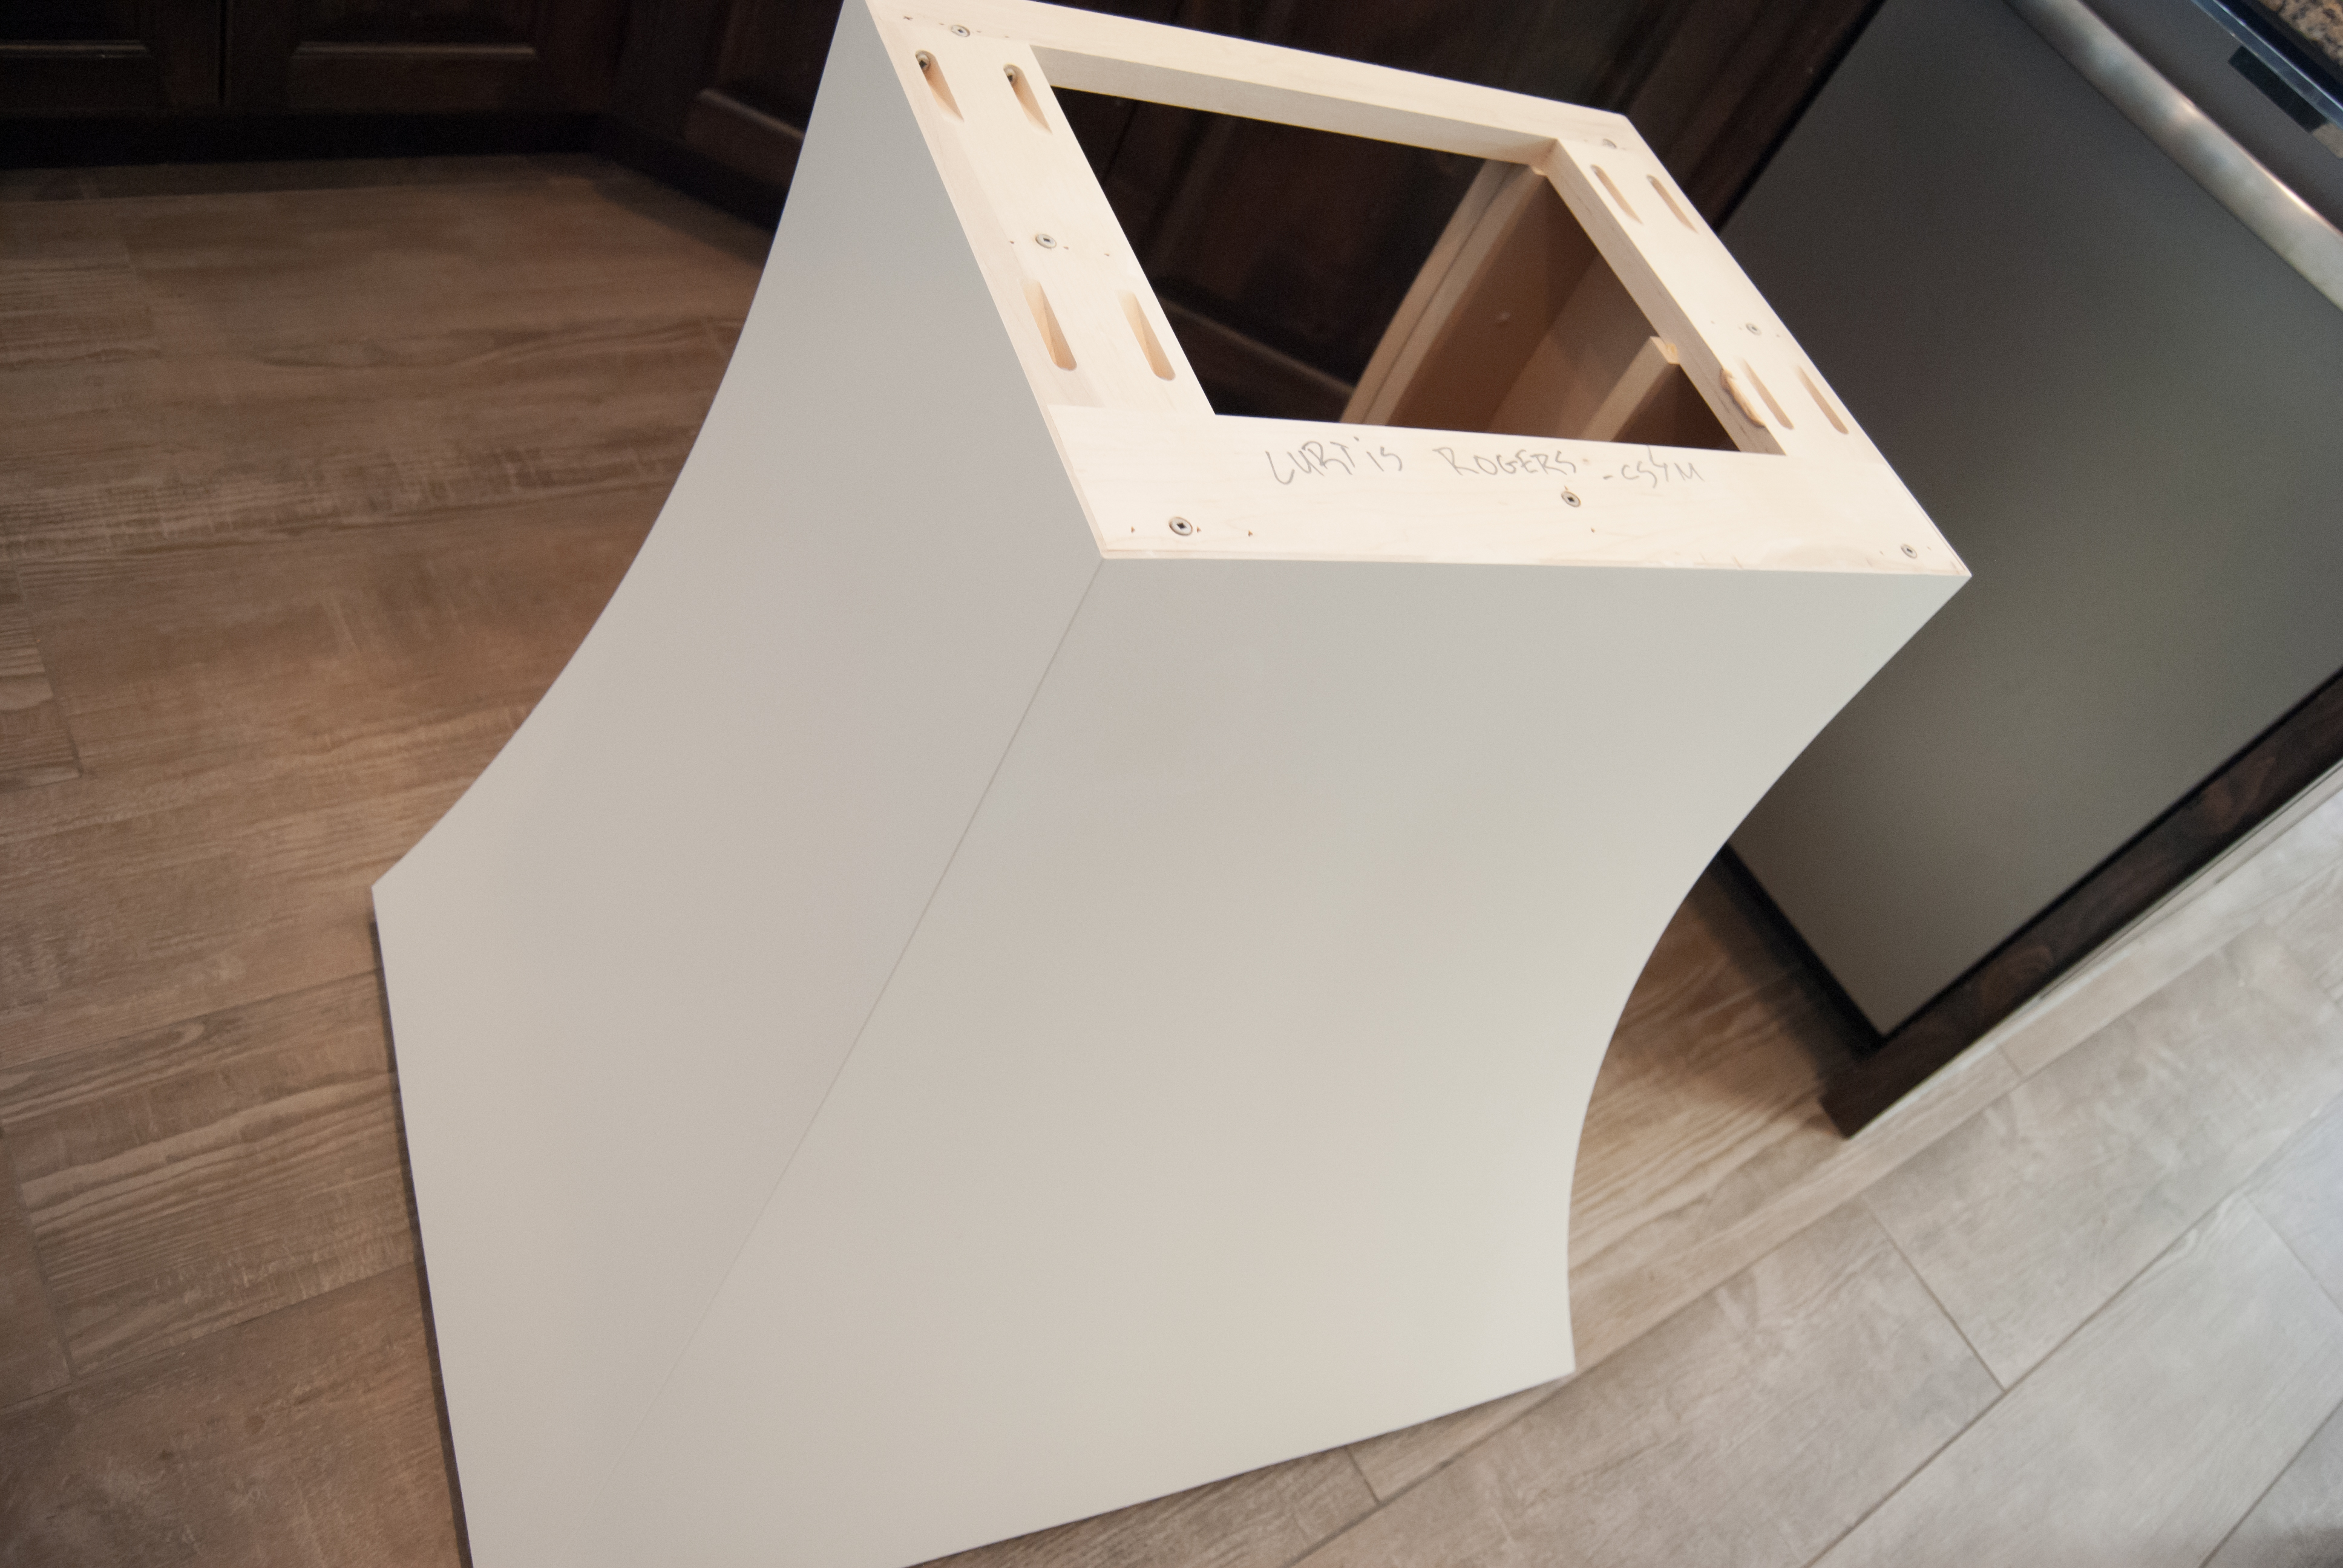
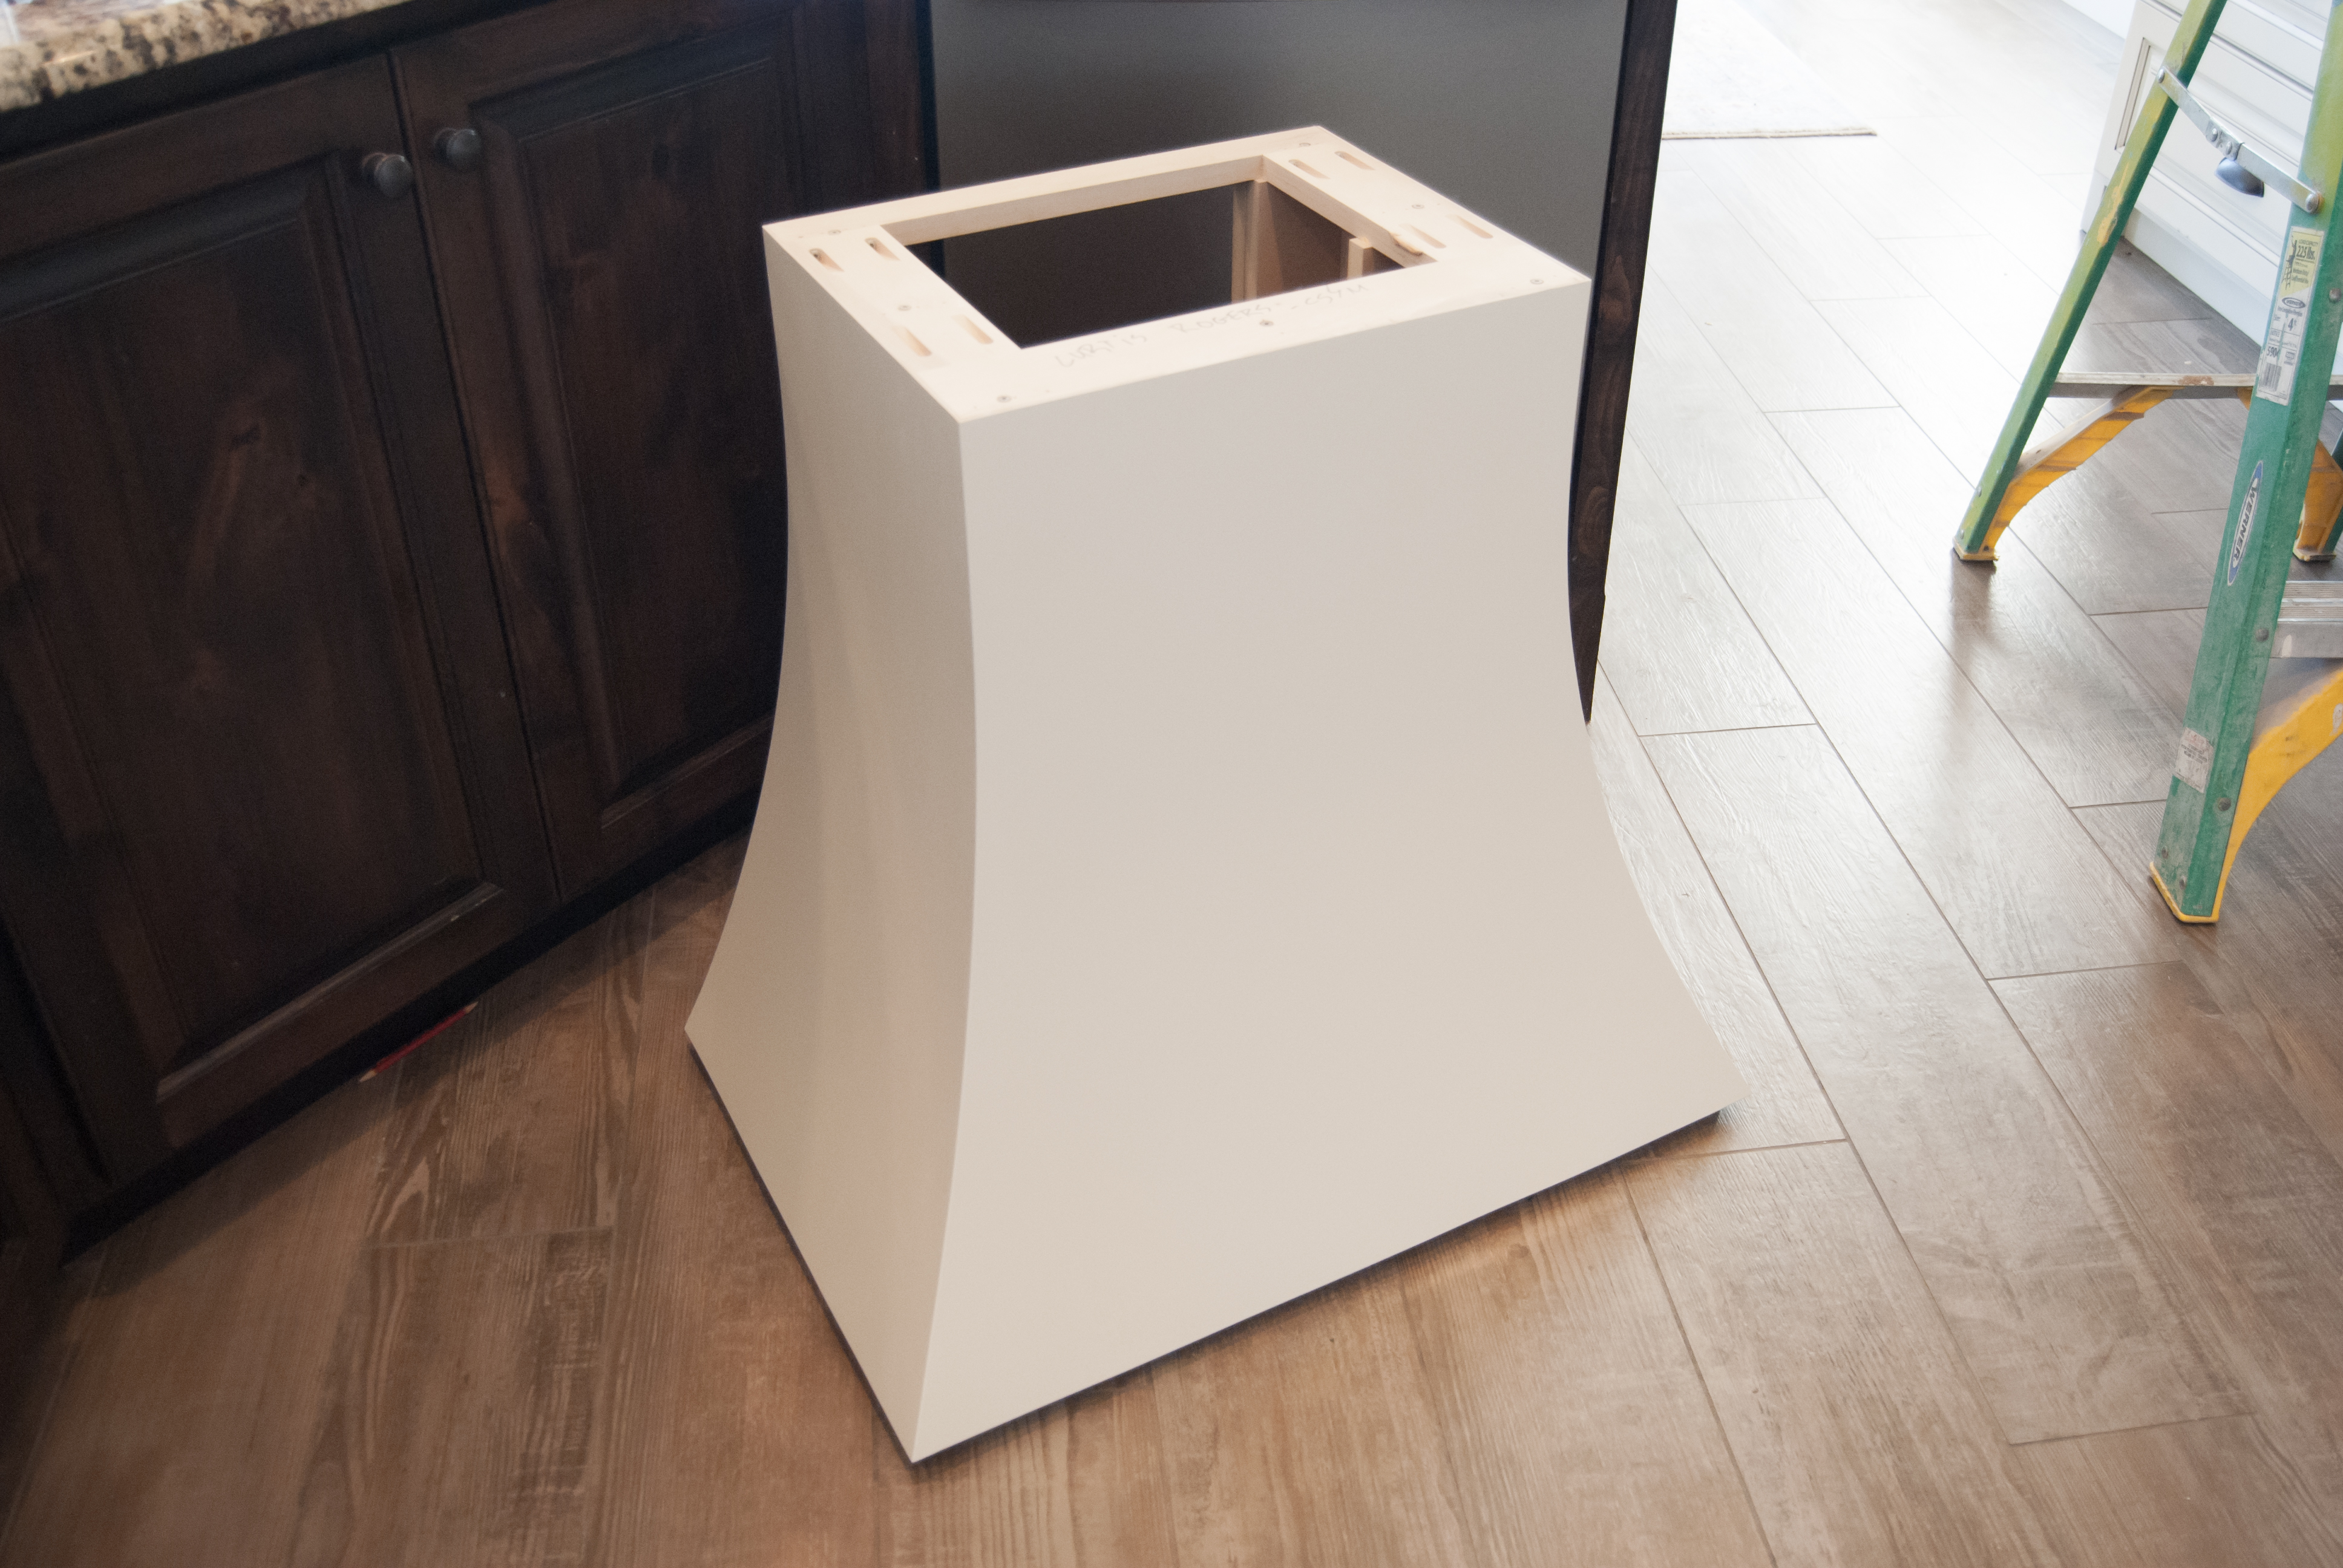
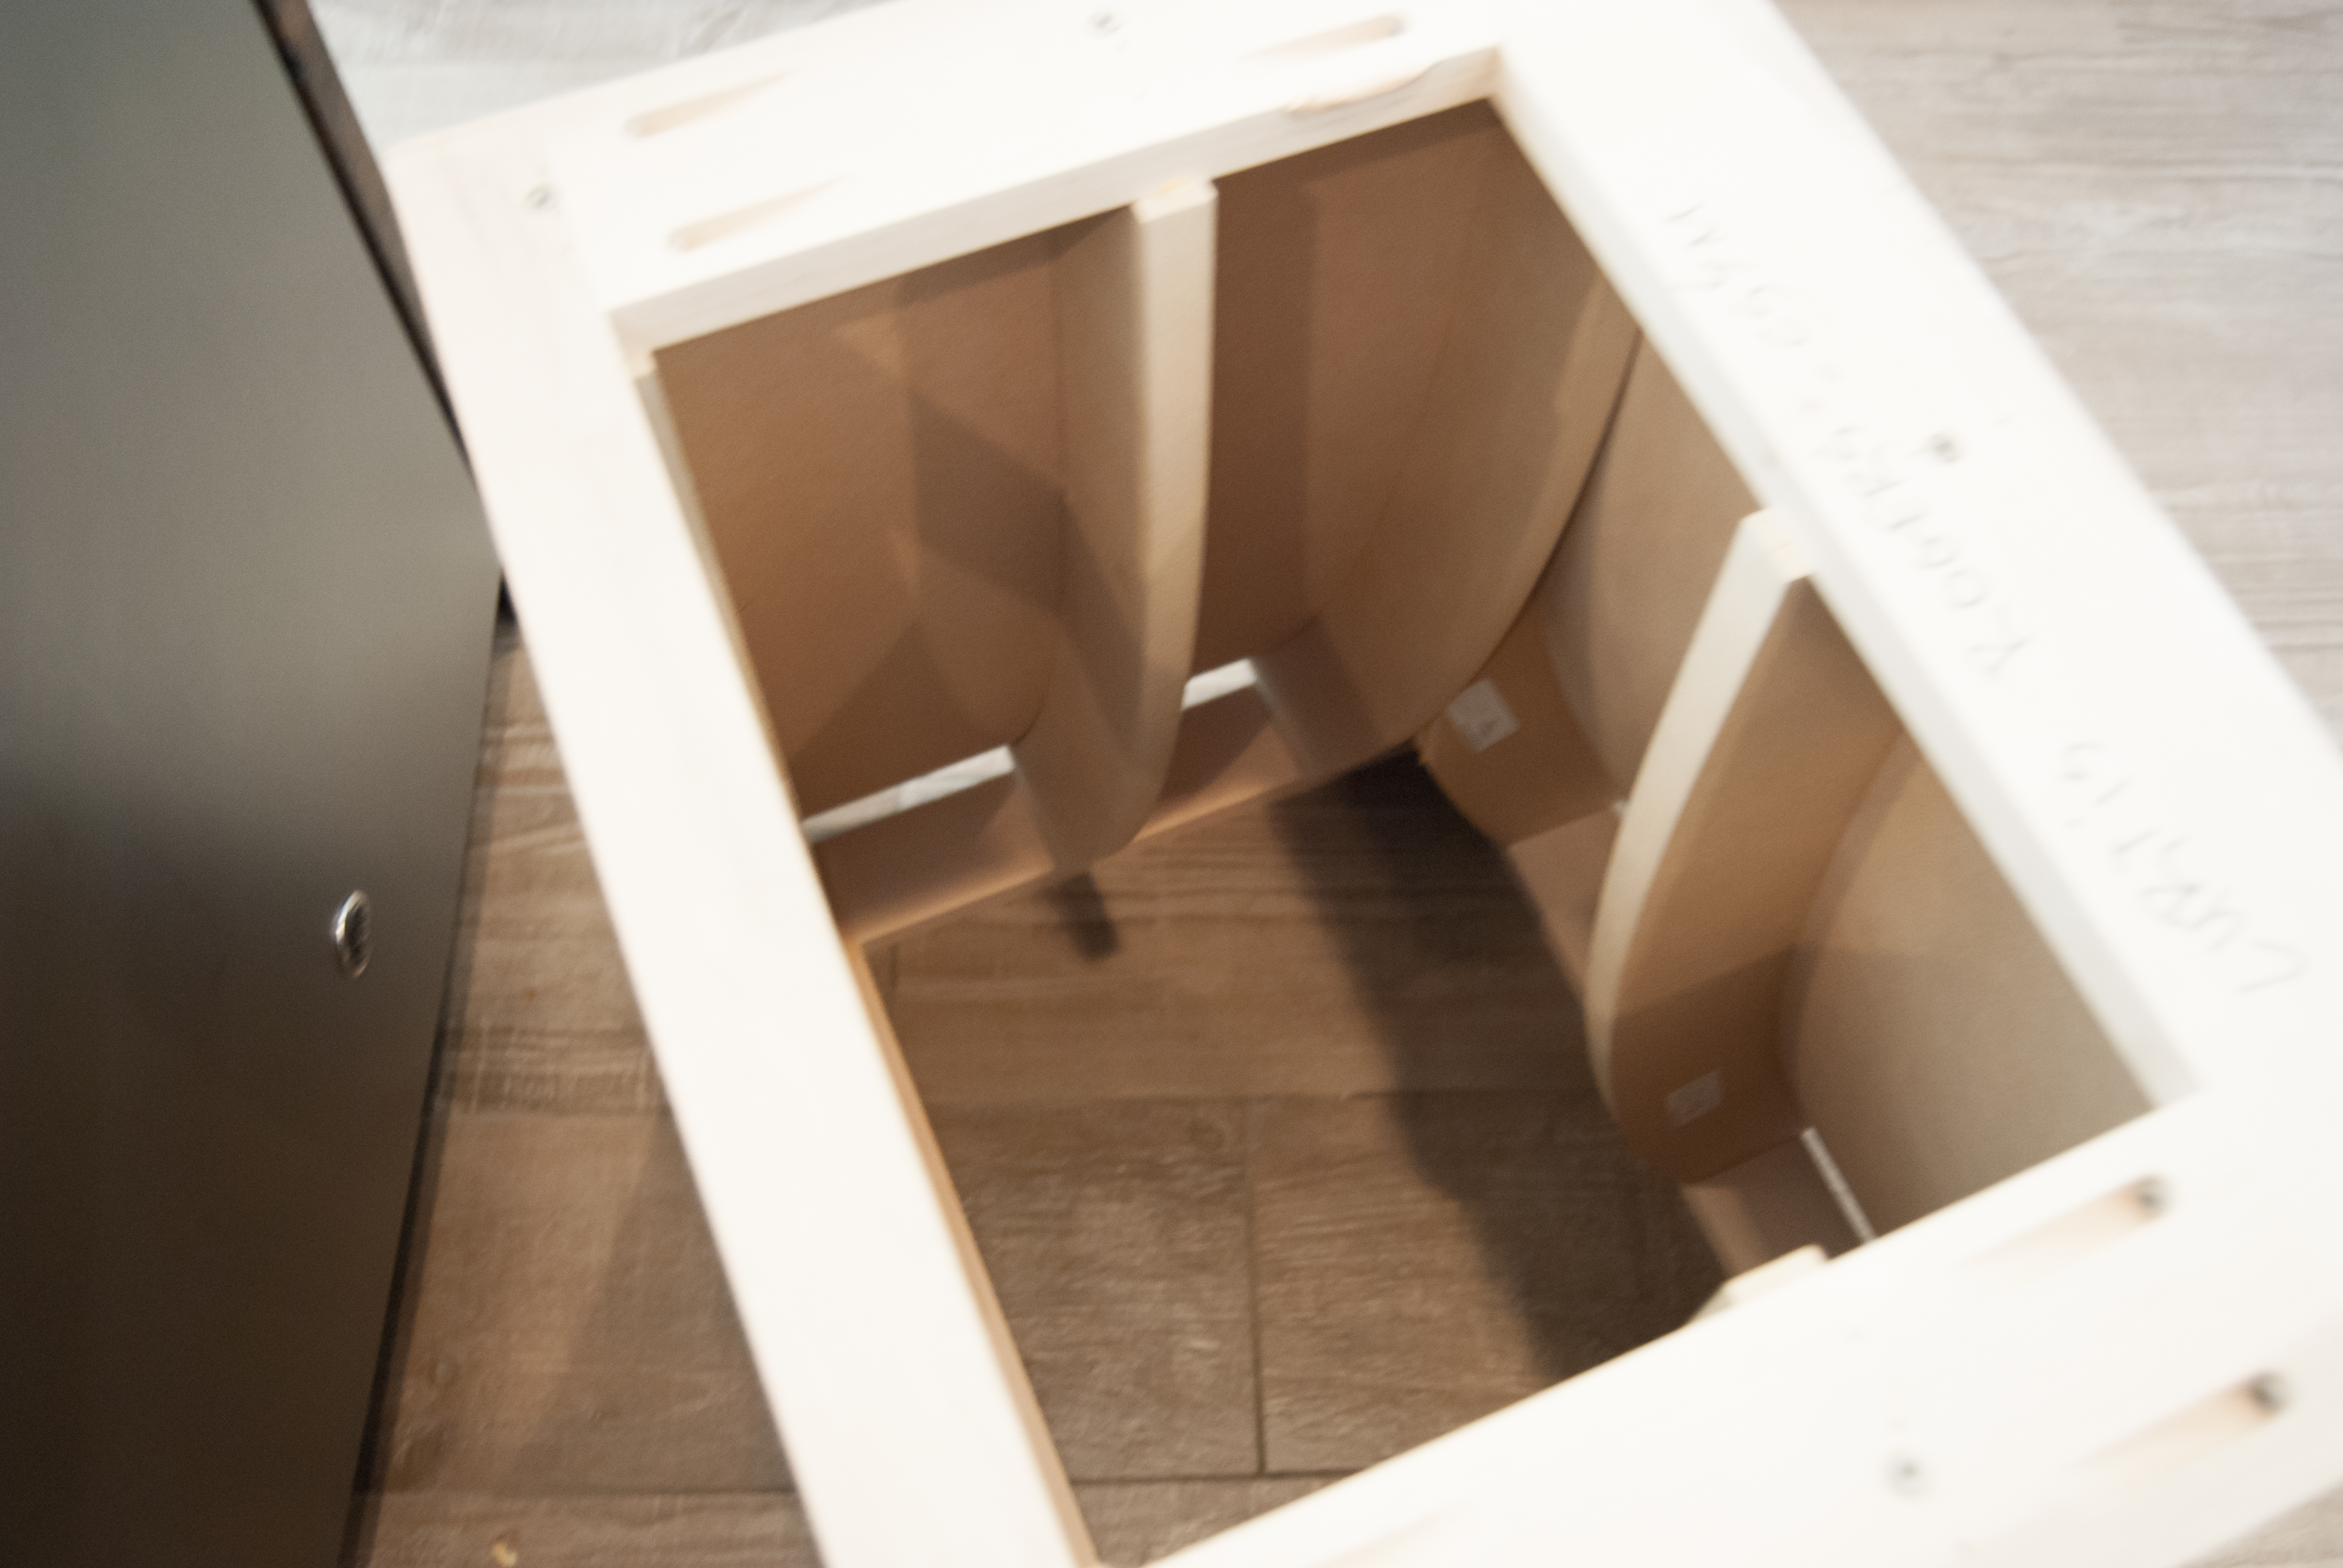
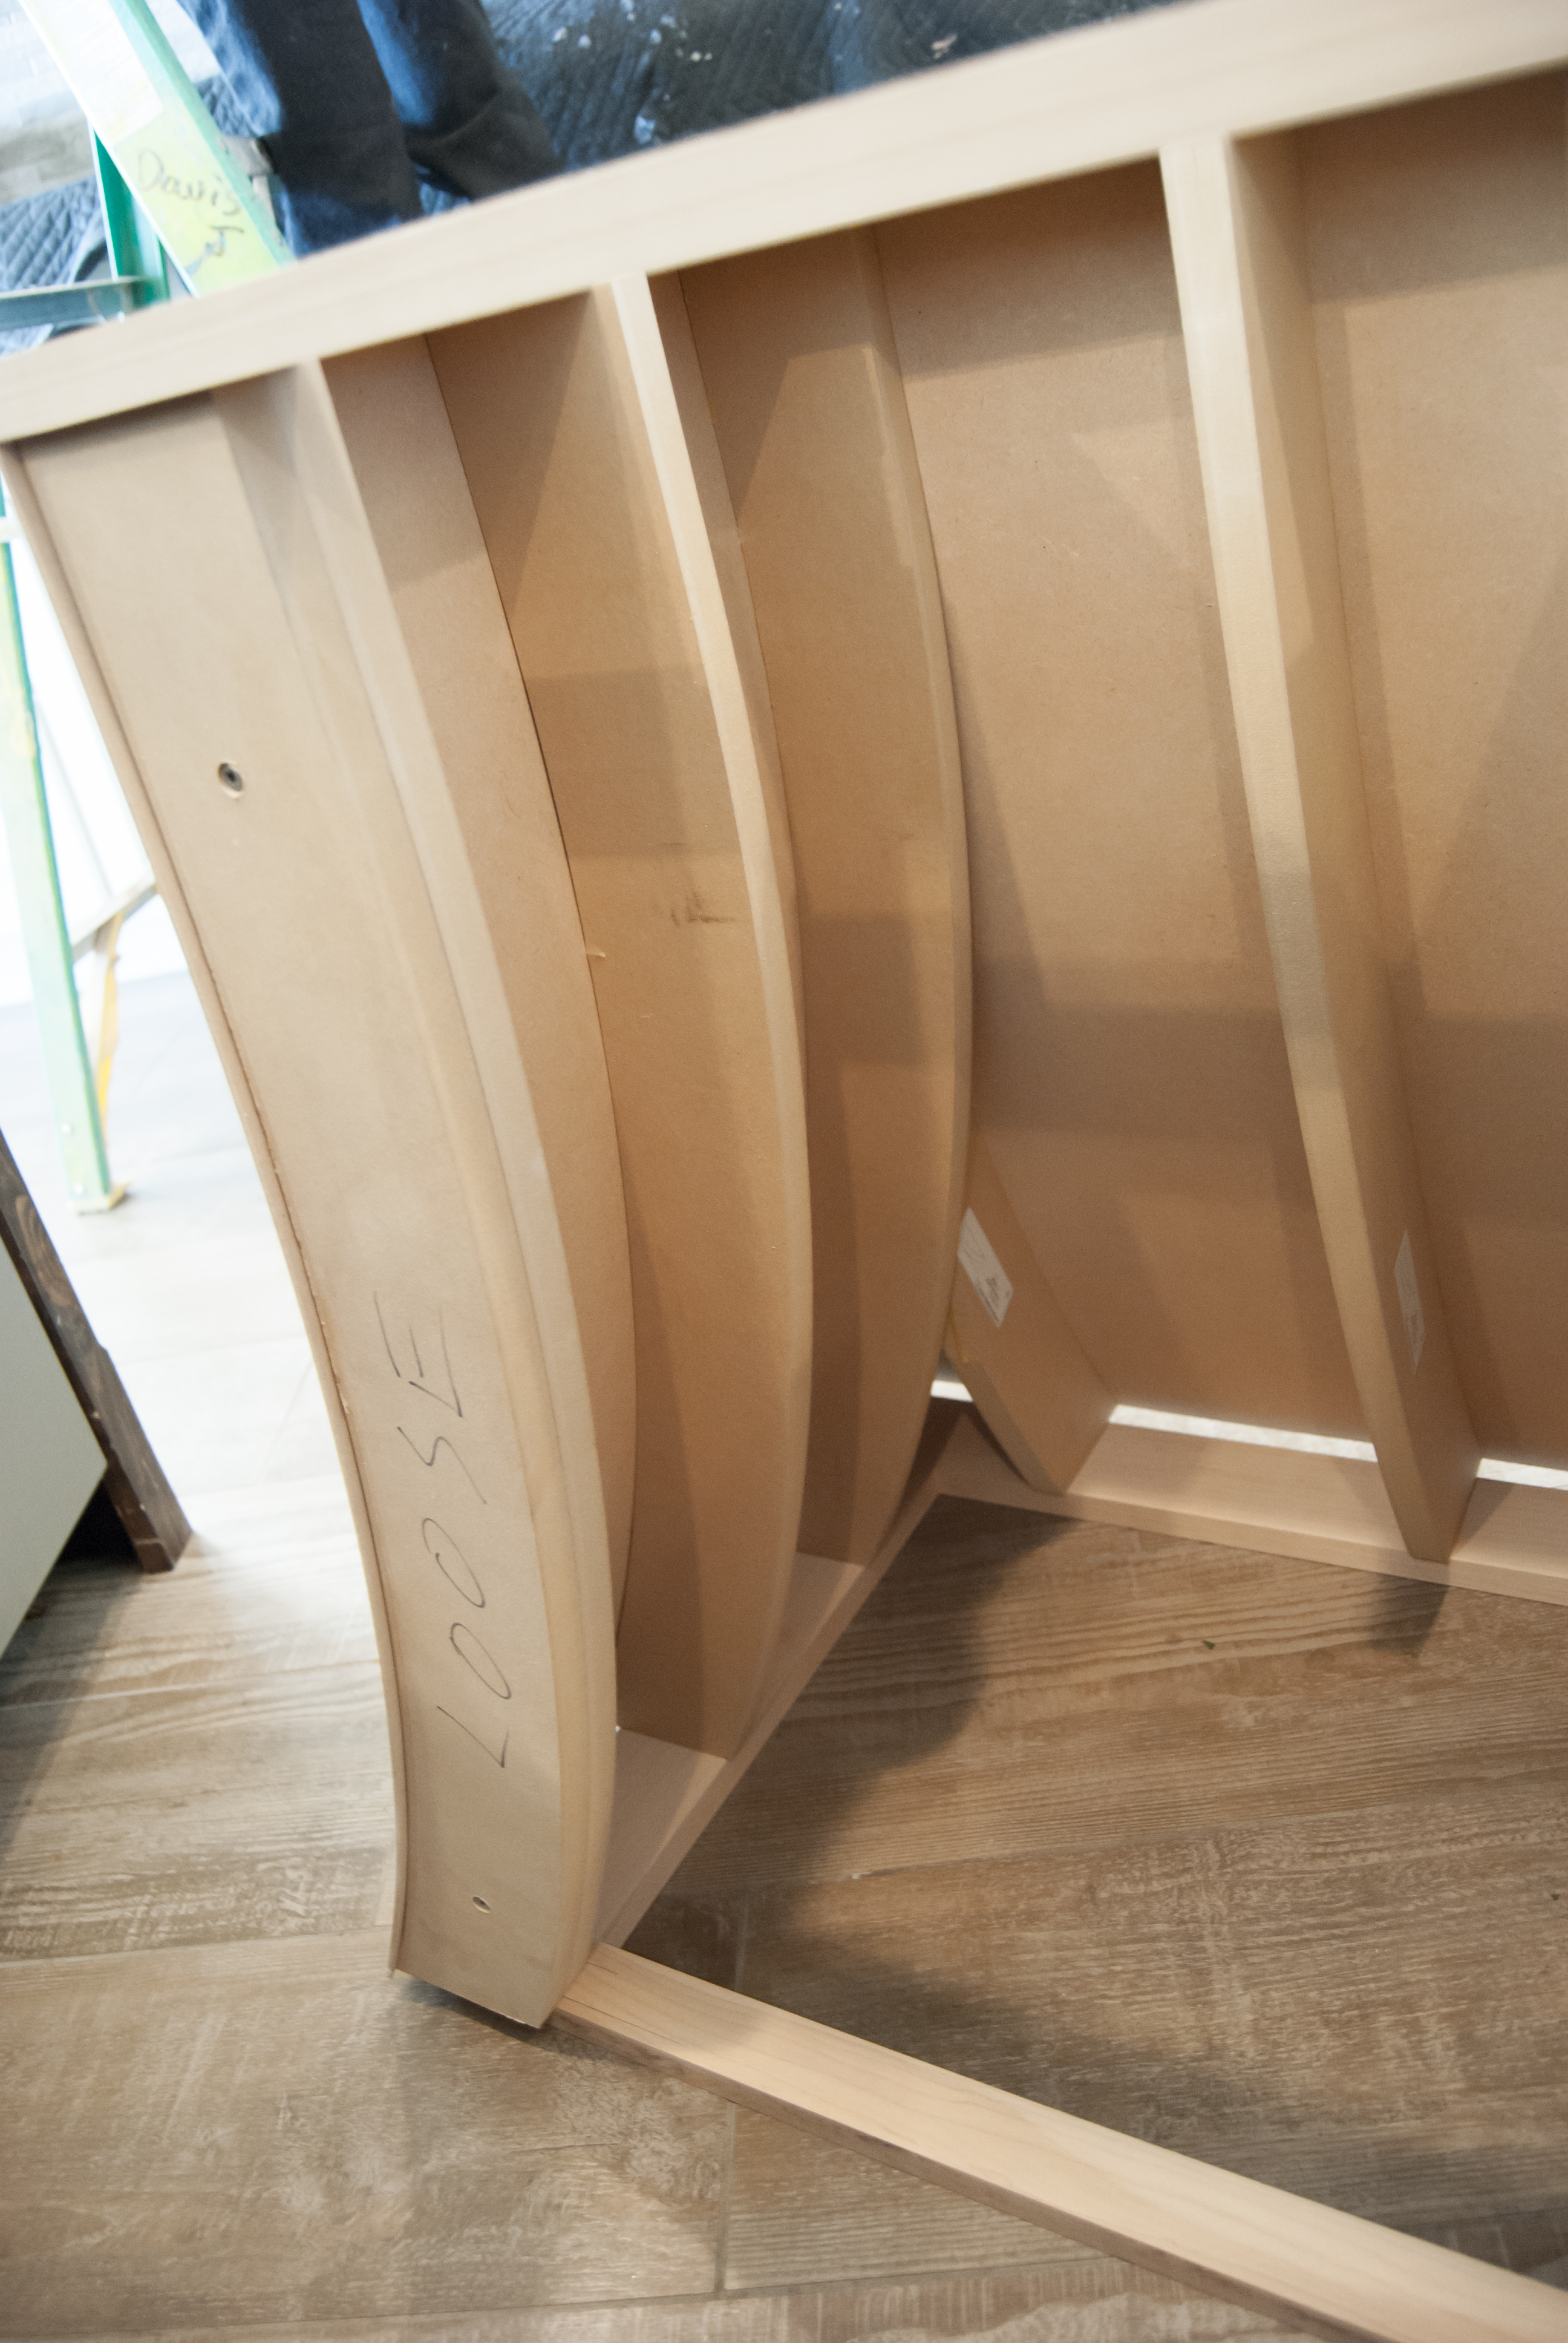
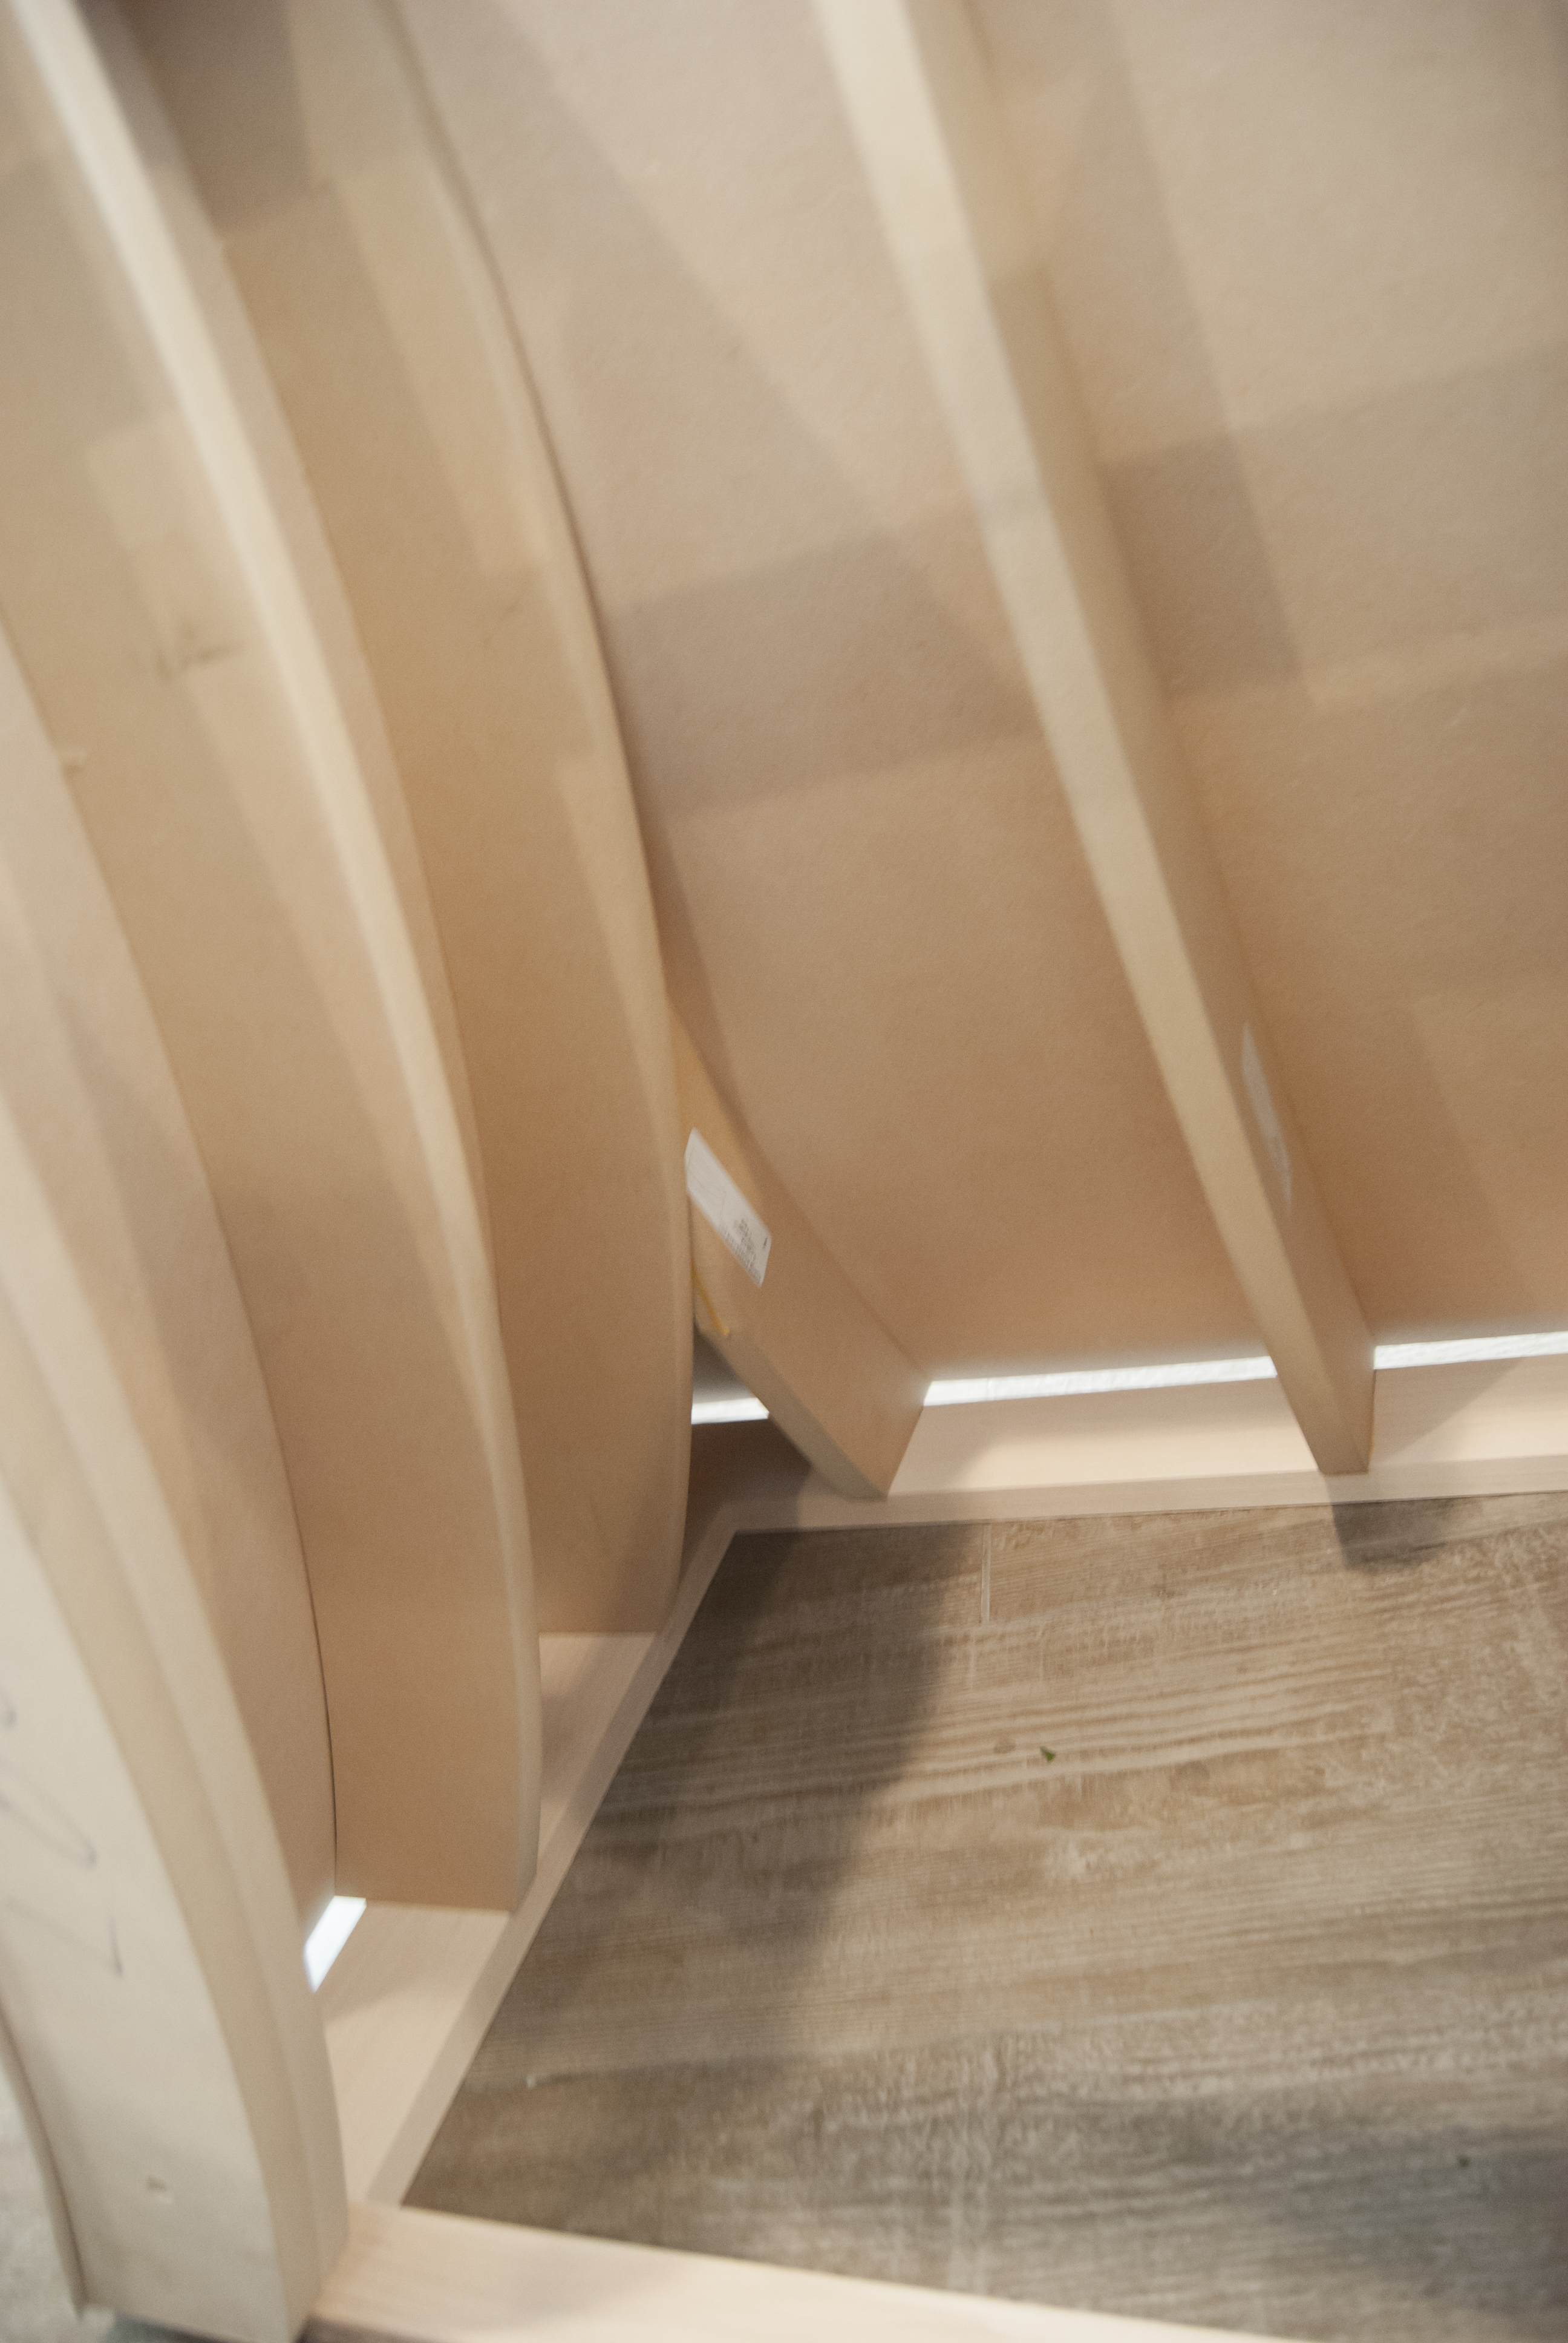
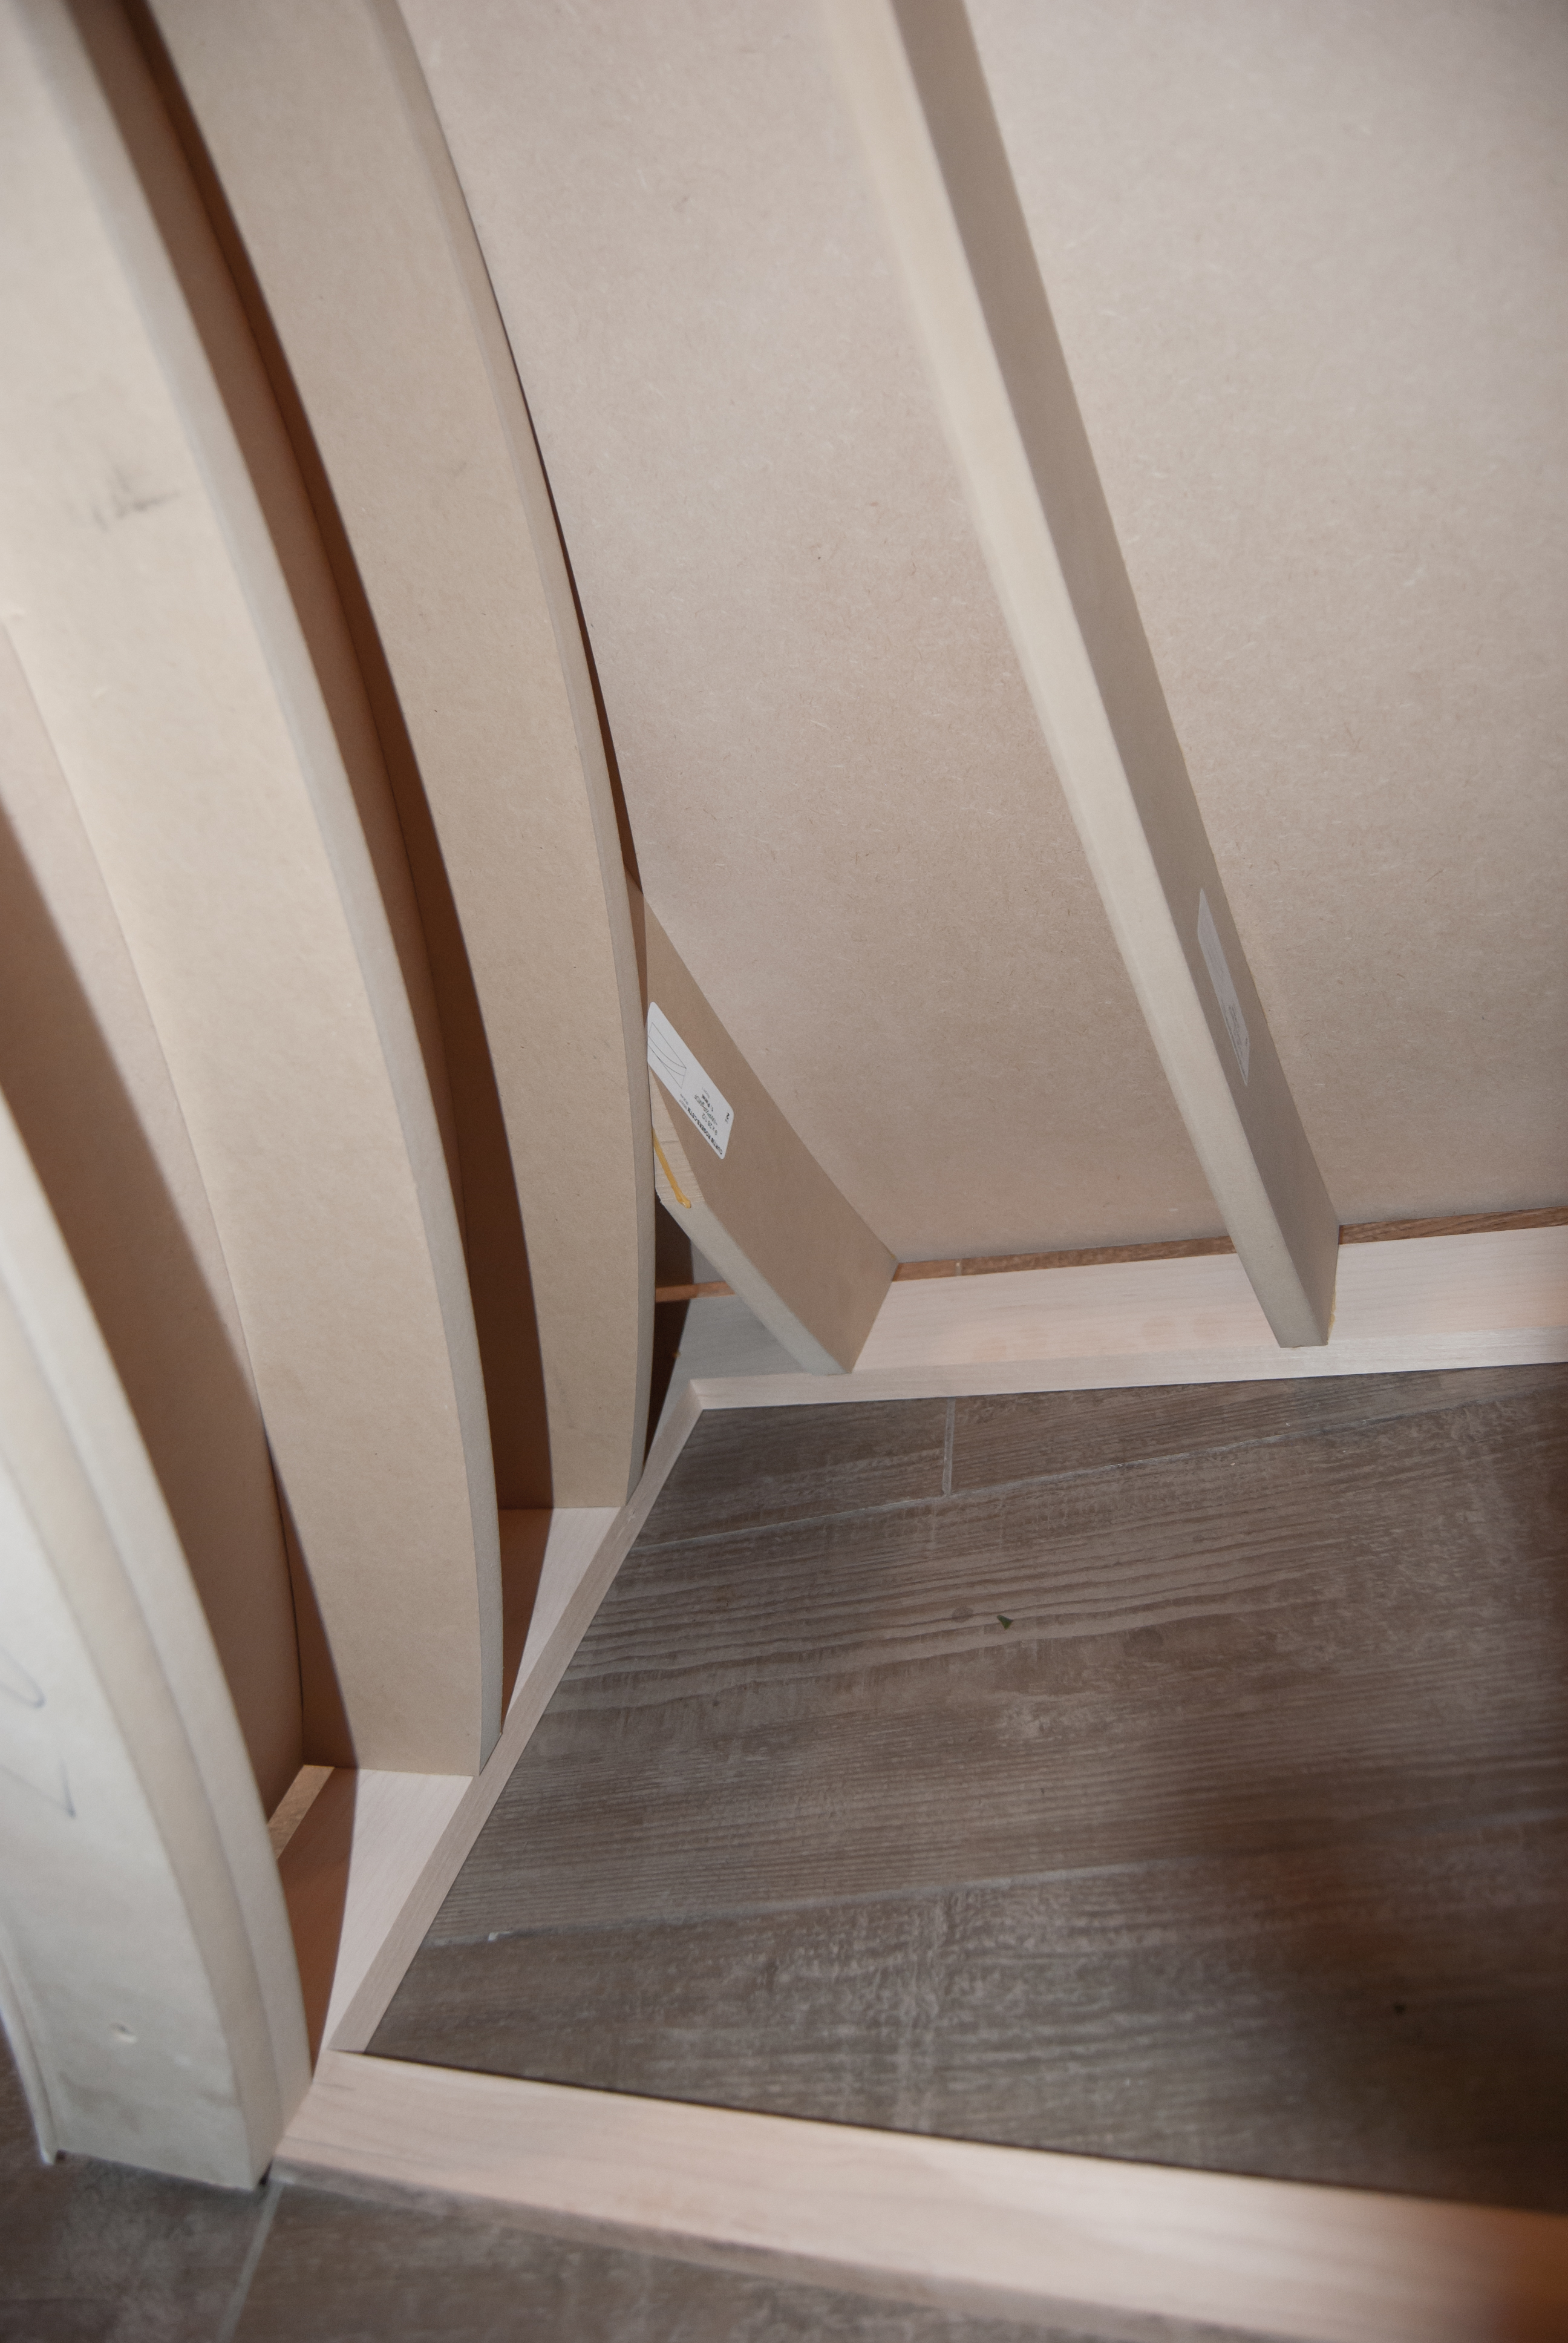
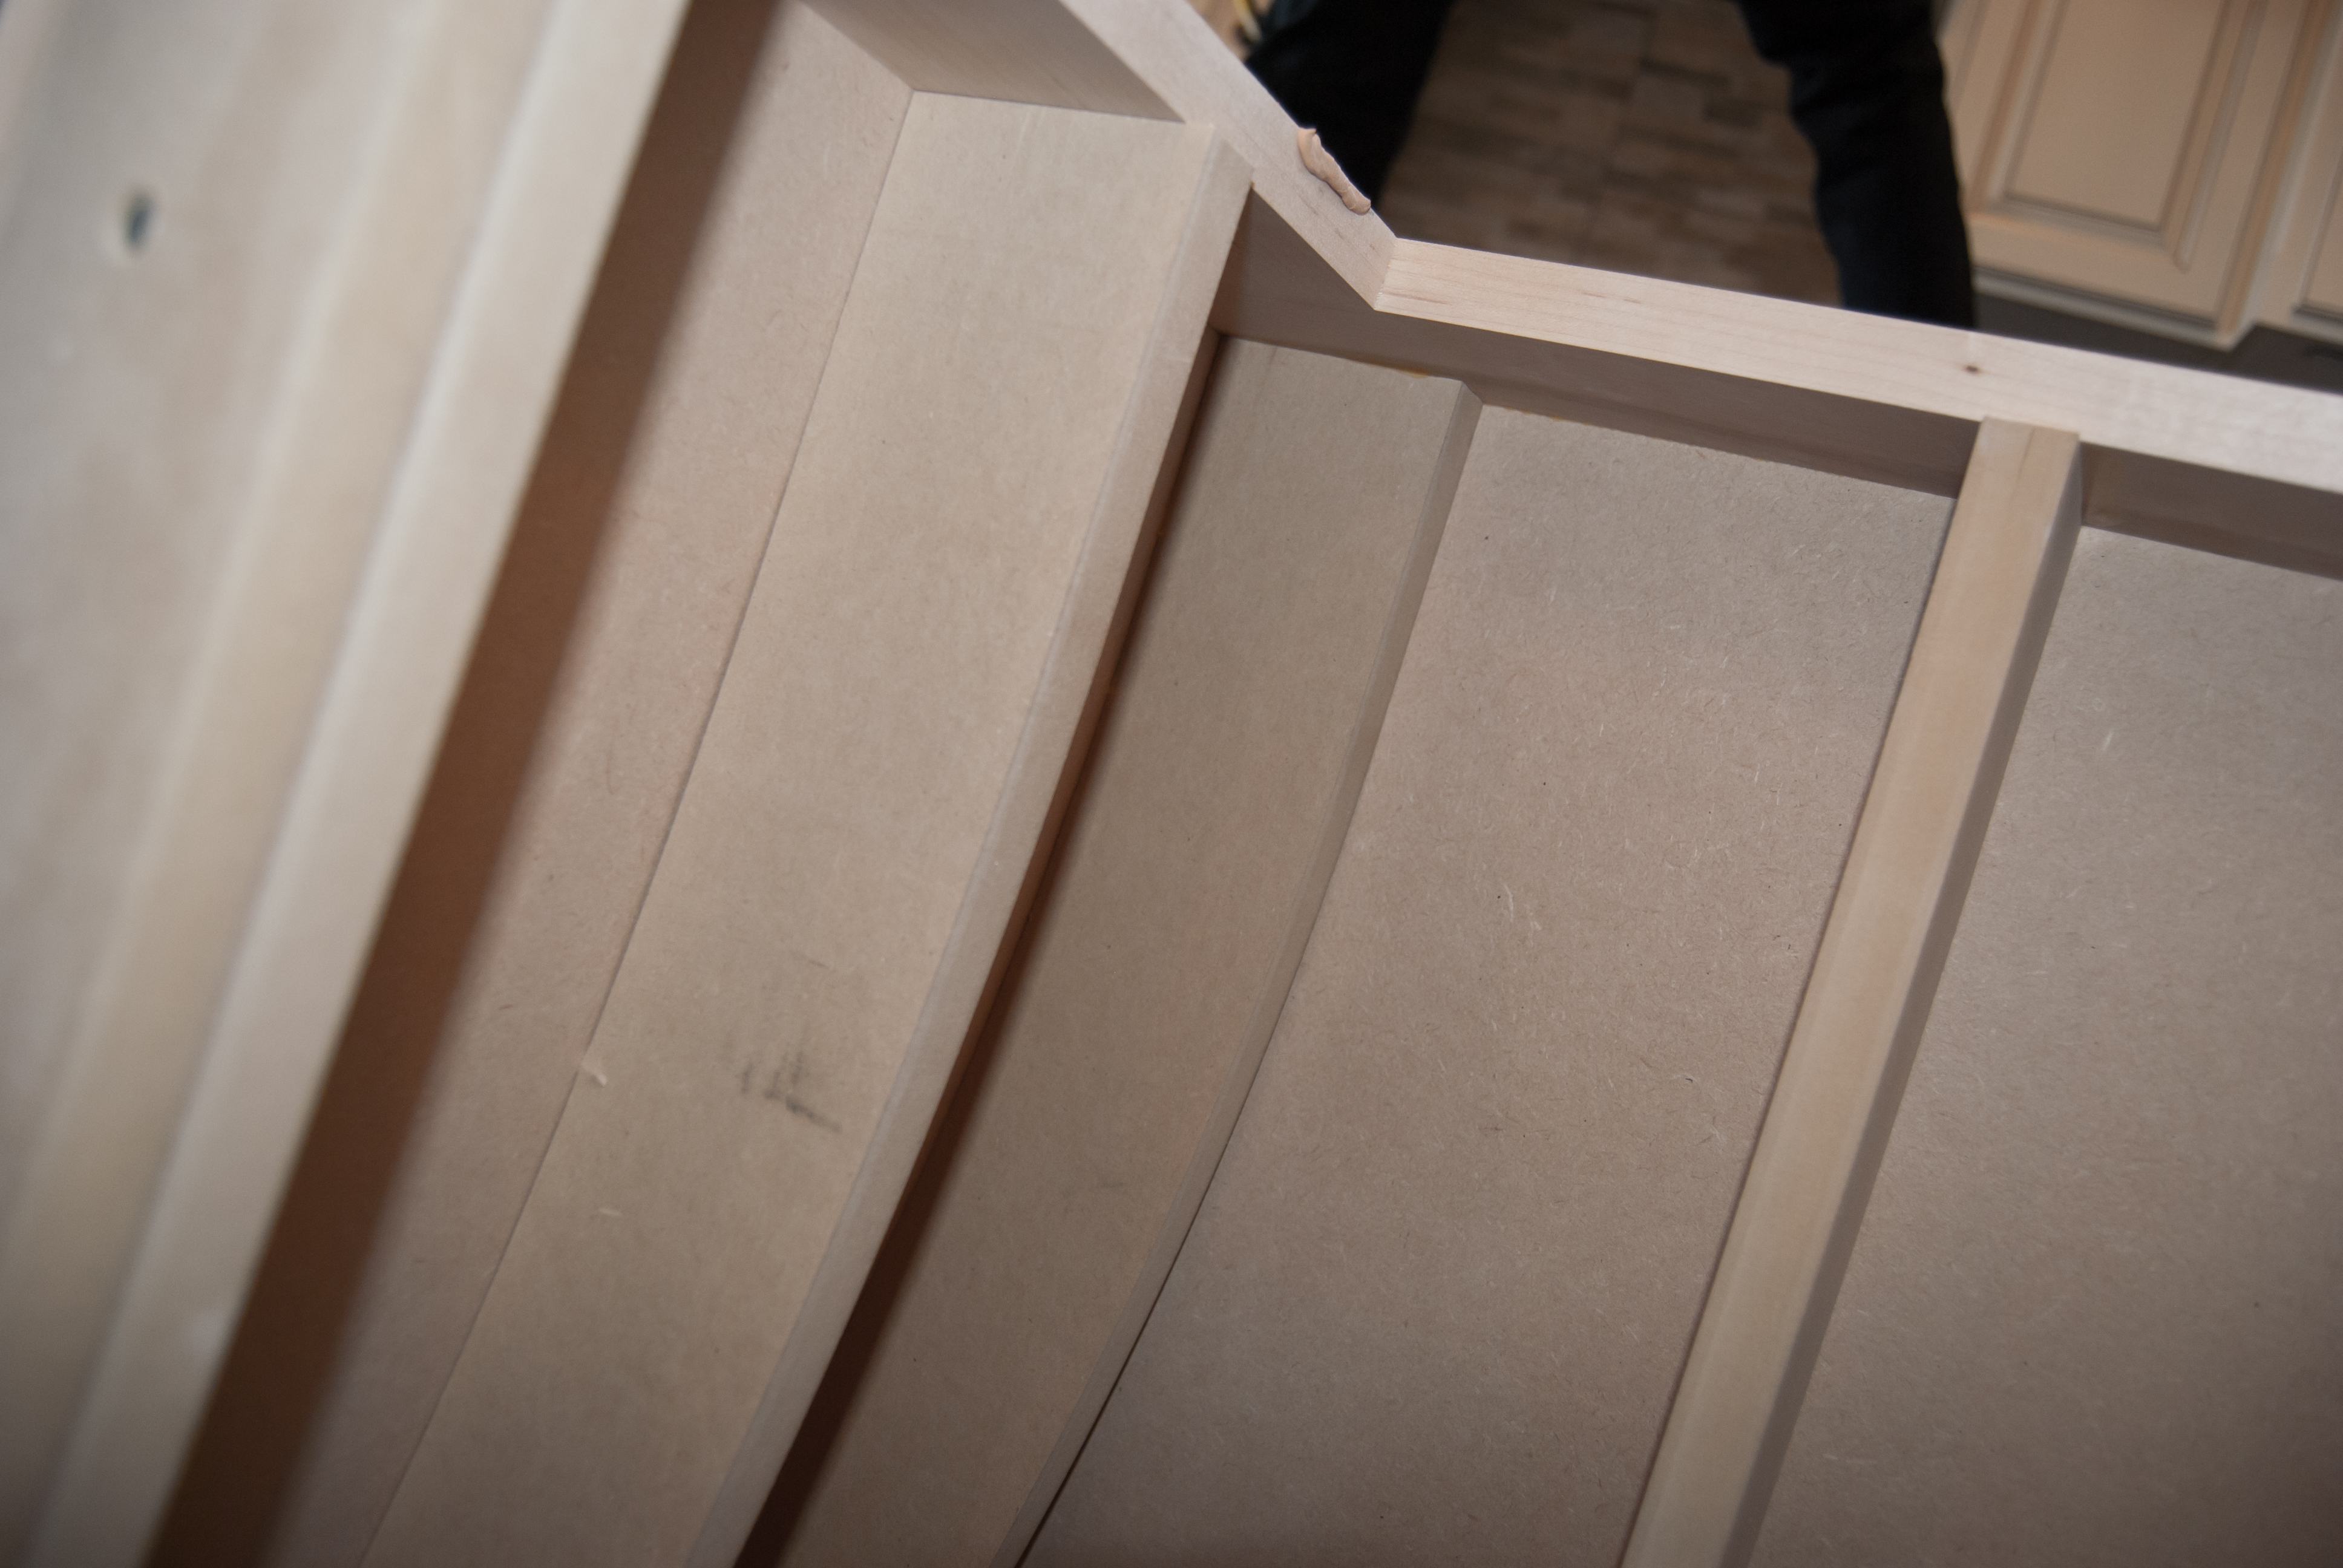
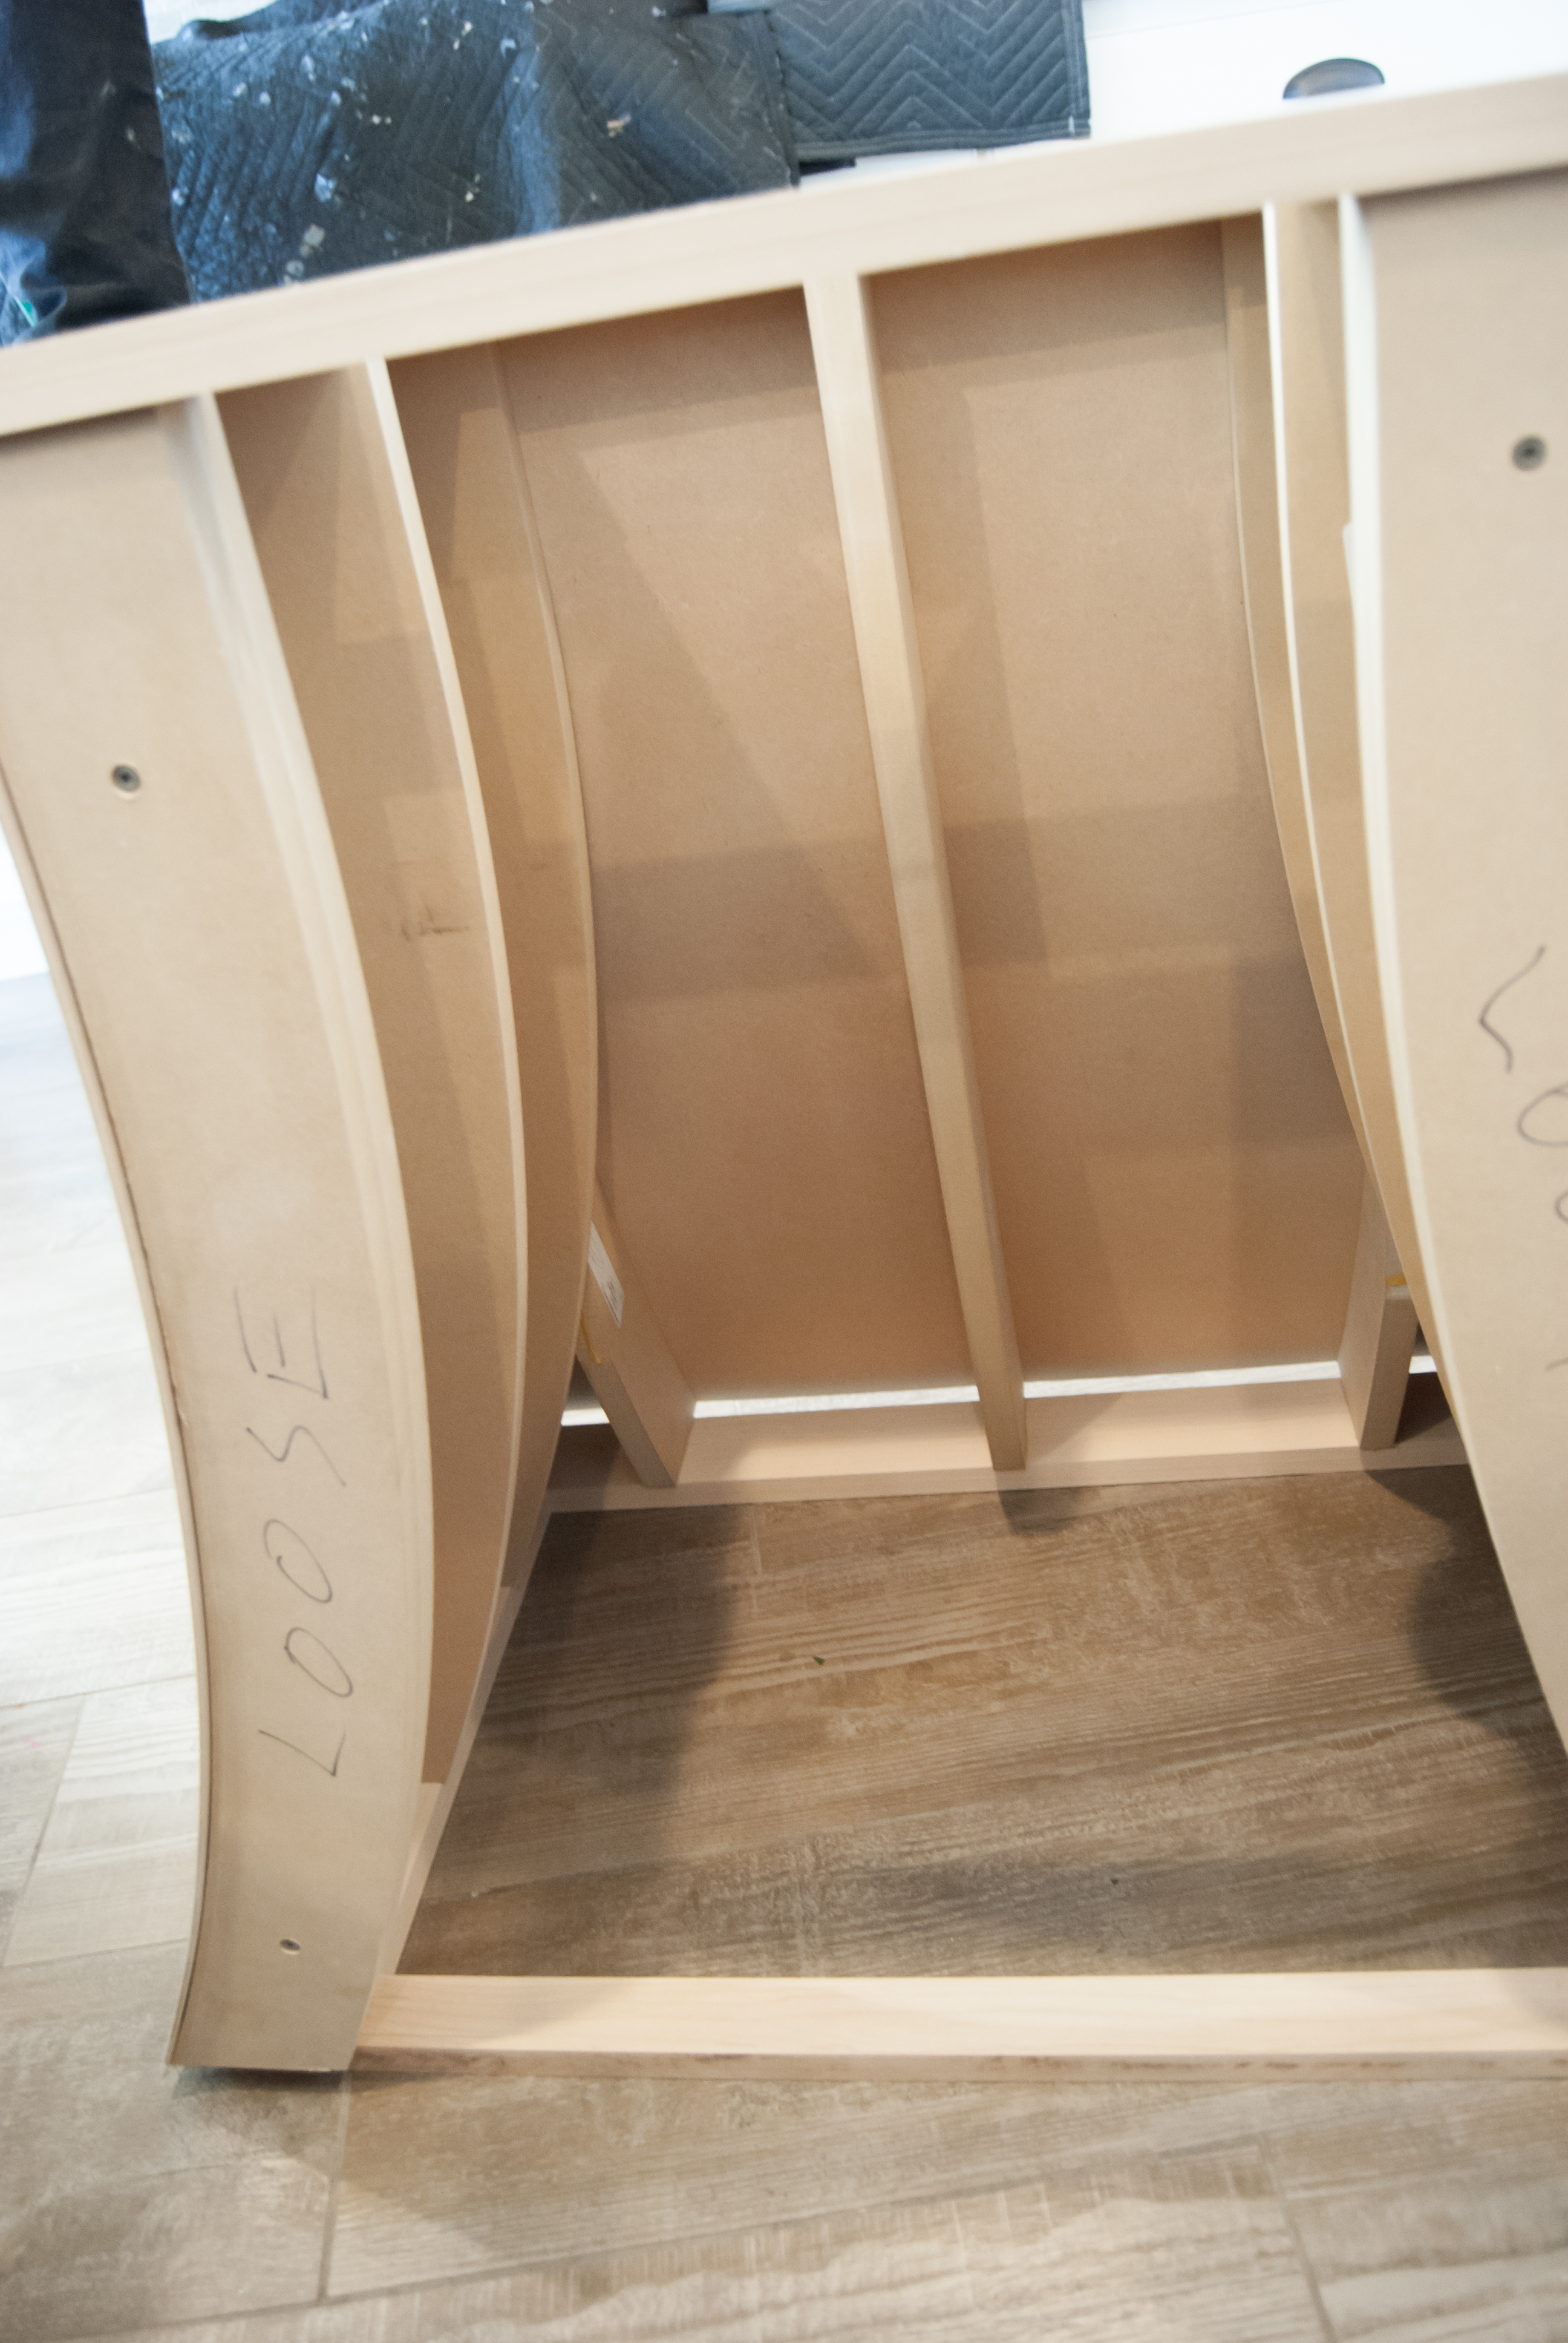
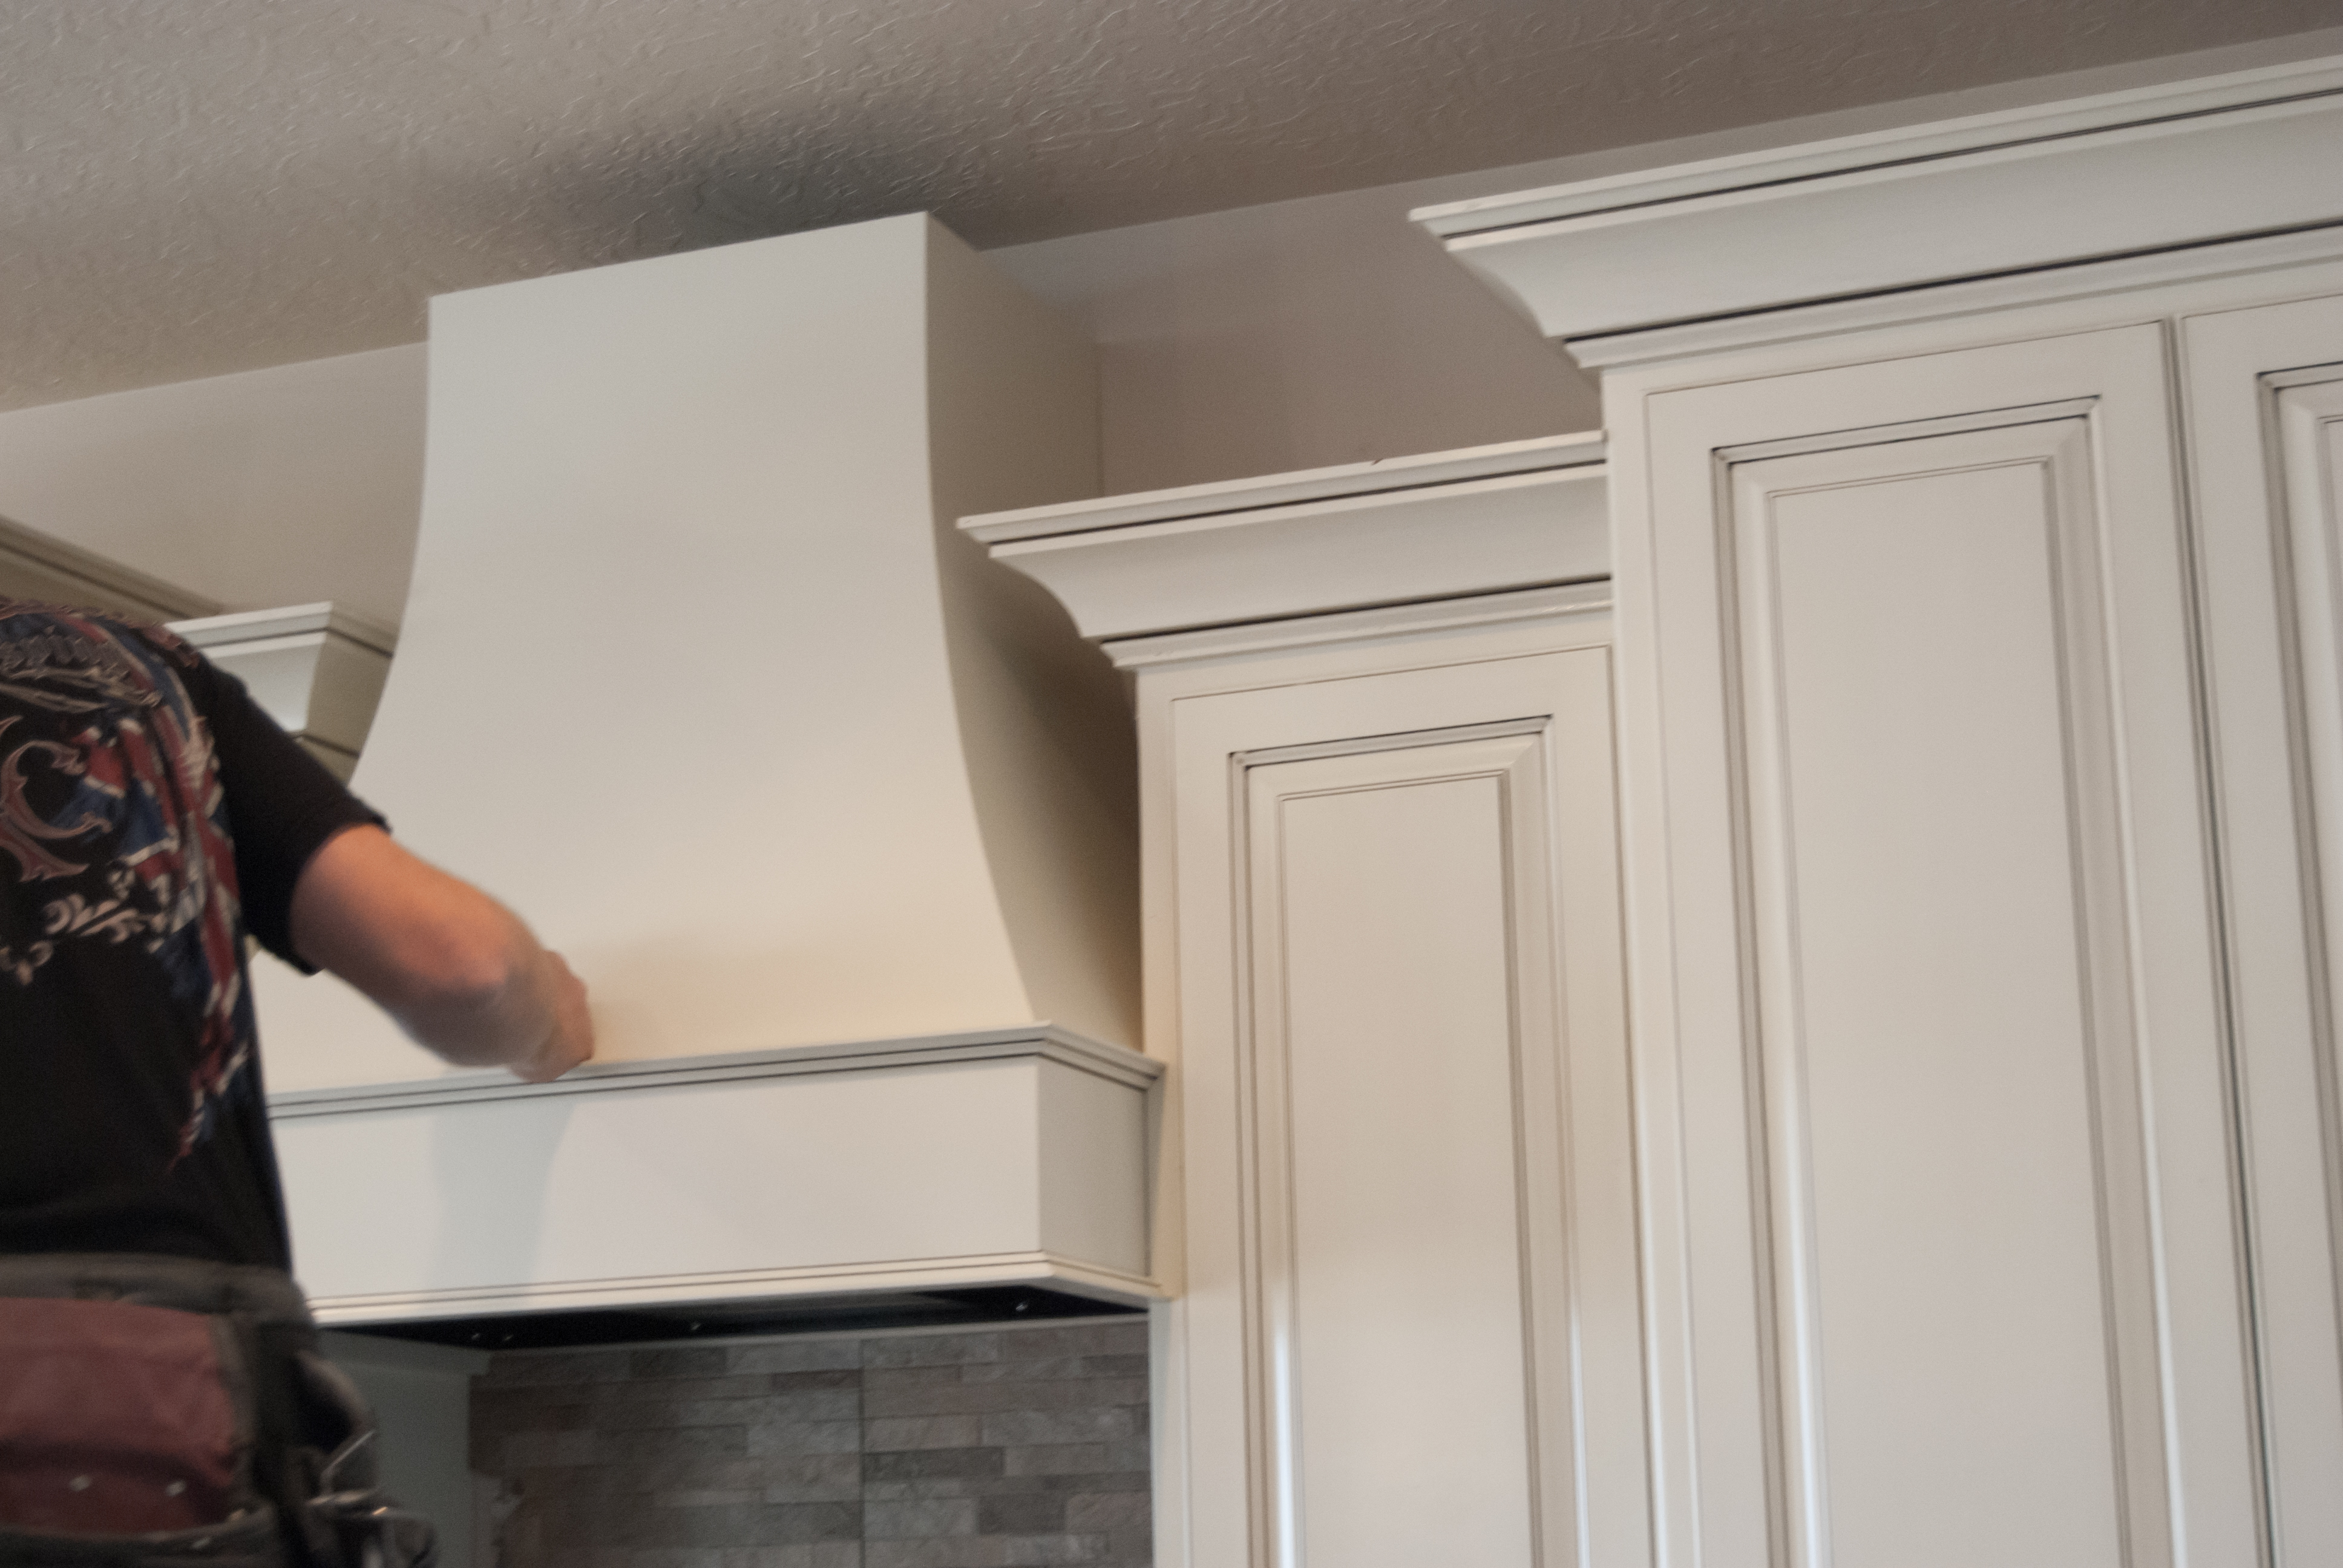
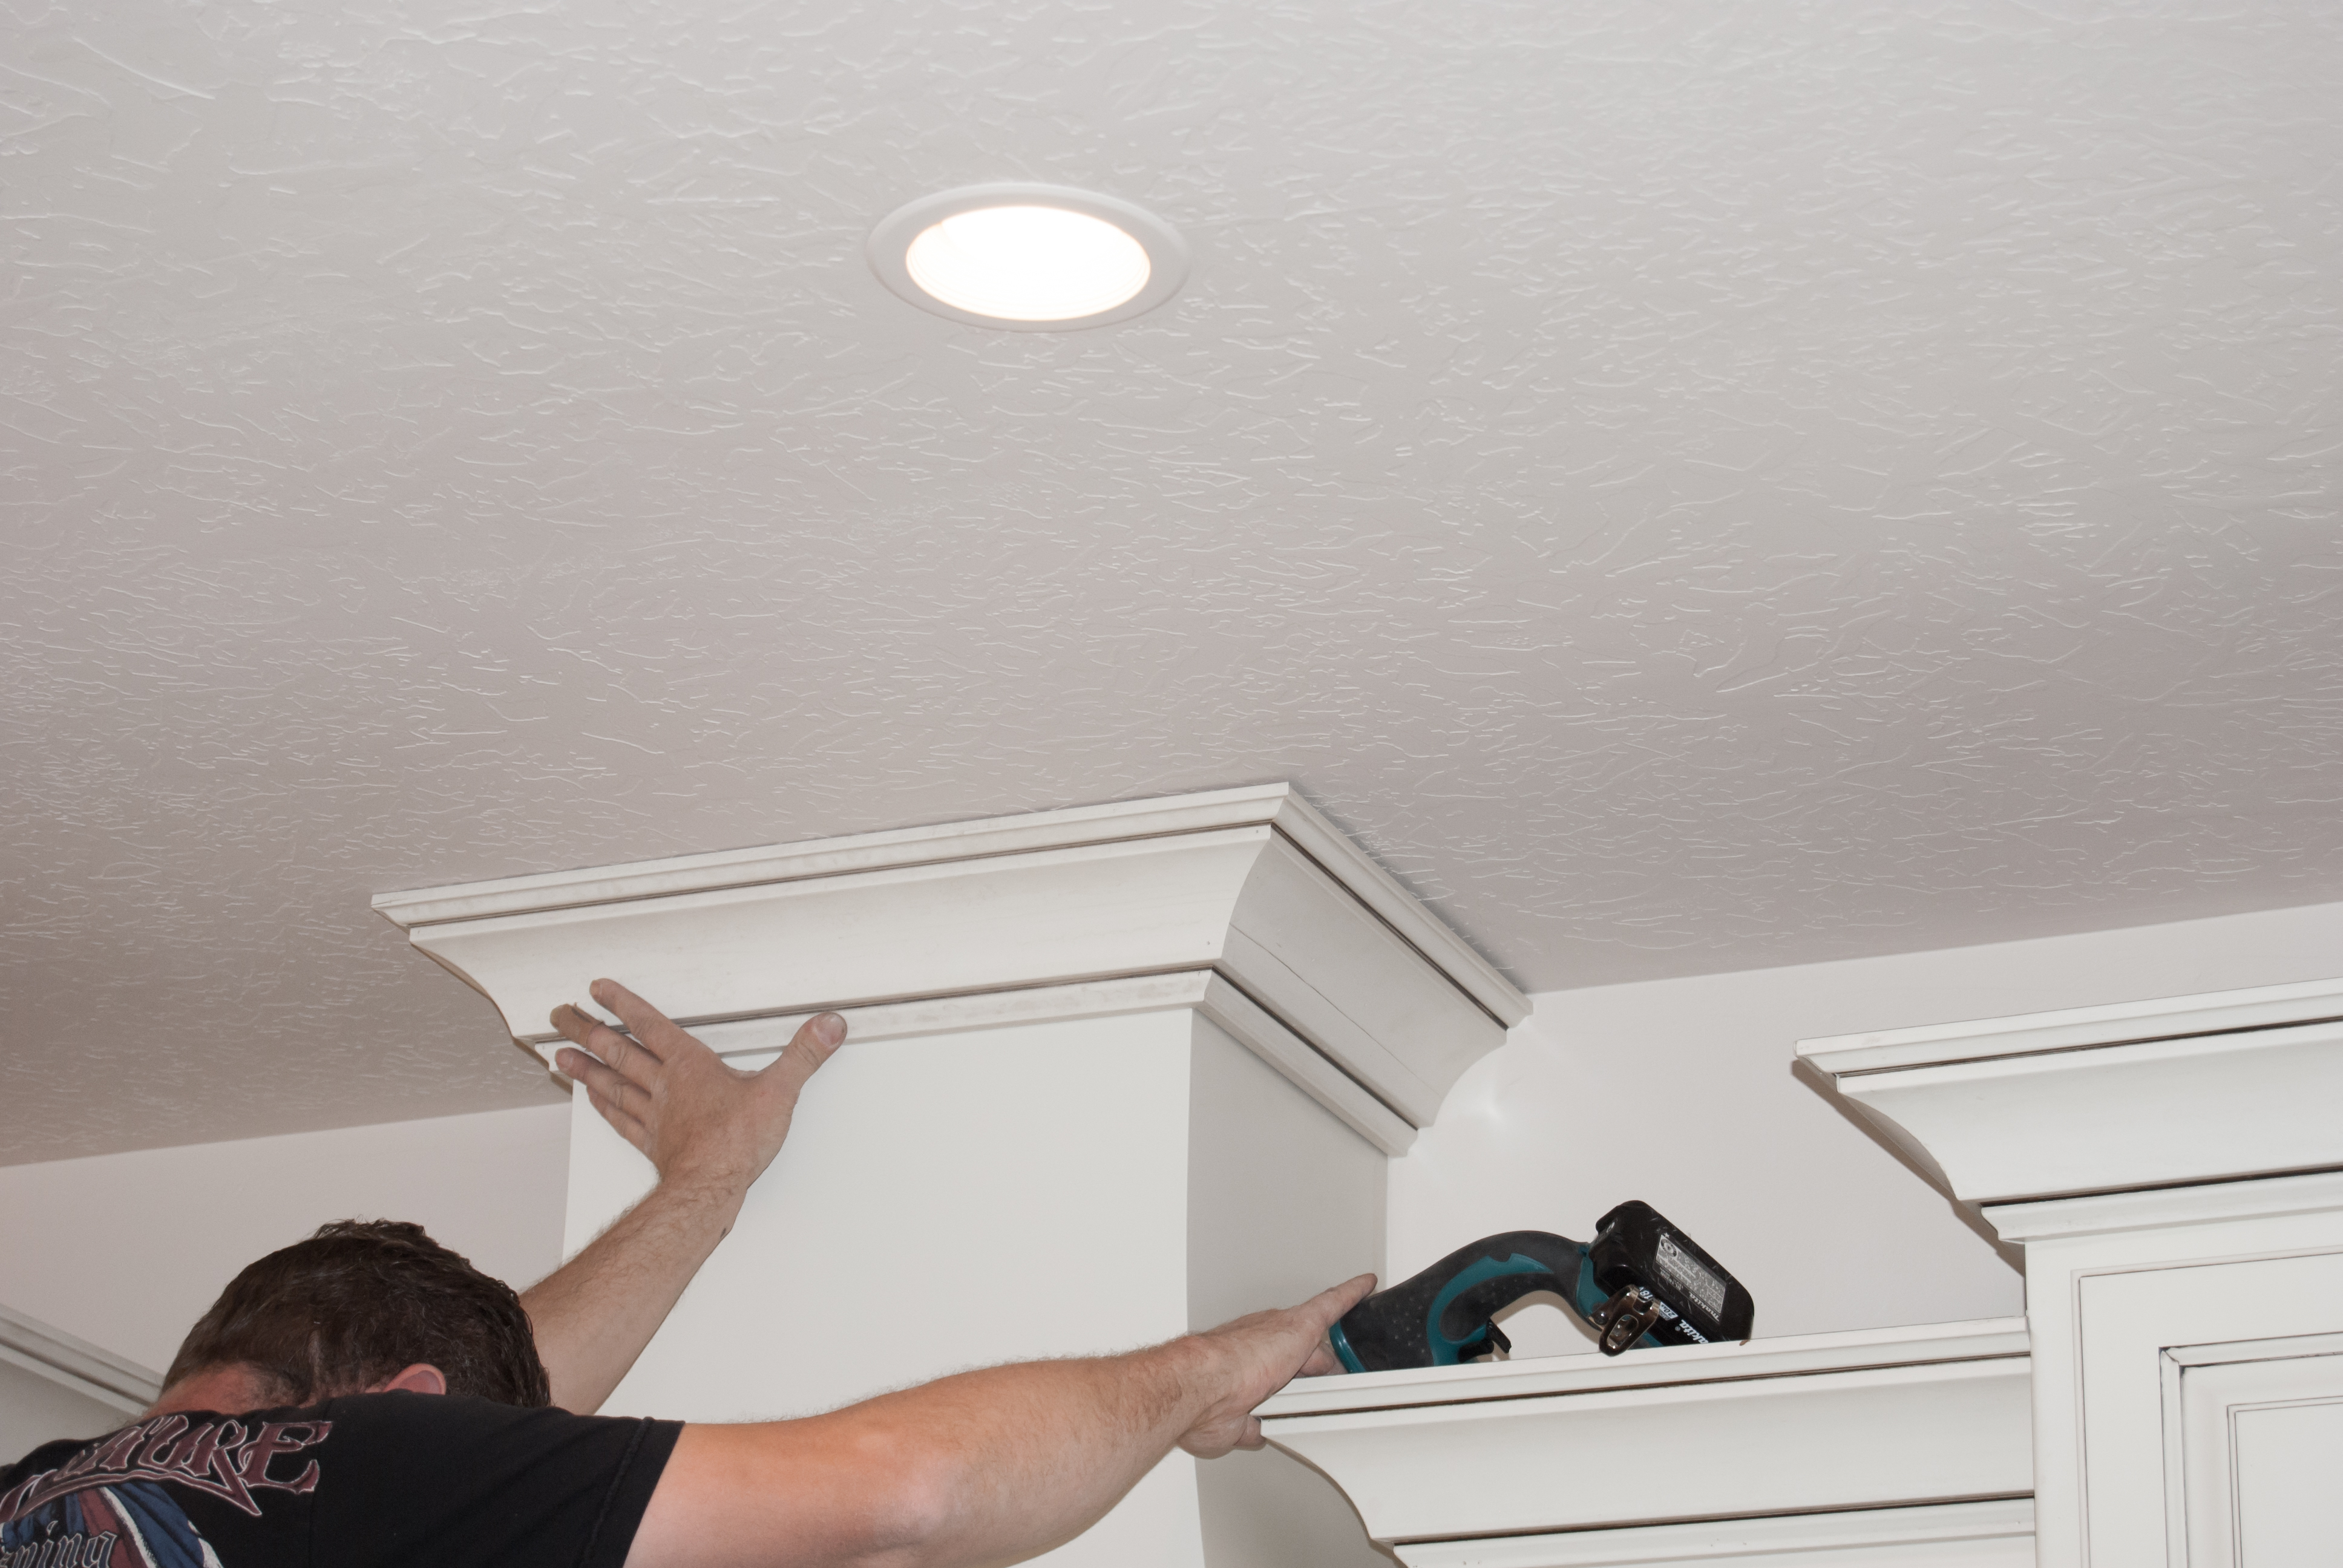
- We did not build our hood vent! We paid to have it done, HOWEVER, I took some really great photos of the inside of the hood, and the construction isn’t as complicated as I thought it would be. I also took photos of the installer installing the hood. It is not a complicated processes, but it must be done in steps.
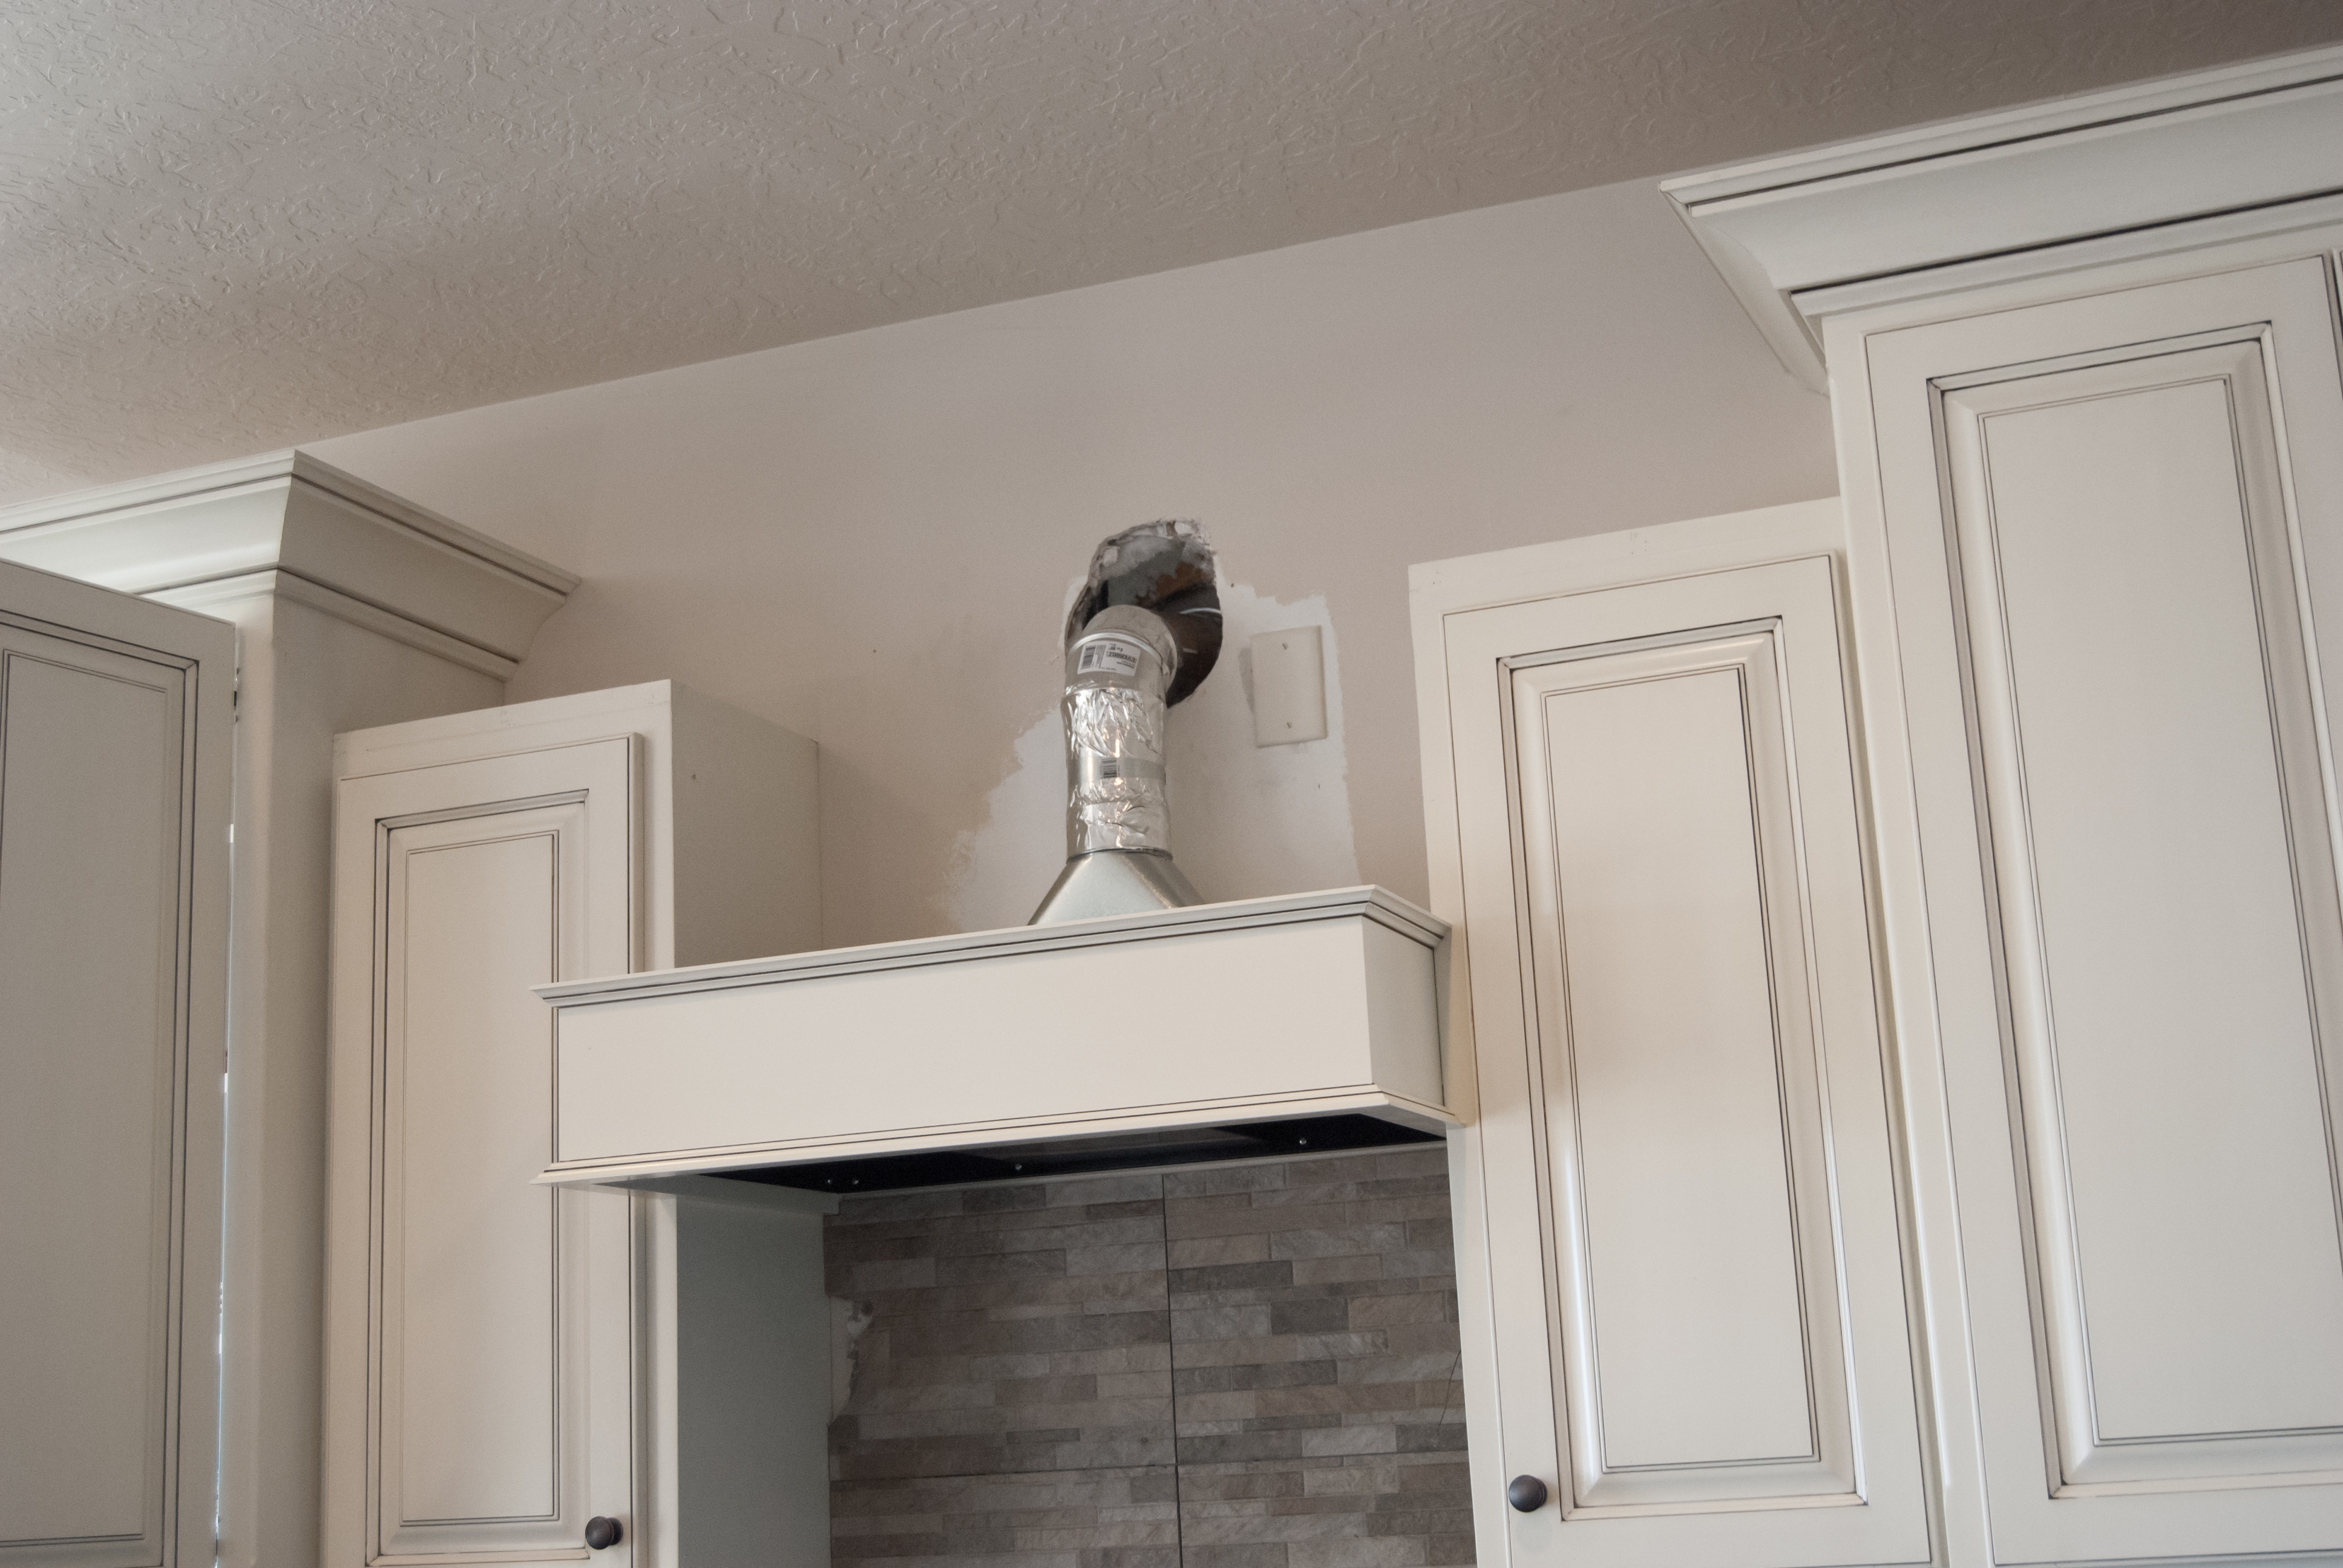
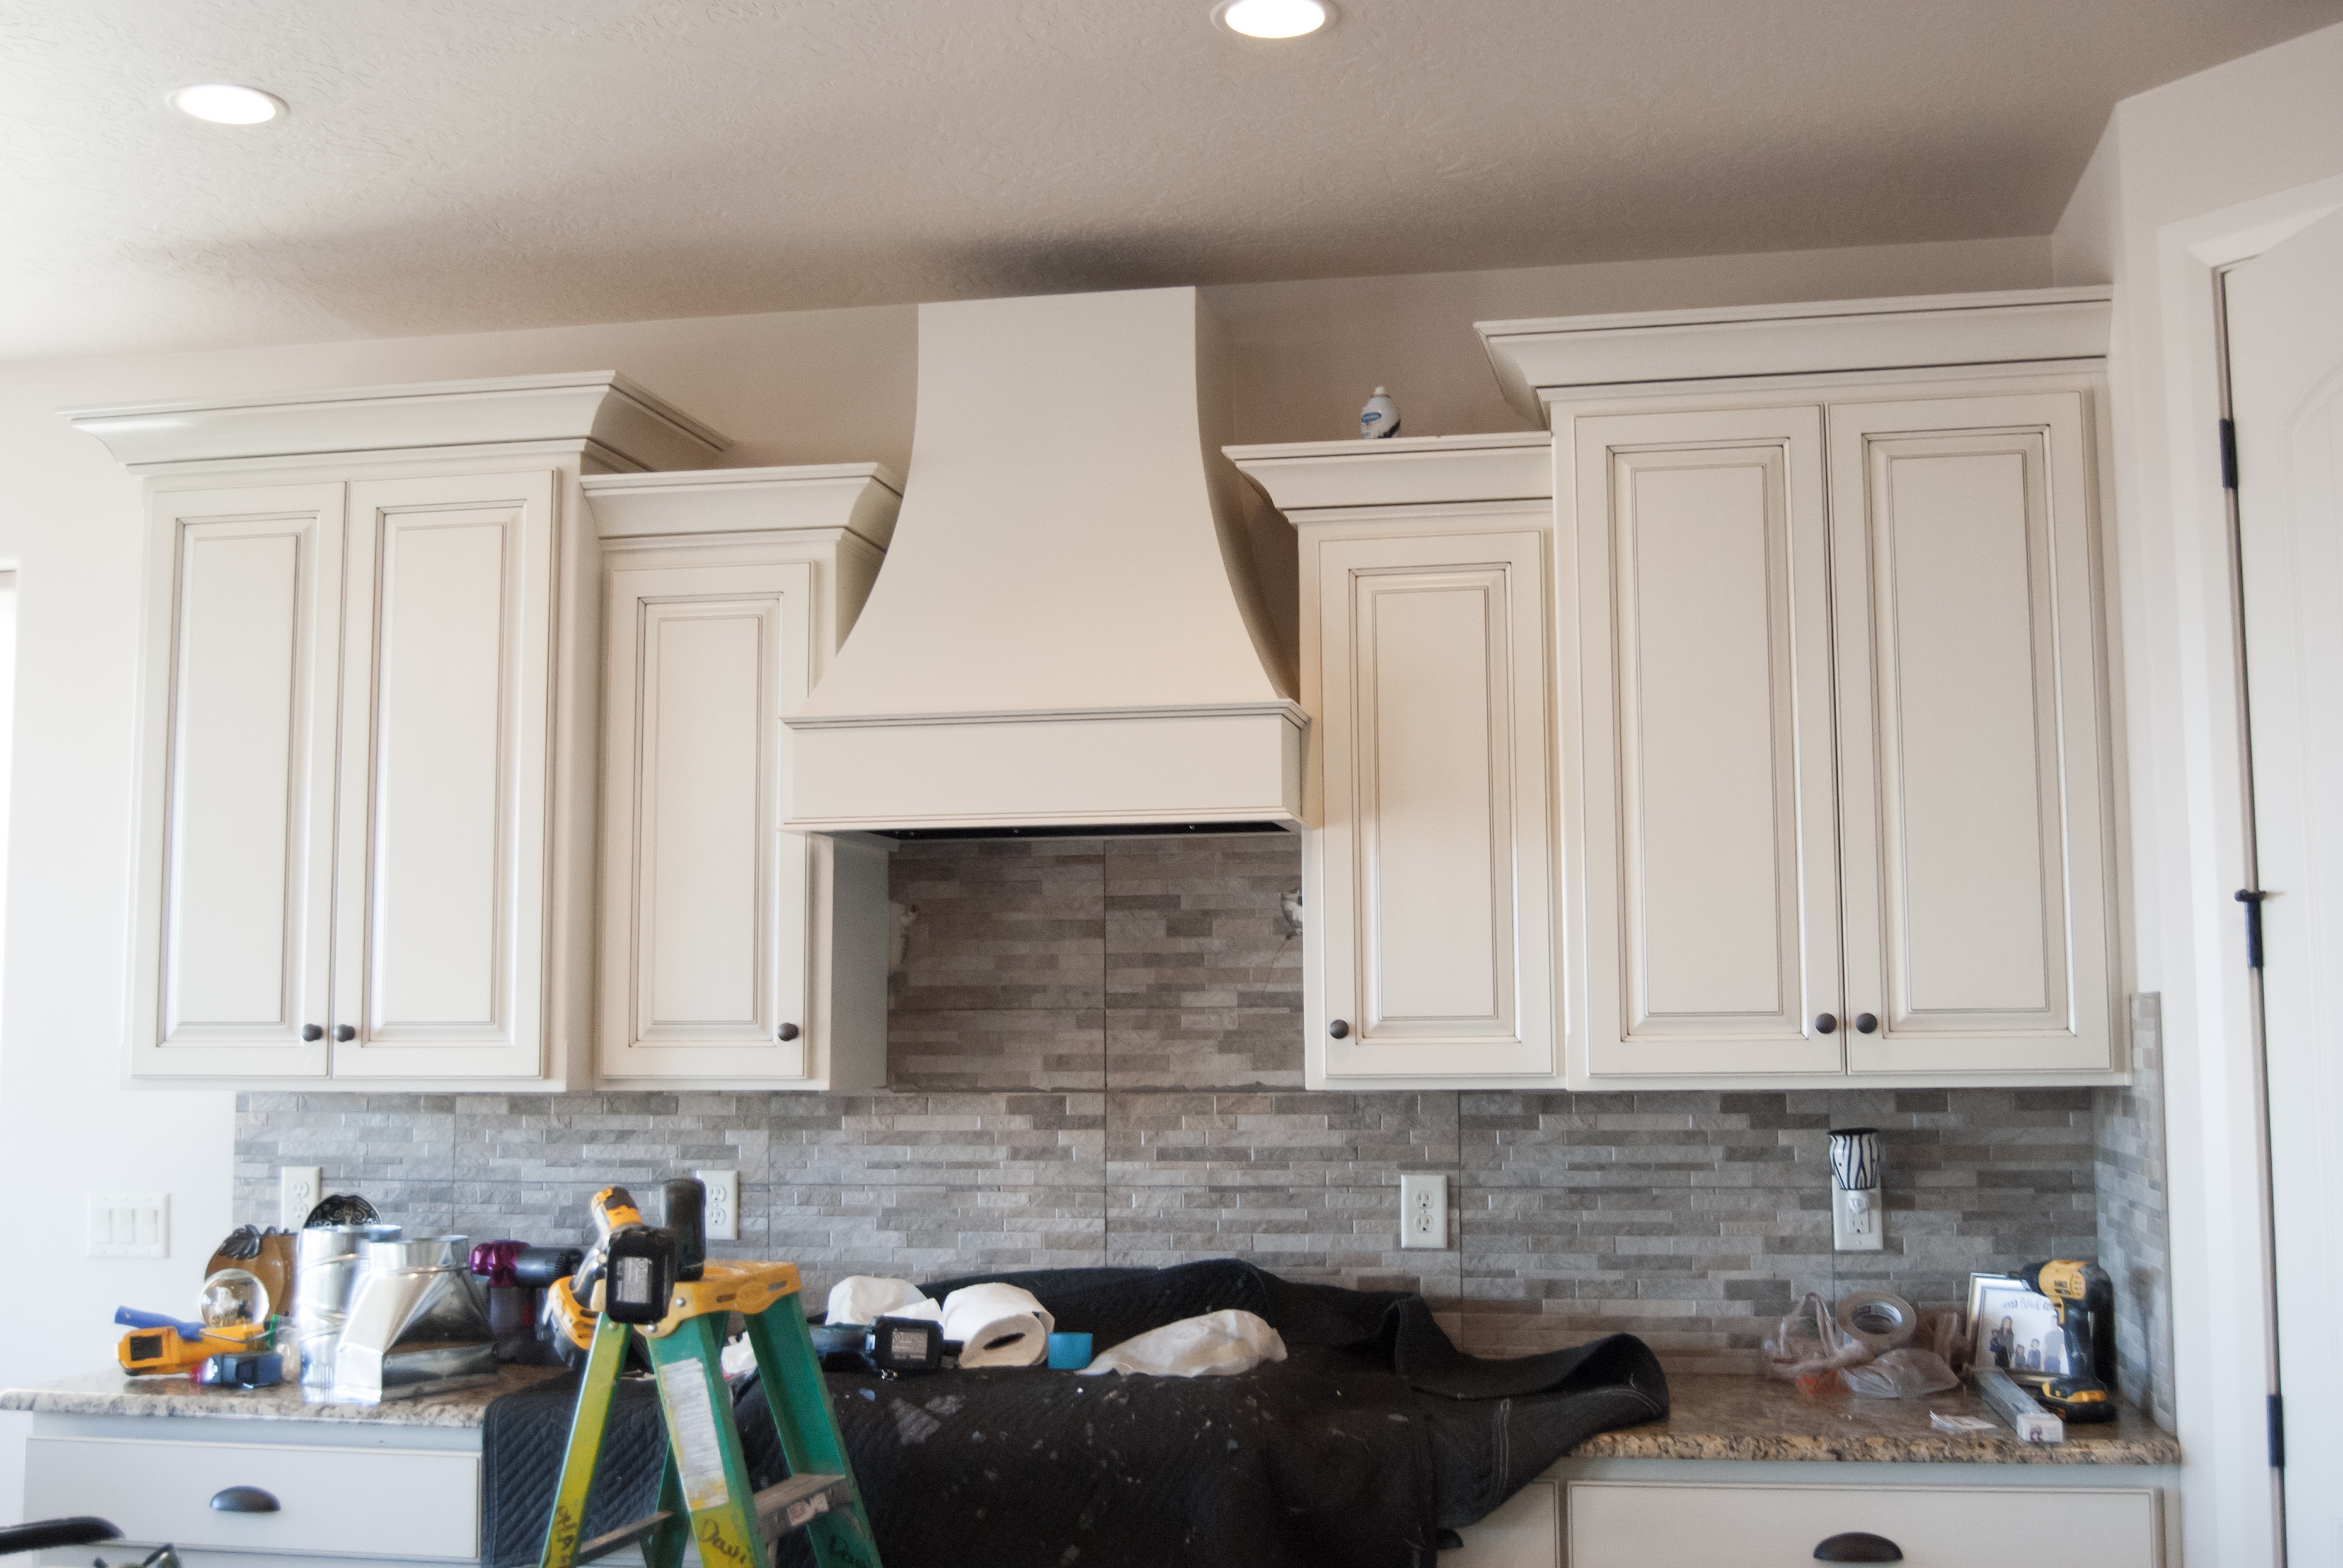
- The molding around the base of the hood is installed first, then the black vent insert is installed and the vent piping and electrical is hooked up. After that, the wood hood itself is installed, and then finally the crown molding. After, our installer touched everything up with caulk and if necessary, aerosol paint (you don’t want brush strokes, and so he had a special can of our hood vent paint in an aerosol can). He was done in less than an hour.
- My husband installed the black vent insert himself according to the manufacturers instructions. It is mounted with just a few screws. We also pulled power from the old microwave to the new hood for electricity.
- This project cost us around $3000…WHOA!!! WAIT!!!!…I know you are freaking about about the cost. Just know that the hood vent itself was over $2000 to have custom built, and we got a discount on that because we added an entire kitchen in our basement. If you want to save money, build your own hood, or there are some really beautiful metal hoods that come pre-built that you can install. Also, the black metal insert “vent” was just under $600. You could also save money on the insert if you needed to. My husband and I chose several upgraded features so that we could match the quality of the rest of our home. You should install a hood vent that matches what the value of what your home is. We have two kitchens in our home, one upstairs and one downstairs, and so for us, we needed to make sure we kept the quality and value with the build of our home. Hood vents are very expensive to have custom built, HOWEVER, after seeing the construction, I wouldn’t be afraid to tackle the project on my own if I needed to.
- On a side note, we chose black instead of stainless steel for the vent insert because stainless steel shows grease and has to be cleaned more frequently if you cook a lot. I cook nearly every day, and so black was the best option for us. After all the renovations we also had to replace a piece of tile on the backsplash. Be prepared to potentially replace tile when you remove the microwave.