I have “TACK”led a few reupholstery projects in my day, and there was definitely lots of TACKing and stapling to get these projects done, but I’m so happy that I made the attempt. In this article, I share before and after photos from some of my finished upholstery projects. Two of these chairs, were family heirlooms from the 1800’s–and it doesn’t get any more amazing than that! Take a trip with me down memory lane!
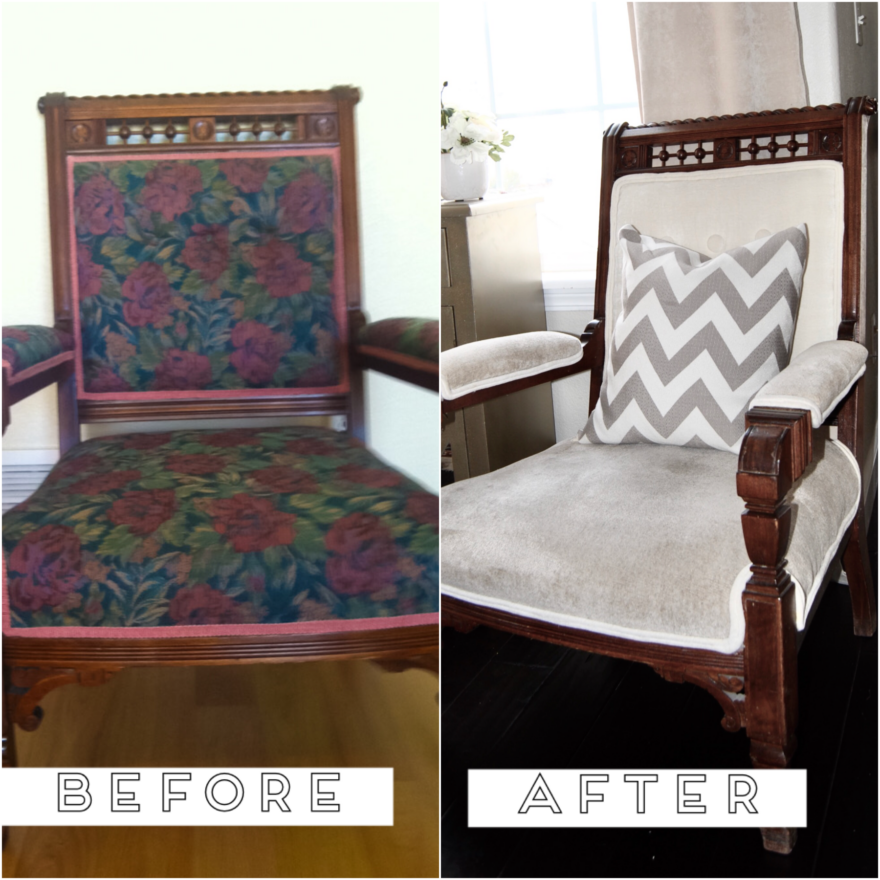
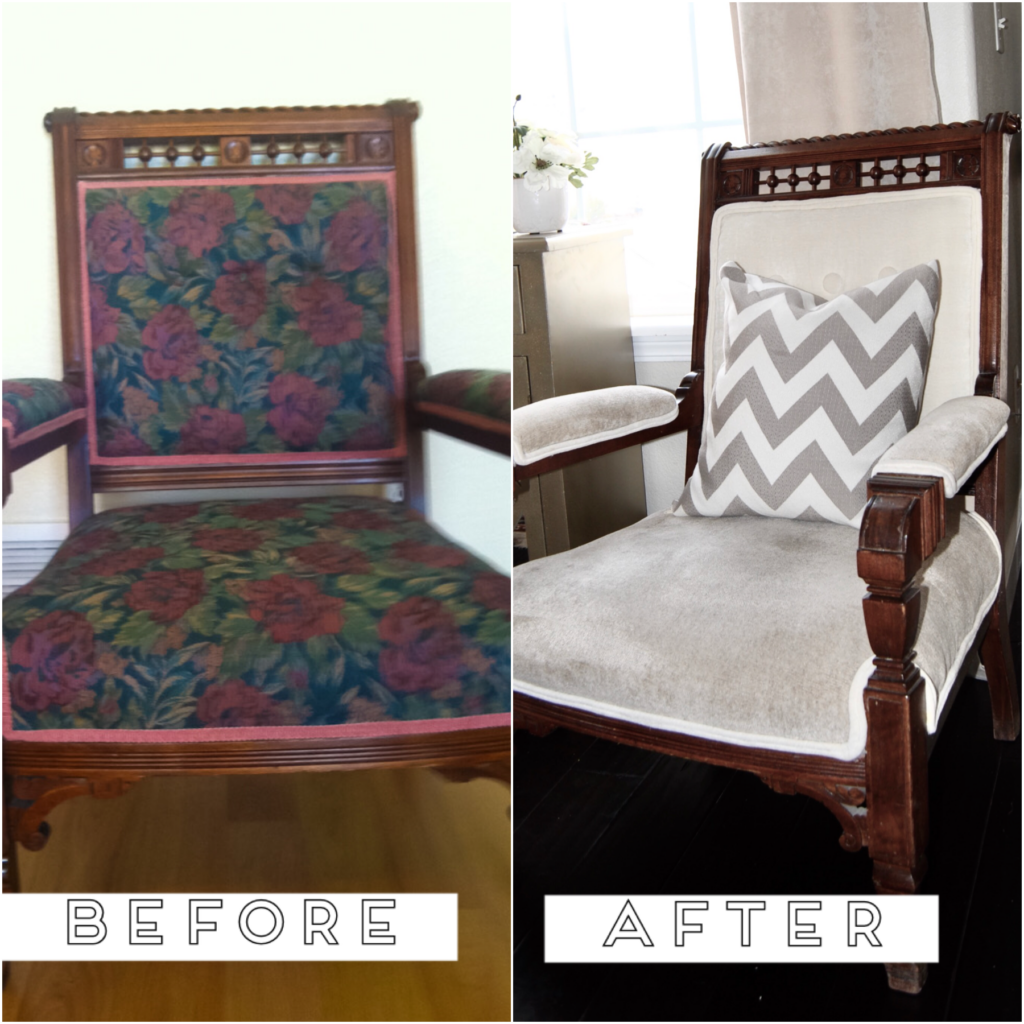
BEFORE
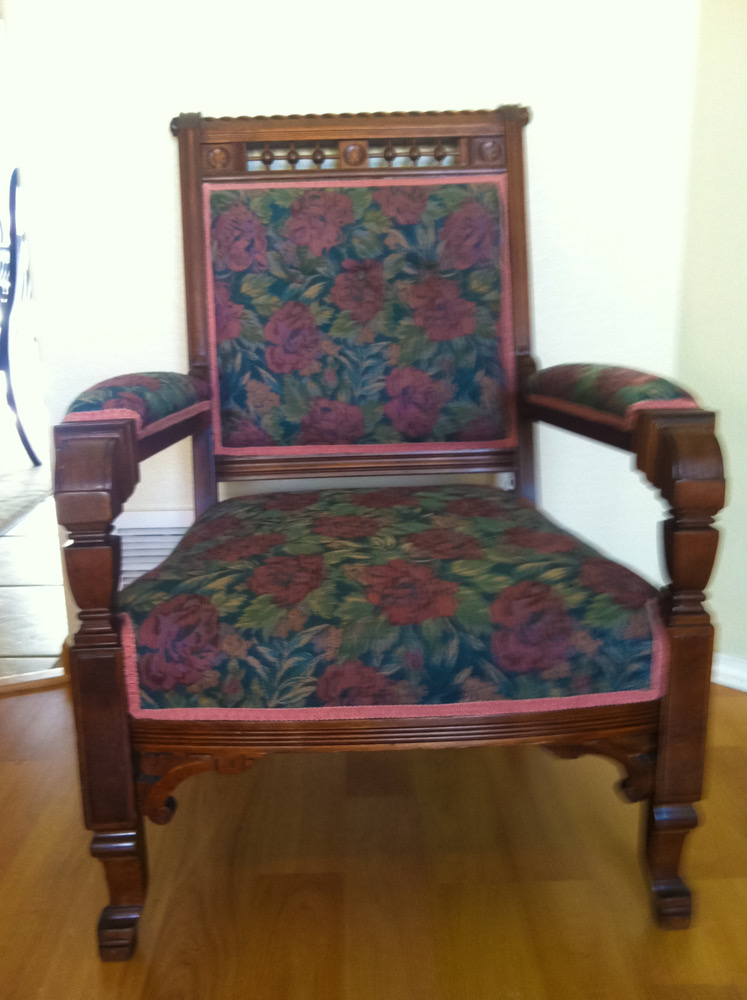
I’ve completed a few upholstering projects over the years. This chair was a family heirloom from the 1800’s on my husband’s side of the family. It was fun to work on this project not only because of it’s sentimental value, but also because I learned a lot in the process. Antique furniture is built to last. This chair had a sturdy construction and just needed an update on fabric. Fabric styles change and age over time, and that’s why IT IS important to update them. Don’t be afraid to tackle a DIY family heirloom project! It’s a great way to give that old piece of furniture new life!
AFTER
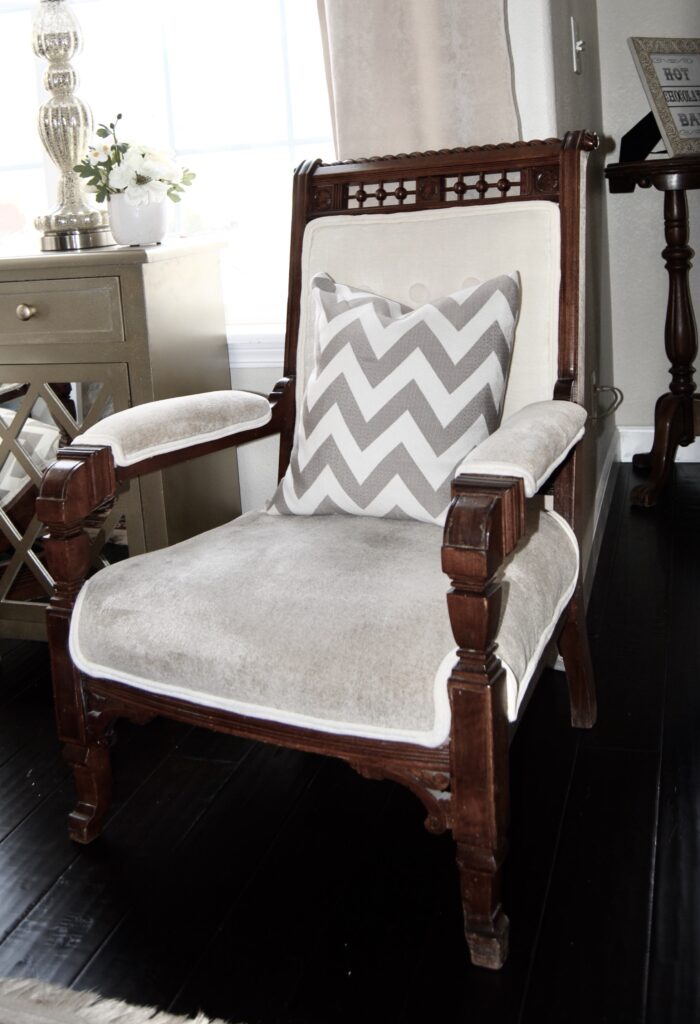
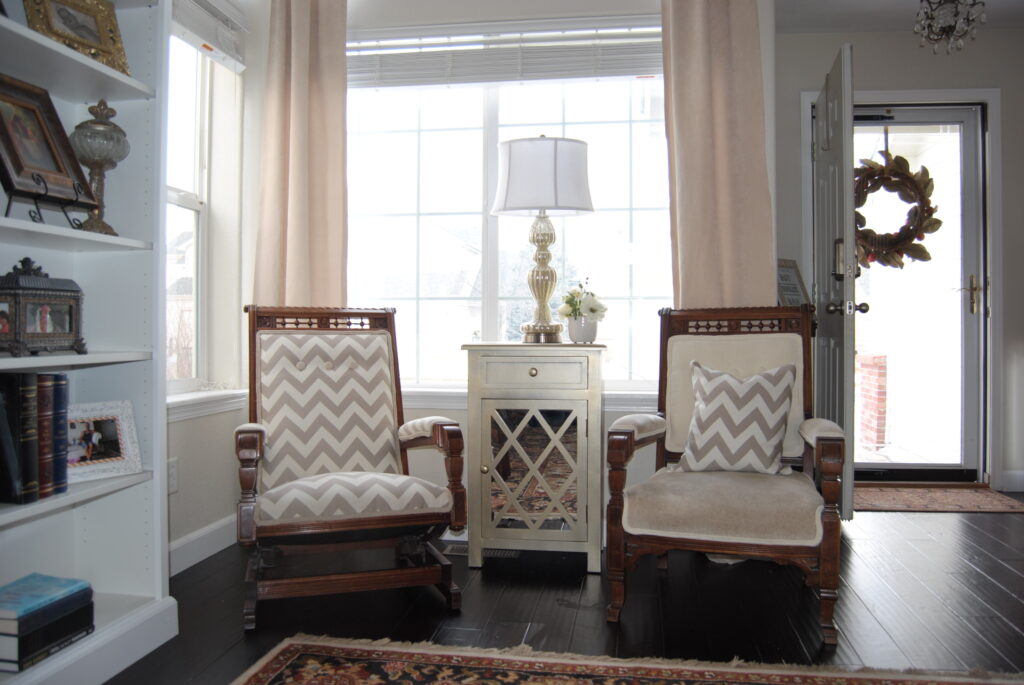
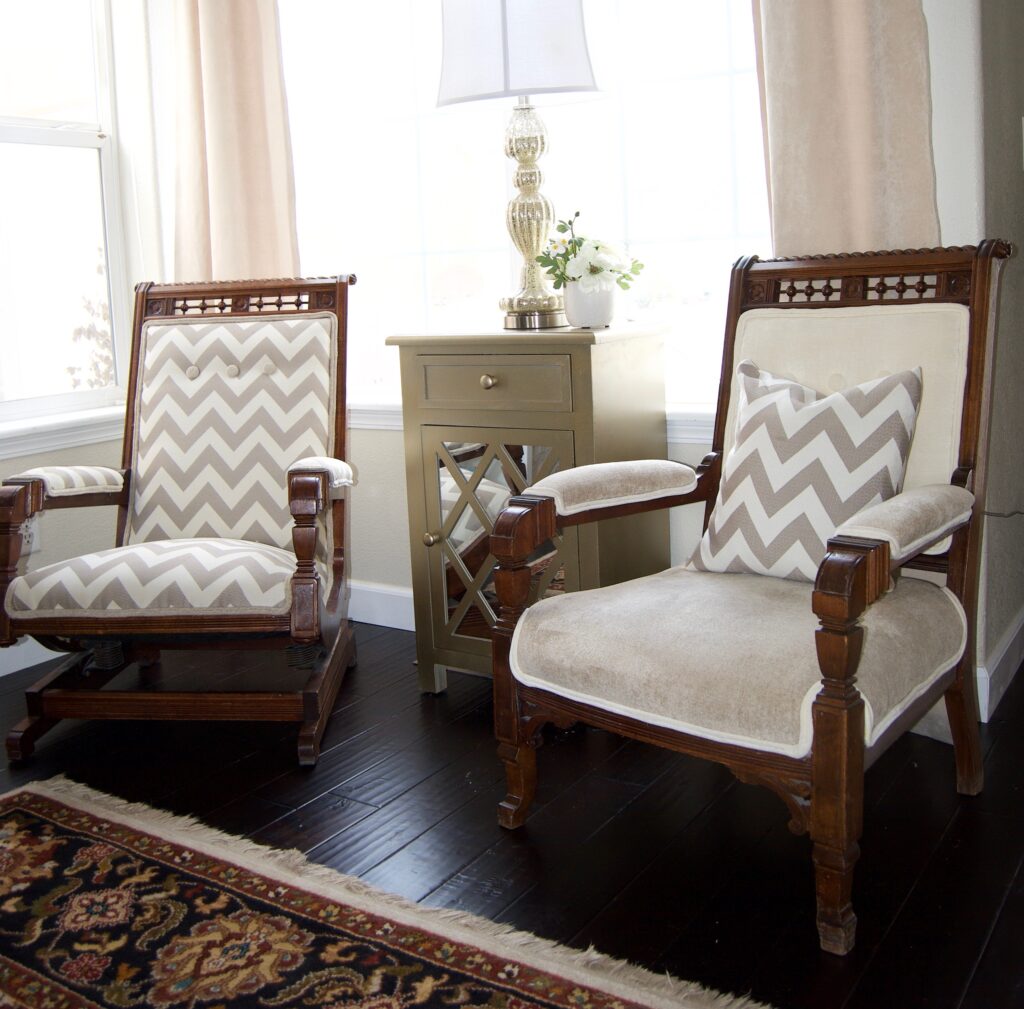
The chairs from the 1800’s came in a set, and one of the chairs was a rocking chair. I chose to recover the chairs in coordinating fabrics. One was done in a white chenille fabric with a taupe fabric for the cushion and white, twin-piping cording. I also used a coordinating chevron fabric for the pillows and the rocking chair. This was back when “chevron” was hard to find! I had to drive two hours to a fabric store down past Denver just to get my hands on it. Boy was that exciting to get my hands on that much, coveted, chevron fabric pattern!!!!! Now you can find chevron patterns in every corner of ever store–boy how times have changed.
