STEP INTO FALL…Halloween Mod Podge/Decoupodge Wood Craft Sign
[iheu_ultimate_oxi id=”1″]
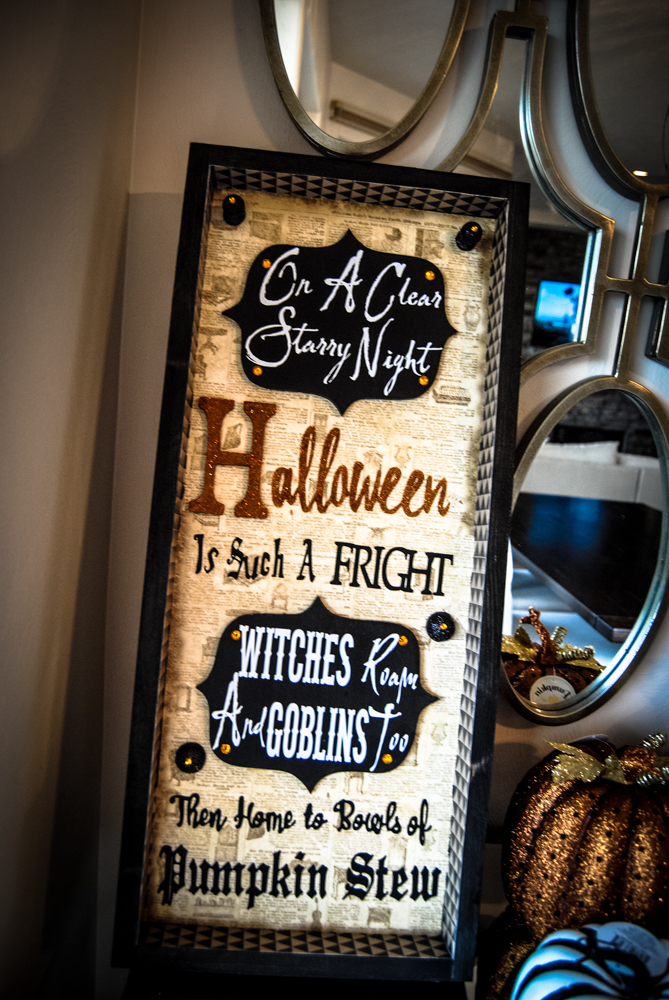
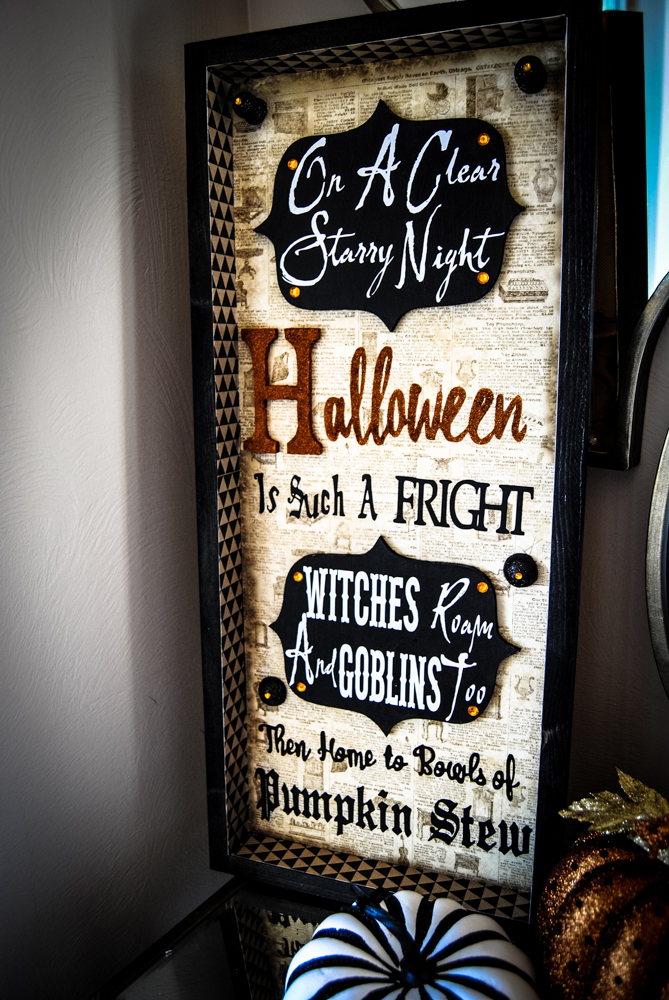
Step Into Fall…Halloween Mod Podge Wood Craft Sign
Okay….it’s that time of year again!!! I love fall because I love HALLOWEEN!!!!! It’s my favorite holiday! One of my cousins introduced me to a wood craft shop here in Saint George…btw, if you haven’t heard, I moved. It was a fast move and I haven’t touched my blog in months, but I promise, I will update all of that very soon! The woodcraft stores in Saint George are TheWoodConnection.com and WoodCreationsCrafts.com–one of these stores is dangerously close to my house. I’ve already been to both of them. They are both great! The craft you will see today has wood supplies from Wood Creations. The scrapbook paper came from Joanns. I already have tons of scrap book paper to last me a lifetime…So….plan on seeing more Halloween crafts out of wood from me. This craft is my own design. I just pieced together some of the wood cutouts I found at the store and created my own design. You can choose from their designs, however, I have stuff in my head that I have been dying to make for years.
I love the halloween quote I used. I found it on Pinterest.com, and I have been saving it for several years and planning to do SOMETHING with it. Well here you go….I love this design! It turned out awesome! I hope you will be inspired to make your own. On a side note, this is a dual sided sign. On the backside I put a Thanksgiving quote. So when thanksgiving comes, I can minimize all the work it takes to take down decorations and put new ones up.
DIRECTIONS FOR CRAFT
You will need:
Modge Podge
Paint Brush
Scrap Book Paper
Acrylic Paint/Craft Paint
Wood Box and Wood Banner Cuts, Wood Knobs, and Wood letter “H” for decoration
Glitter
Vinyl Quotes
Rhinestones for Bling
Wood Glue
Directions:
1. Mix your acrylic paint with water…about 6 parts to 1 part. Paint the entire box, knows, and wood banner pieces with the water/paint mixture and allows to dry. Apply as many coats as you desire. Allow to dry.
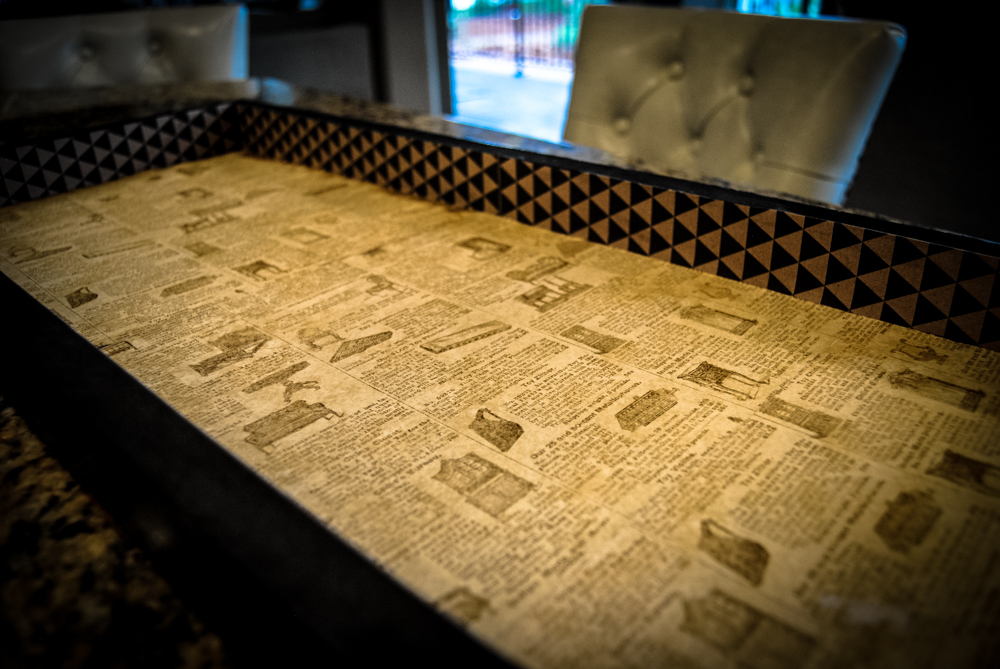
2. Line your your box with scrap book paper. I used two different color schemes…newspaper print, and black and brown pattern. Coat backside of paper with Mod Podge first, and then line the box. Allow to dry completely before coating the top of the paper with Mod Podge to seal it. This will prevent bubbling.
3. After the paper coat dries, add the wood banners. I used regular wood glue to glue these pieces down. Then coat with mod podge to seal.
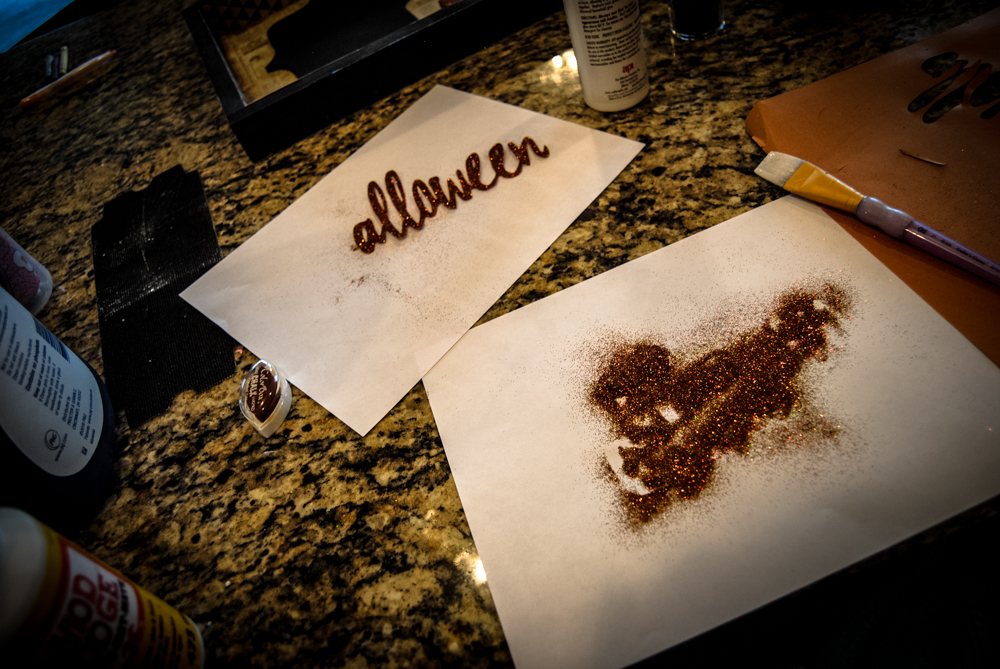
4. Glitter “halloween” and “knobs”. Use a coat of mod podge and then sprinkle with glitter (glitter pieces go on last, and they do not need a coat of mod podge over the glitter. If you coat the top of the glitter with mod podge, they will lose their sparkle.
5. Add your vinyl phrases. Add your glitter pieces. Then bling out with rhinestone pieces.
That’s it. I did all this over a couple days. To allow drying. It is easily possible to do it all in one afternoon.


[instagram-feed]
I love this!! Great idea on using both sides of the wood box/frame. You’re so talented!
Thanks!!!!! It was fun to make!