Thanksgiving Pillows-DIY Tutorial, Pumpkin and Turkey Quilt Patterns
Thanksgiving Pillows-DIY Tutorial, Pumpkin and Turkey Quilt Patterns
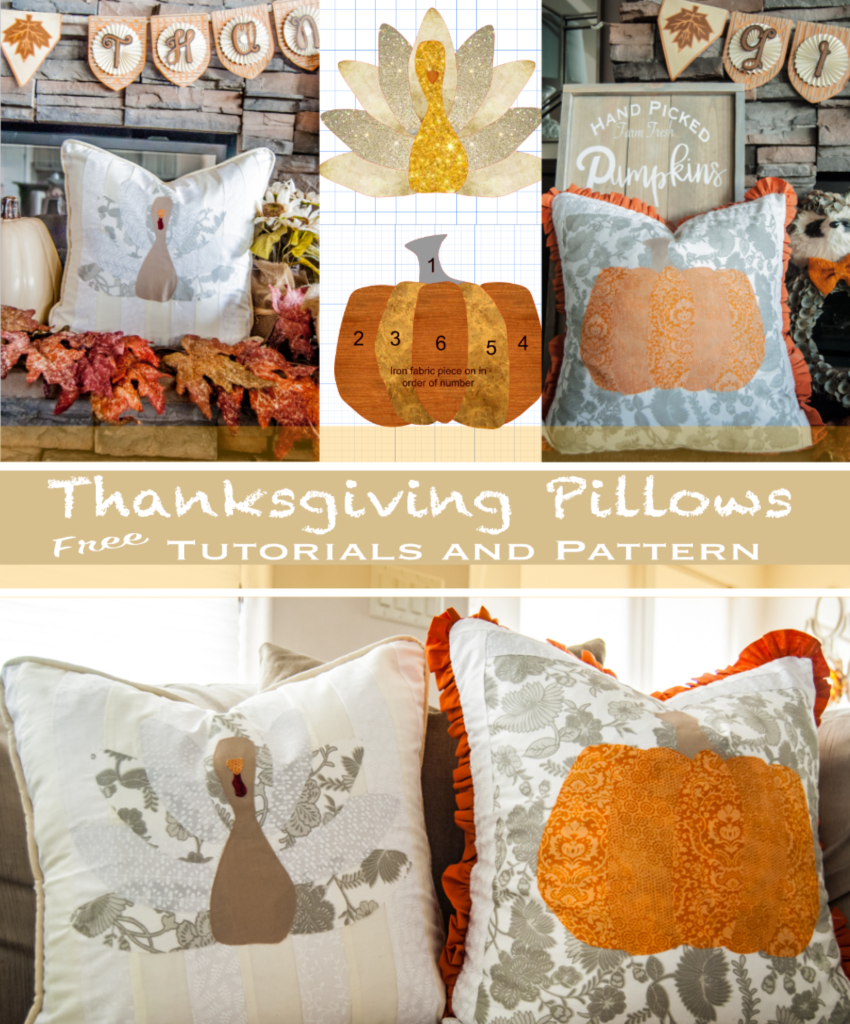
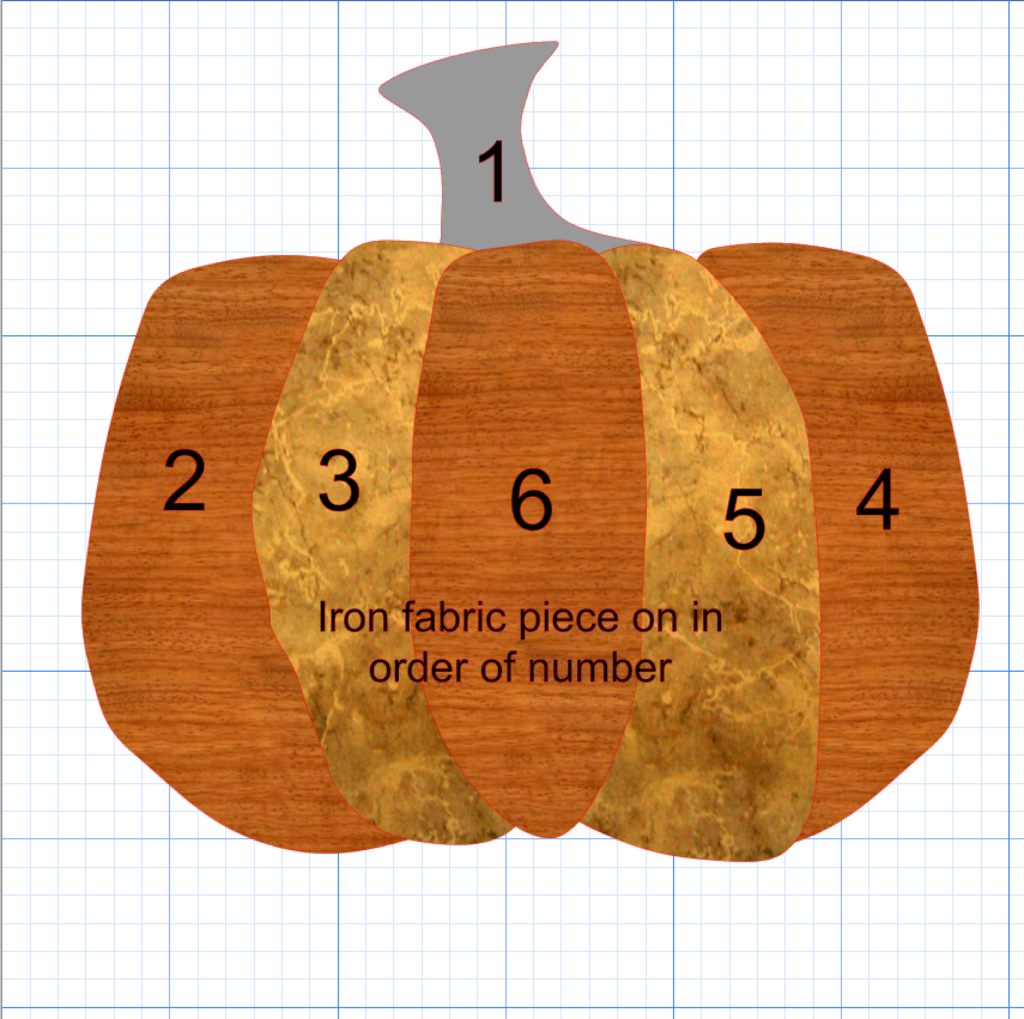
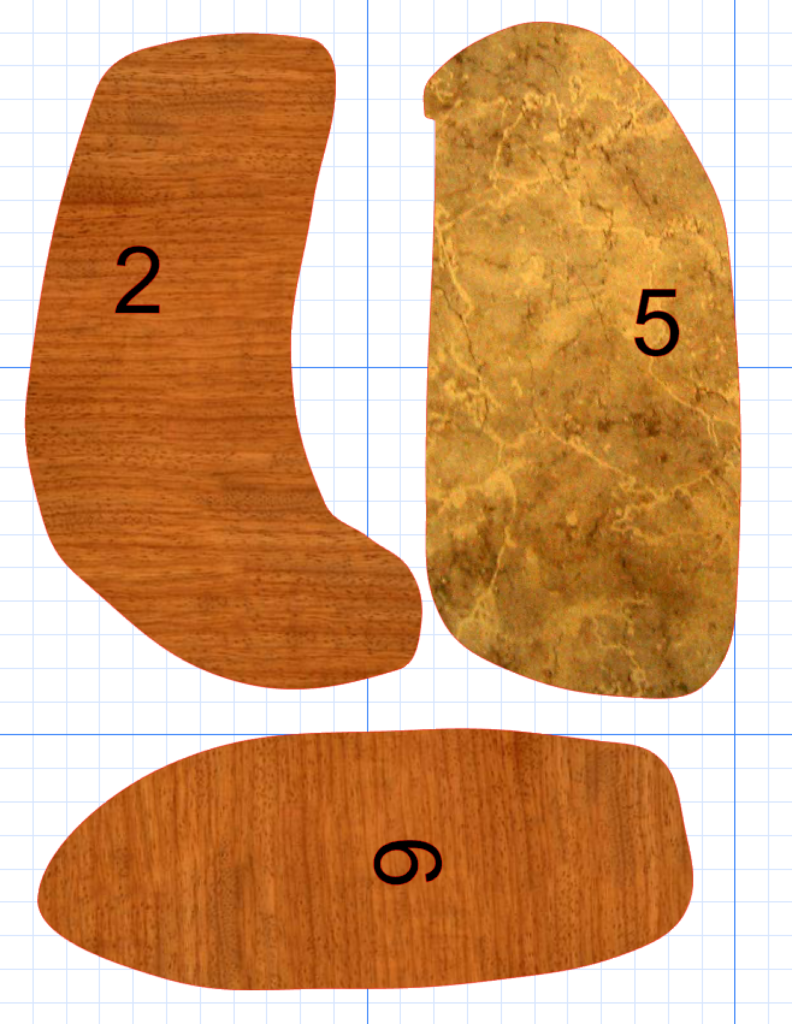
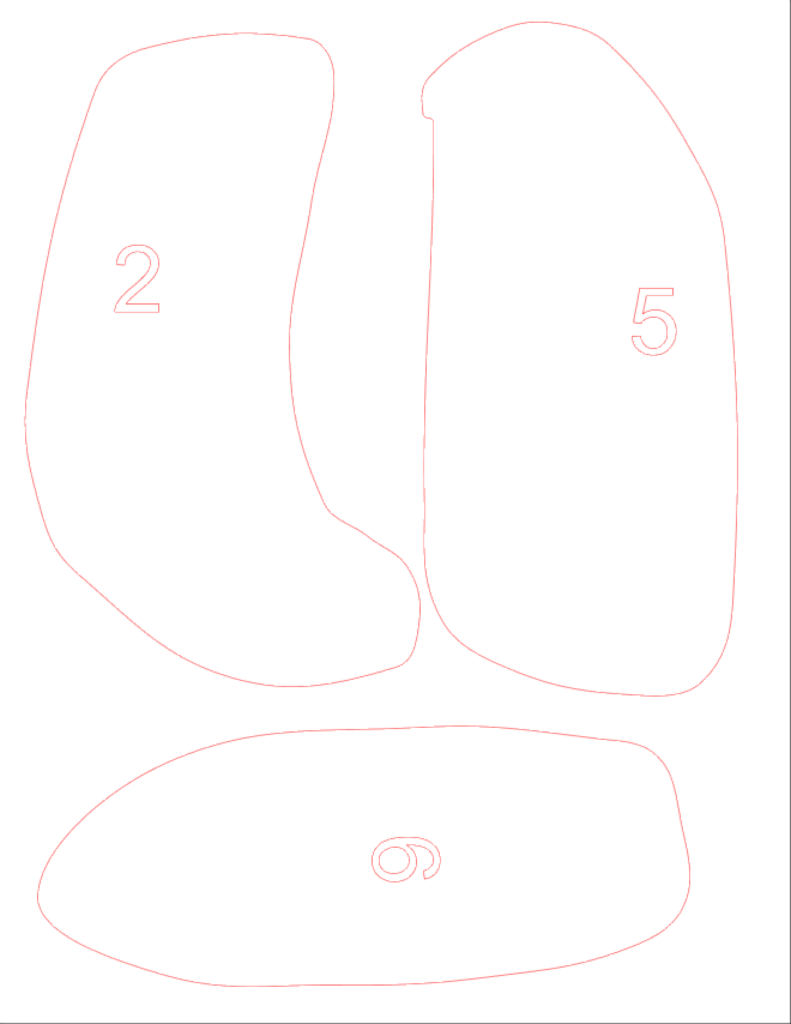
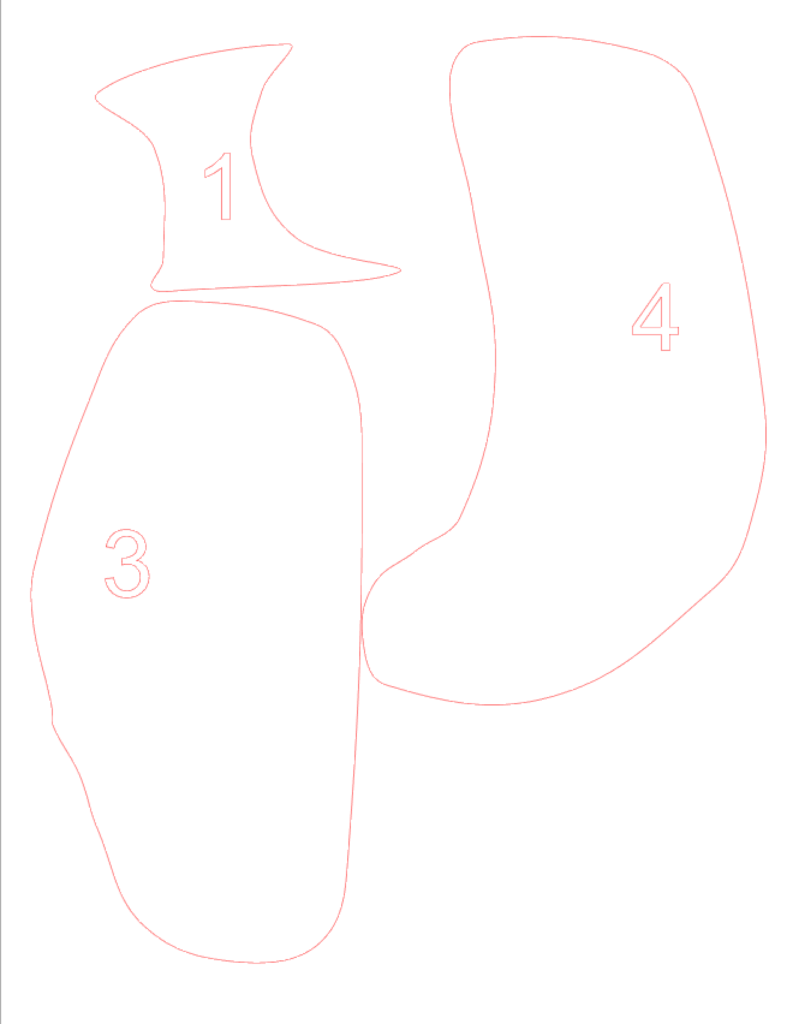
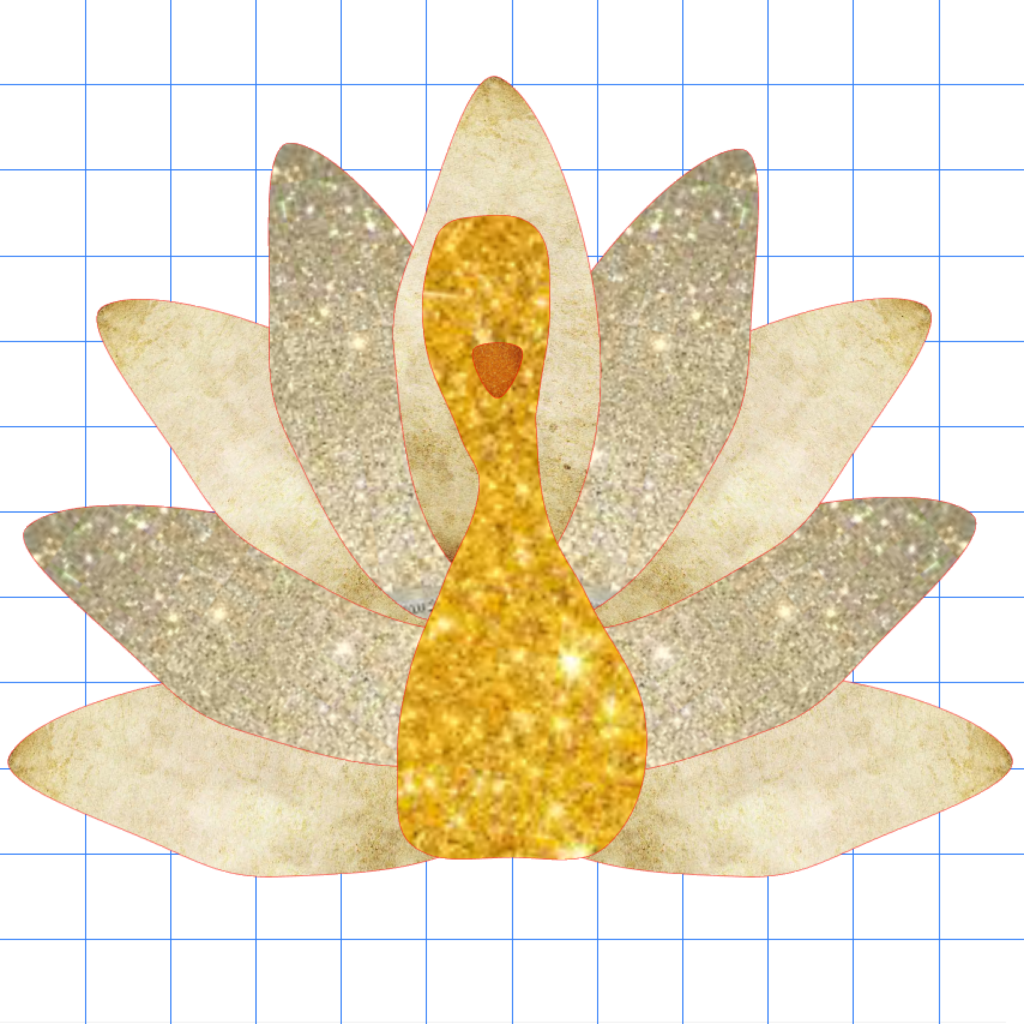
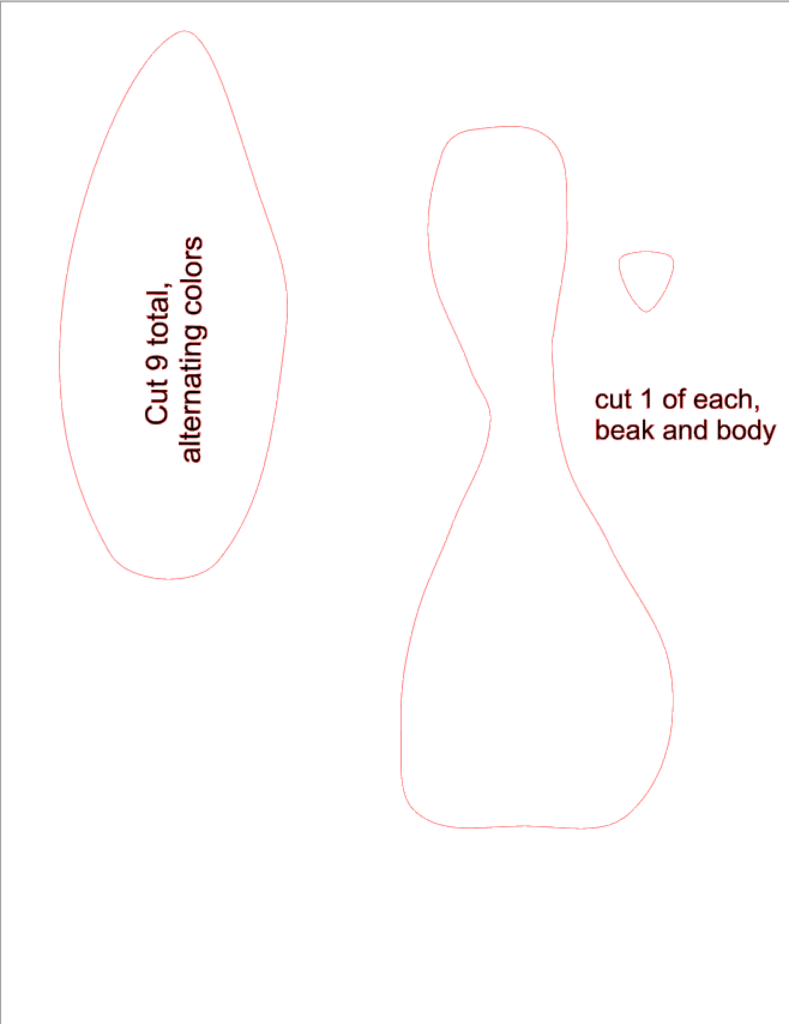
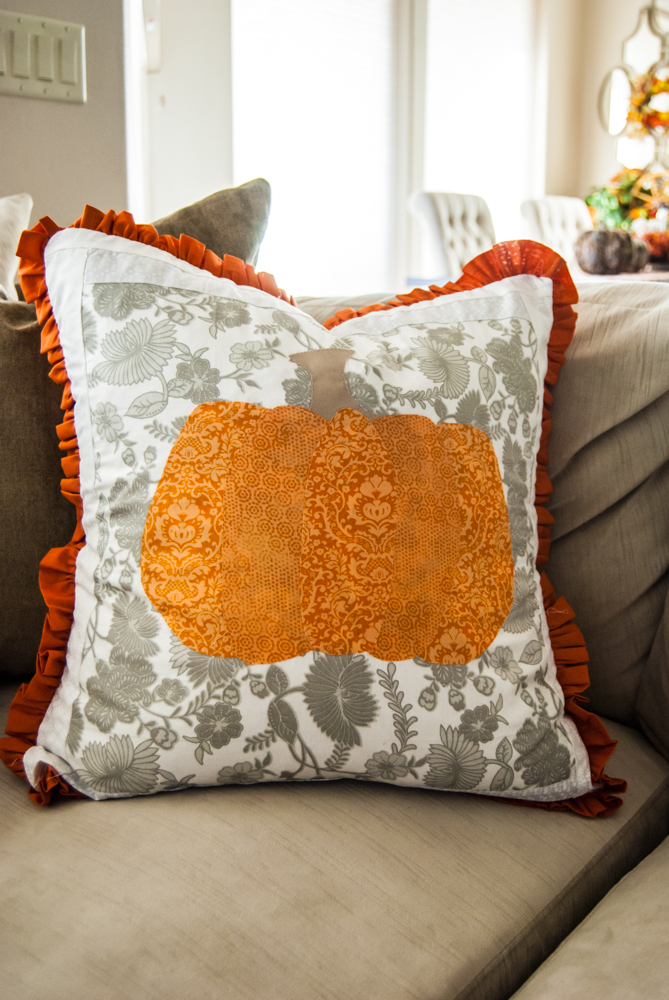
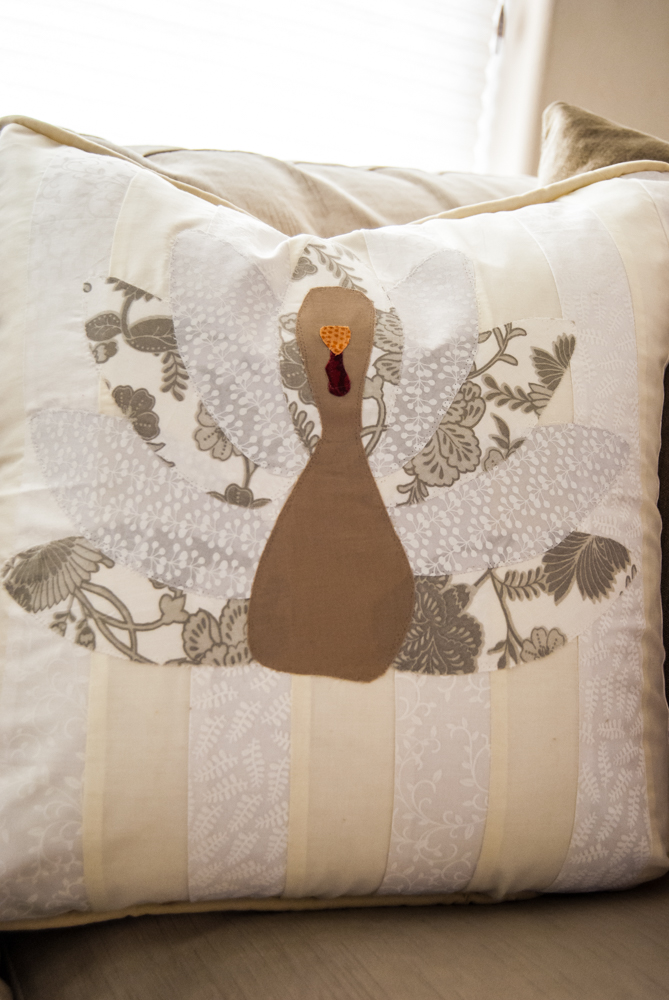
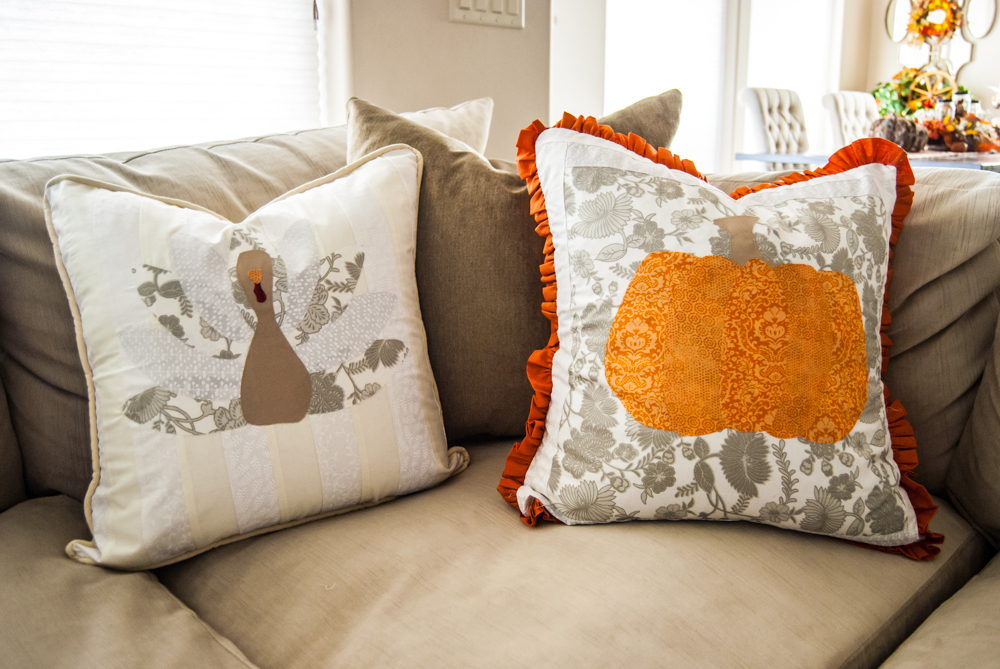
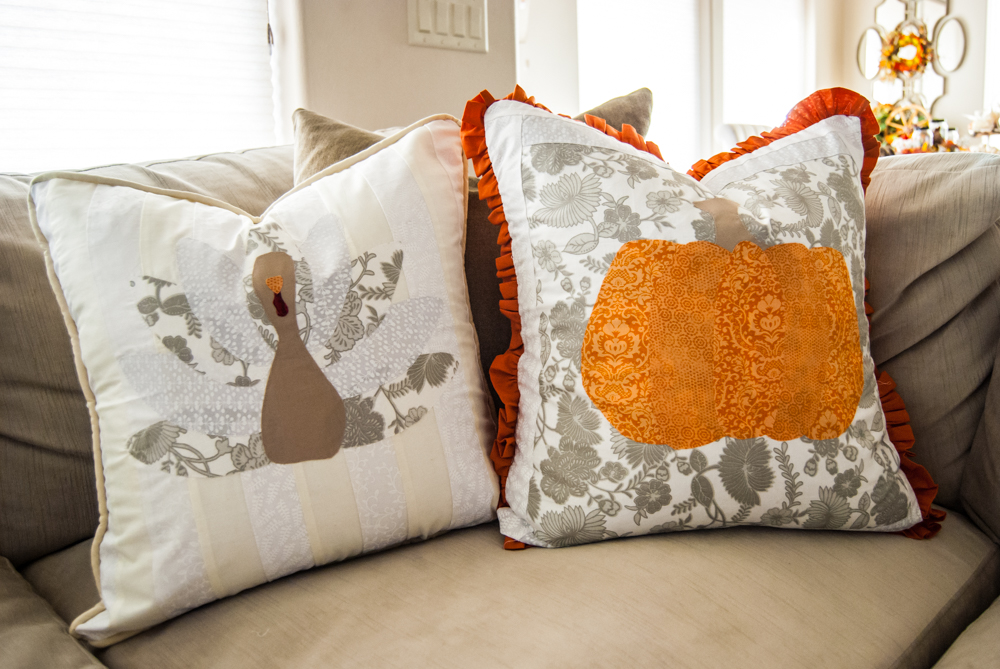
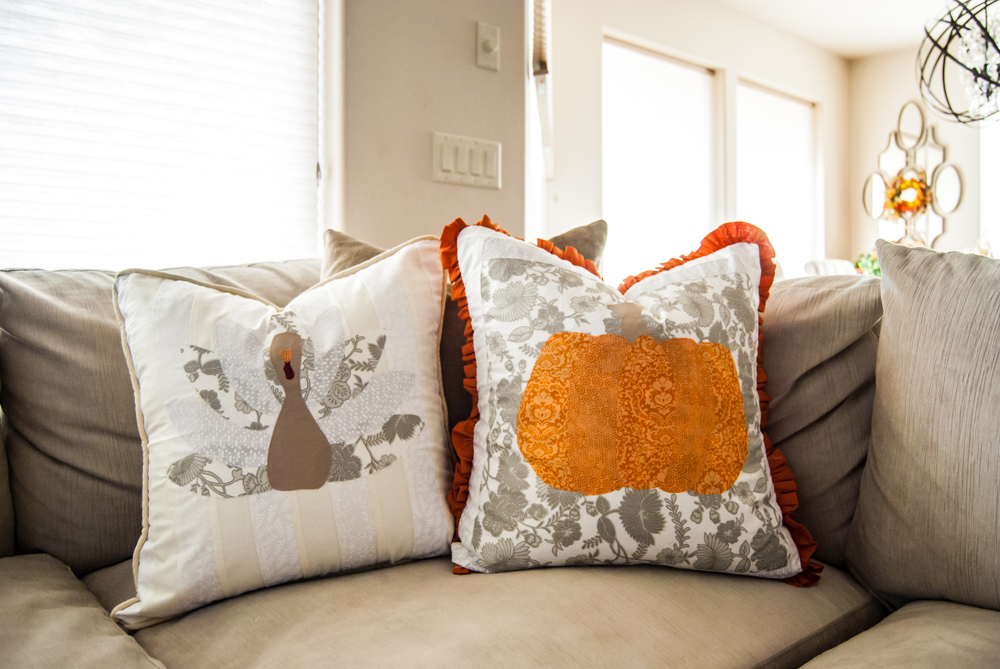
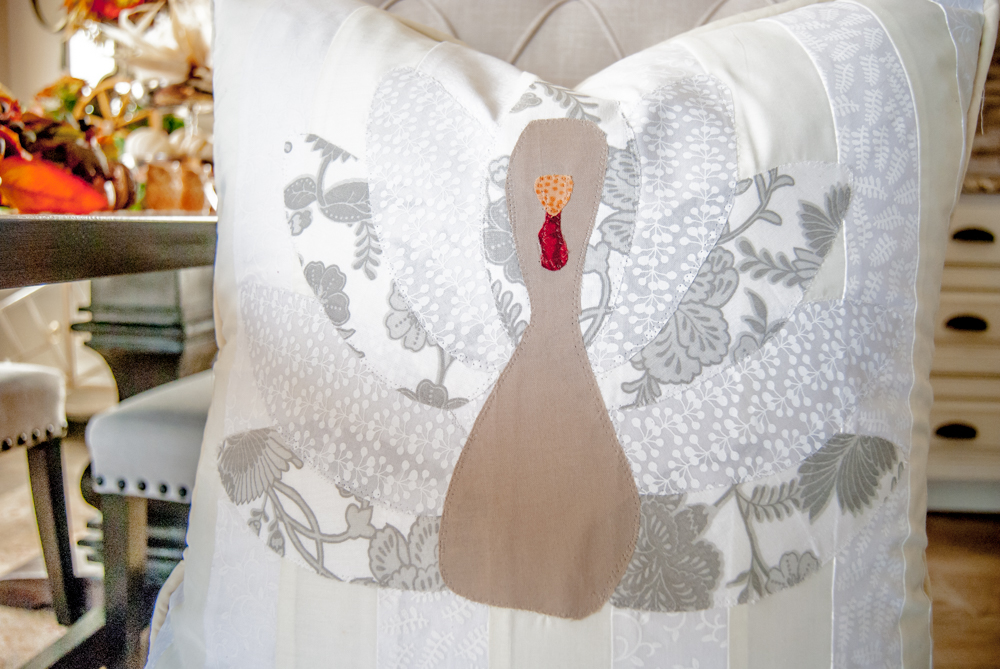
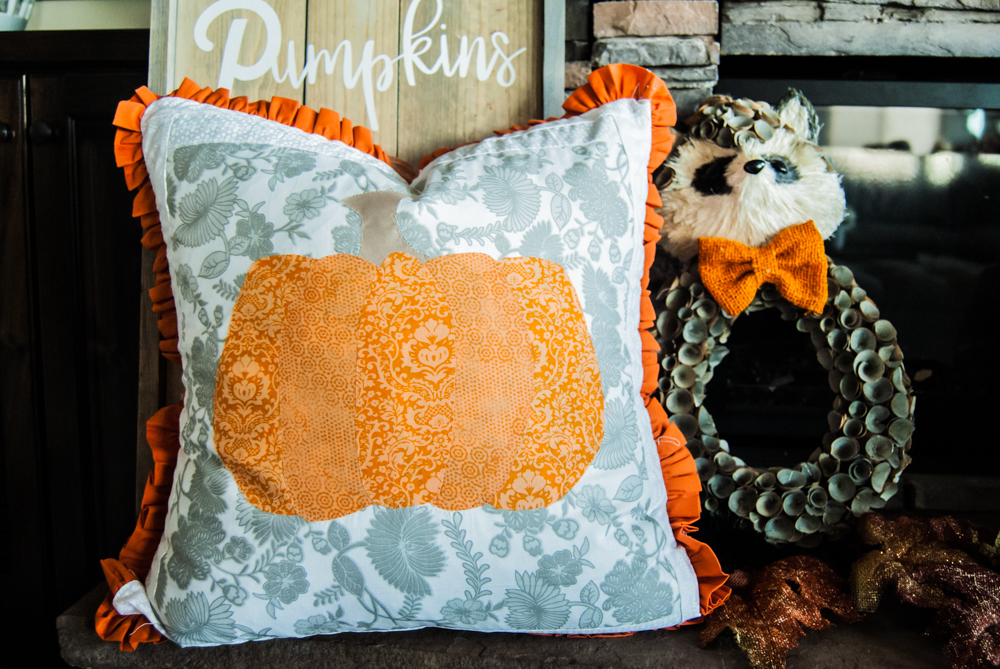
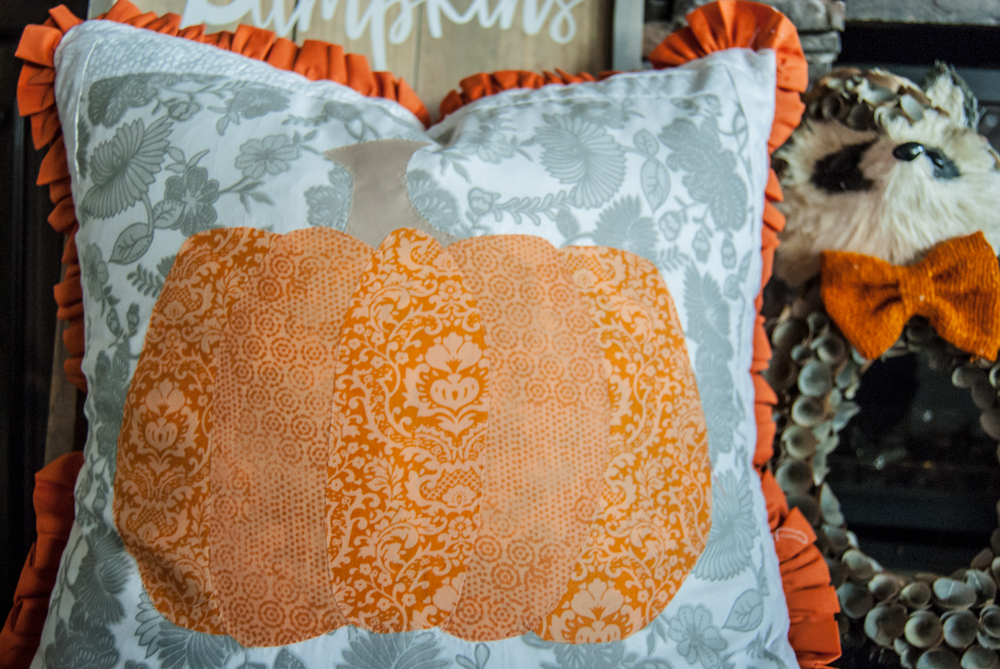
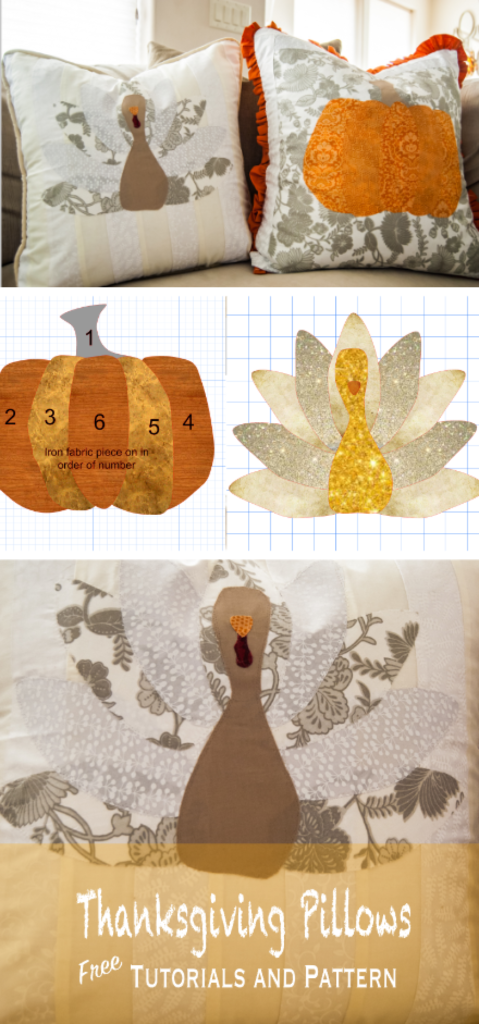
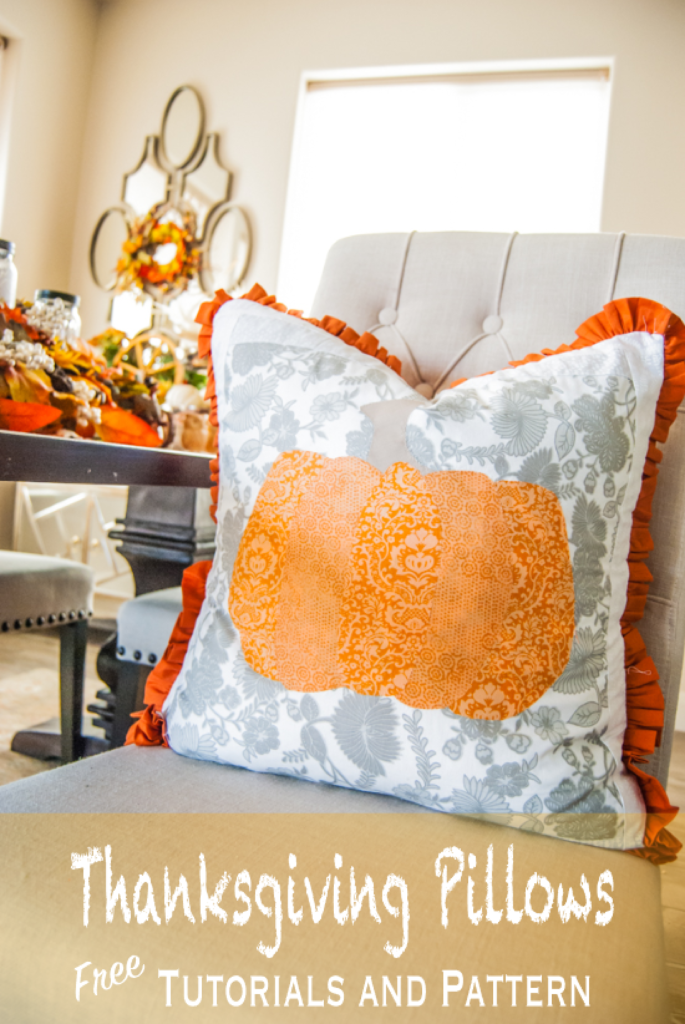
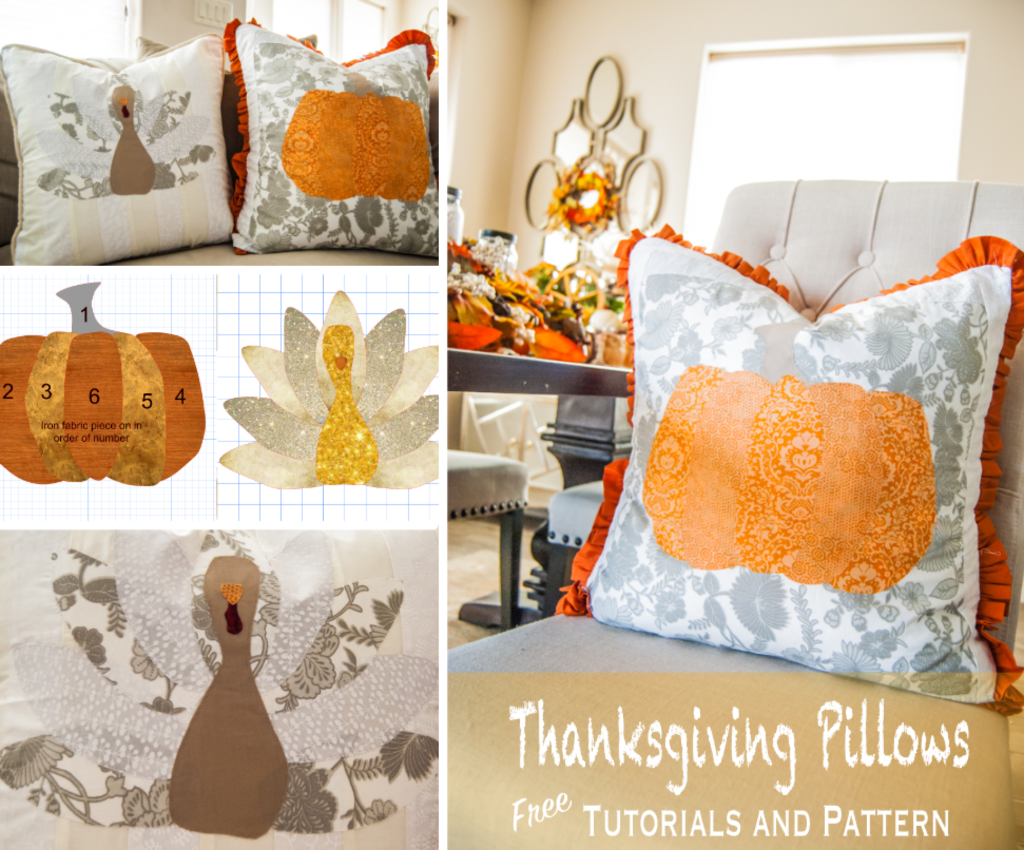
Pumpkin Pie and Turkey! That’s what reminds me of Thanksgiving! I love holiday pillows! I have a secret addiction to holiday pillows, but these are my first Thanksgiving pillows ever! Shocking right! I’ve been so busy on my Christmas and Halloween pillows that I have never gotten to the Thanksgiving pillows, but here they are, and I love them. Now of course I will be making more in the future, but for this year, these will do! This is my own turkey computer graphic pattern. Yes people, I drew it by “mouse,” and I love the way it turned out. This was the same graphic I used for my Thankful Turkey Sunday School Lesson. I actually made this graphic first for the pillows, and then I ended up using if for a church lesson late, but it sure is cute, and even cuter in fabric. Also, the pumpkin graphic is my own, all drawn by mouse, which is why they look hand drawn, but oh I just love that hand drawn look. It adds character to the pillow doesn’t it! I have a video tutorial coming of these pillows, BUT it won’t be done before Thanksgiving. But hang in there, video will be coming, and you can attempt some Christmas pillows.
Pillows are really easy to make. There is a pattern (in your brain, not on paper) that you follow, and it is the same for each pillow that you make. Figure out the pattern in your brain, and you can make any size pattern, for any size pillow, with any cording or trim you like…it all turns out the same. So what is this pattern in my brain:
Basic Instructions for any size pillow:
- Figure out the size of your pillow. (Ex. 20 x 20in ).
- Your finished front piece of your pillow should equal 1/2in more on all sides, as well as your back piece, unless you add a zipper to the back. (Ex: 20 1/2 in x 20 1/2)
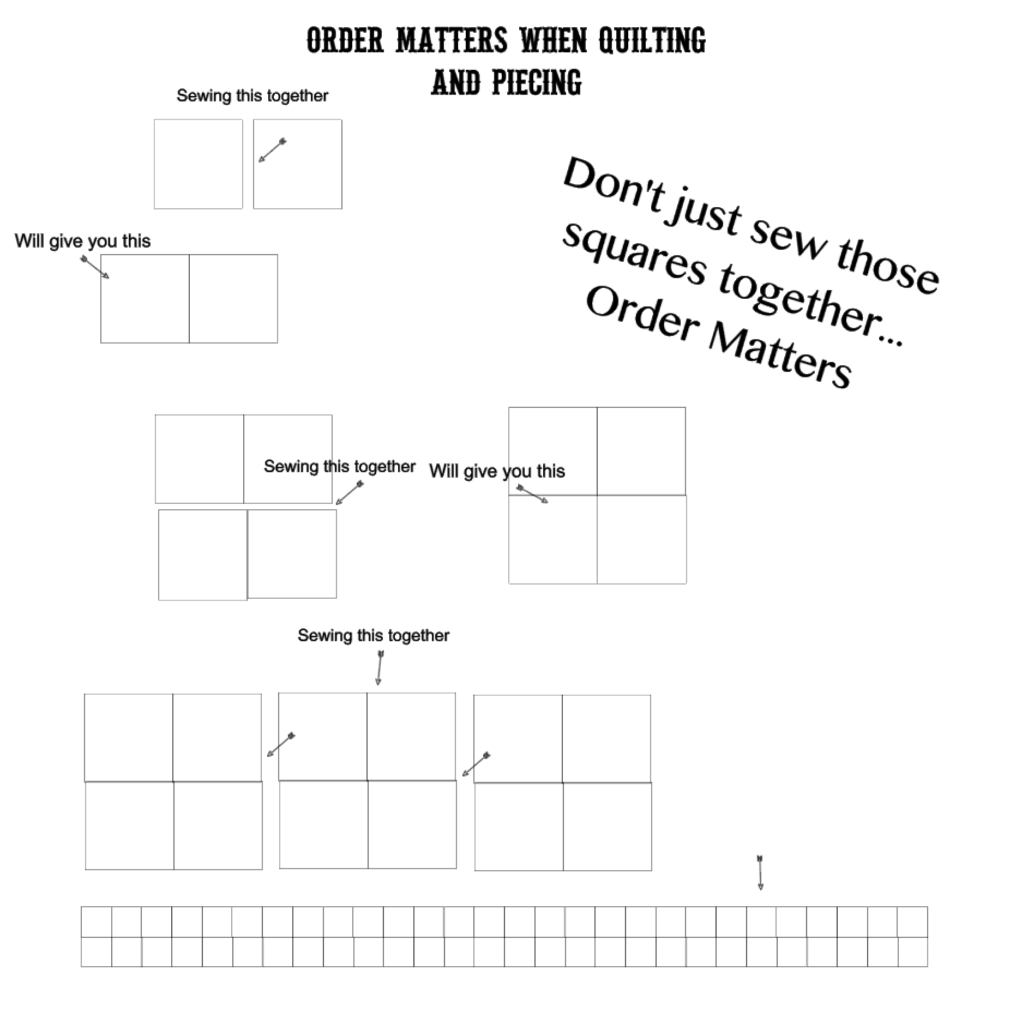
- For your front piece: Piece together your fabrics, and add your front decorations to your pillow. Remember, the order you sew the fabric together does matter…(for ex: When sewing together squares, you shouldn’t just sew them in a big long chain of rows. They don’t turn out. Order matters in quilting. See my chart below). So when designing your pillow, research the order and pattern. There are detail instructions for whatever you may want to do. Also, for my turkey, I just did strips of fabric sewn together, and for the pumpkin, I just pieced Scraps, but order matters. A pieced front with designs on it, always looks better than a solid piece of fabric. Make the effort, and go for extra detail. Piecing is easy. Just use order.
- Sew your cording or ruffle to the front side of your pillow.
- Then, For the back, I always add a zipper. So, spilt the fabric into two pieces and an extra inch on each side for zipper space. (For example, your FINISHED 20 1/2 inch pillow, the back size would be cut larger to fit a zipper….so you should have two pieces of 11 1/2 x 20 x 1/2 for a zipper running directly down the center) and BASTE those two pieces together, and then using your zipper foot, add a zipper).
- Finally, Sew it all together.
- And please, use down pillows to fill your cover. It just looks better (to me anyway). I have a stack of down pillows, and I just remove the covers and put new holiday pillows on. I rotate…I take the ones on my bed, and move them to the sofa for thanksgiving. Really, I’m just changing out the cover for the holidays–and this is why I add a zipper. ZIPPERS ARE NOT COMPLICATED…don’t be afraid.
I TOOK VIDEO OF ME MAKING THE THANKSGIVING PILLOWS, but i will not be able to edit it an post it before Thanksgiving, but stay tuned, I will have video broken down with instructions…so that you can make these yourselves. I have taught friends, who only had basic sewing skills, to make pillows. Now they make their own all the time. Just learn the basic steps in your brain.

