A New Baby and a New Stocking Tutorial

Stocking Tutorial, How to
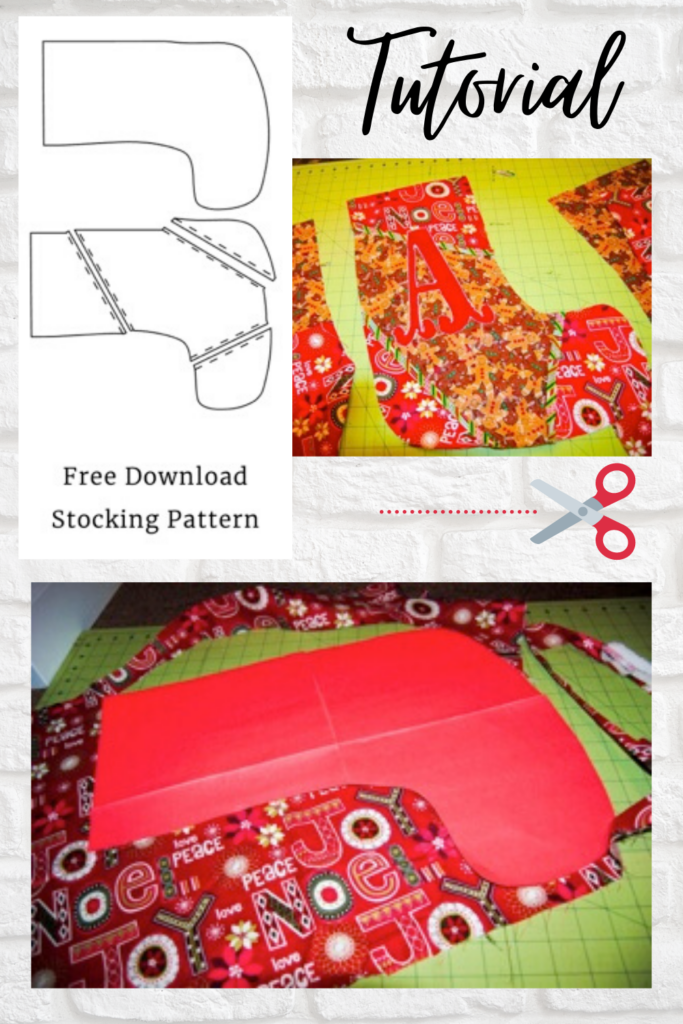
With each child born, every Christmas I am left with the task of making a stocking, and as the years have passed, you can look at our fireplace mantle and see how my sewing skills have improved. Each stocking gets better than the last….and each new stocking is always completely different than the last! This stocking was made for our newest addition, baby Alora! The tutorial is below, and it includes step-by-step instructions to creating your own Christmas stocking, along with my FREE 10 page PDF Christmas Stocking sewing pattern you can download here: Christmas stocking sewing pattern

Check back in the up coming days on TheEverythingHousewife.com for my Christmas Tree Skirt Tutorial!
To begin, print out the FREE Christmas stocking pattern download, and piece it together. You will need approximately 1 ¼ yards (assorted colors) of fabric for your stocking, in addition to additional fabric for bias tape and a ruffle, and heat bond for applique decorating.

Cut assorted fabric colors for the front of the stocking.

For the lining, fold your fabric in half, and cut. You should have two pieces that are mirror images of each other. (Please note that I pieced two pieces of the fabric together from leftover scraps to make my lining)
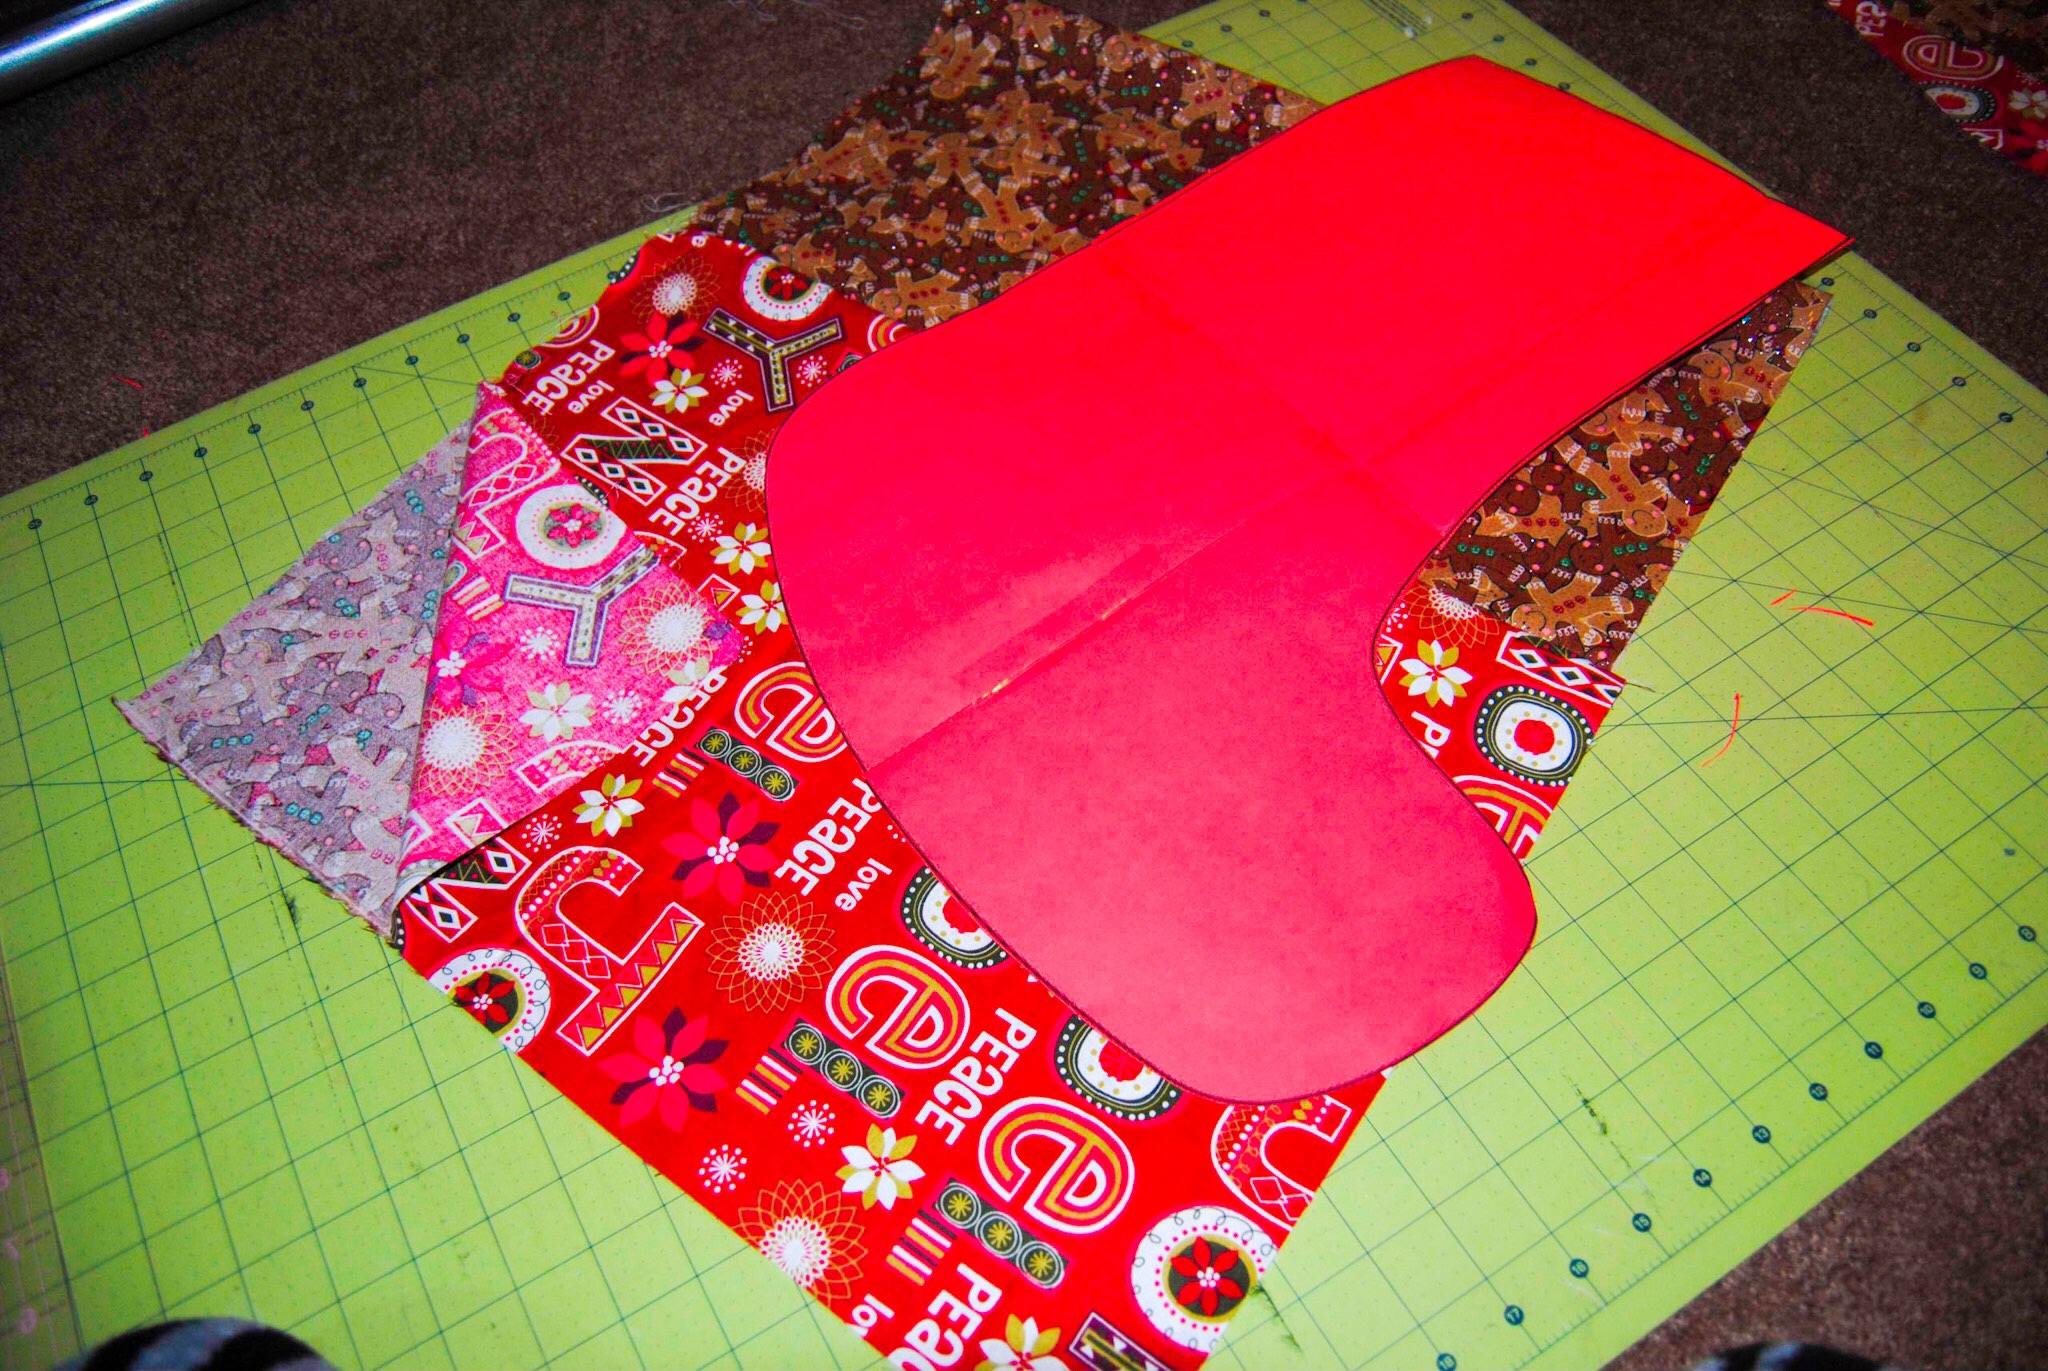

For the back of the stocking, you should flip the pattern piece over and cut. This will give you a mirror image cut of the pieced-front of the stocking.

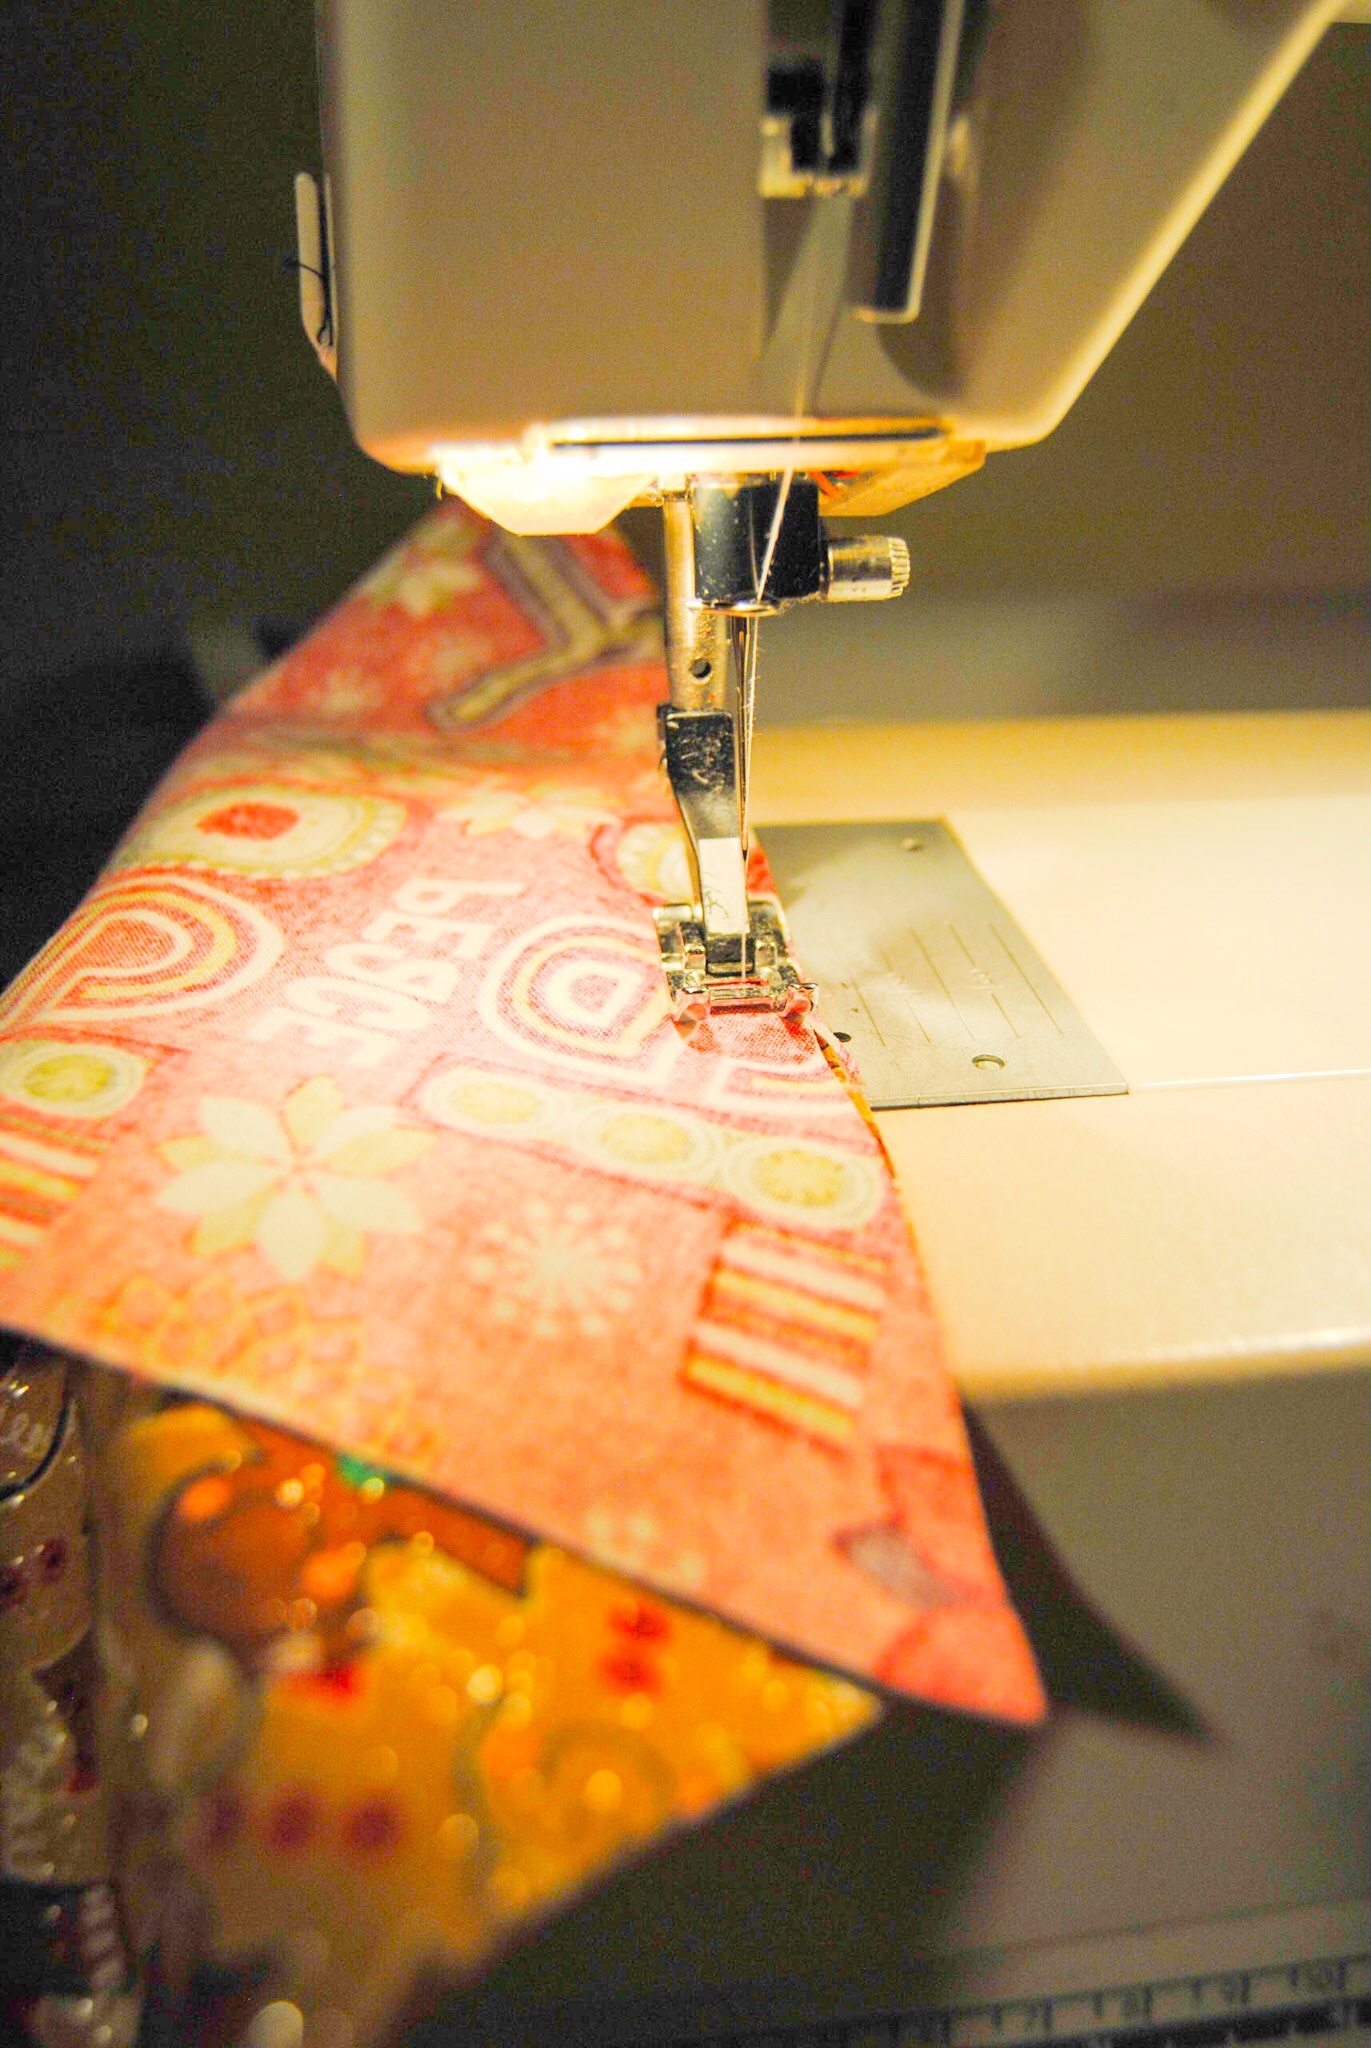
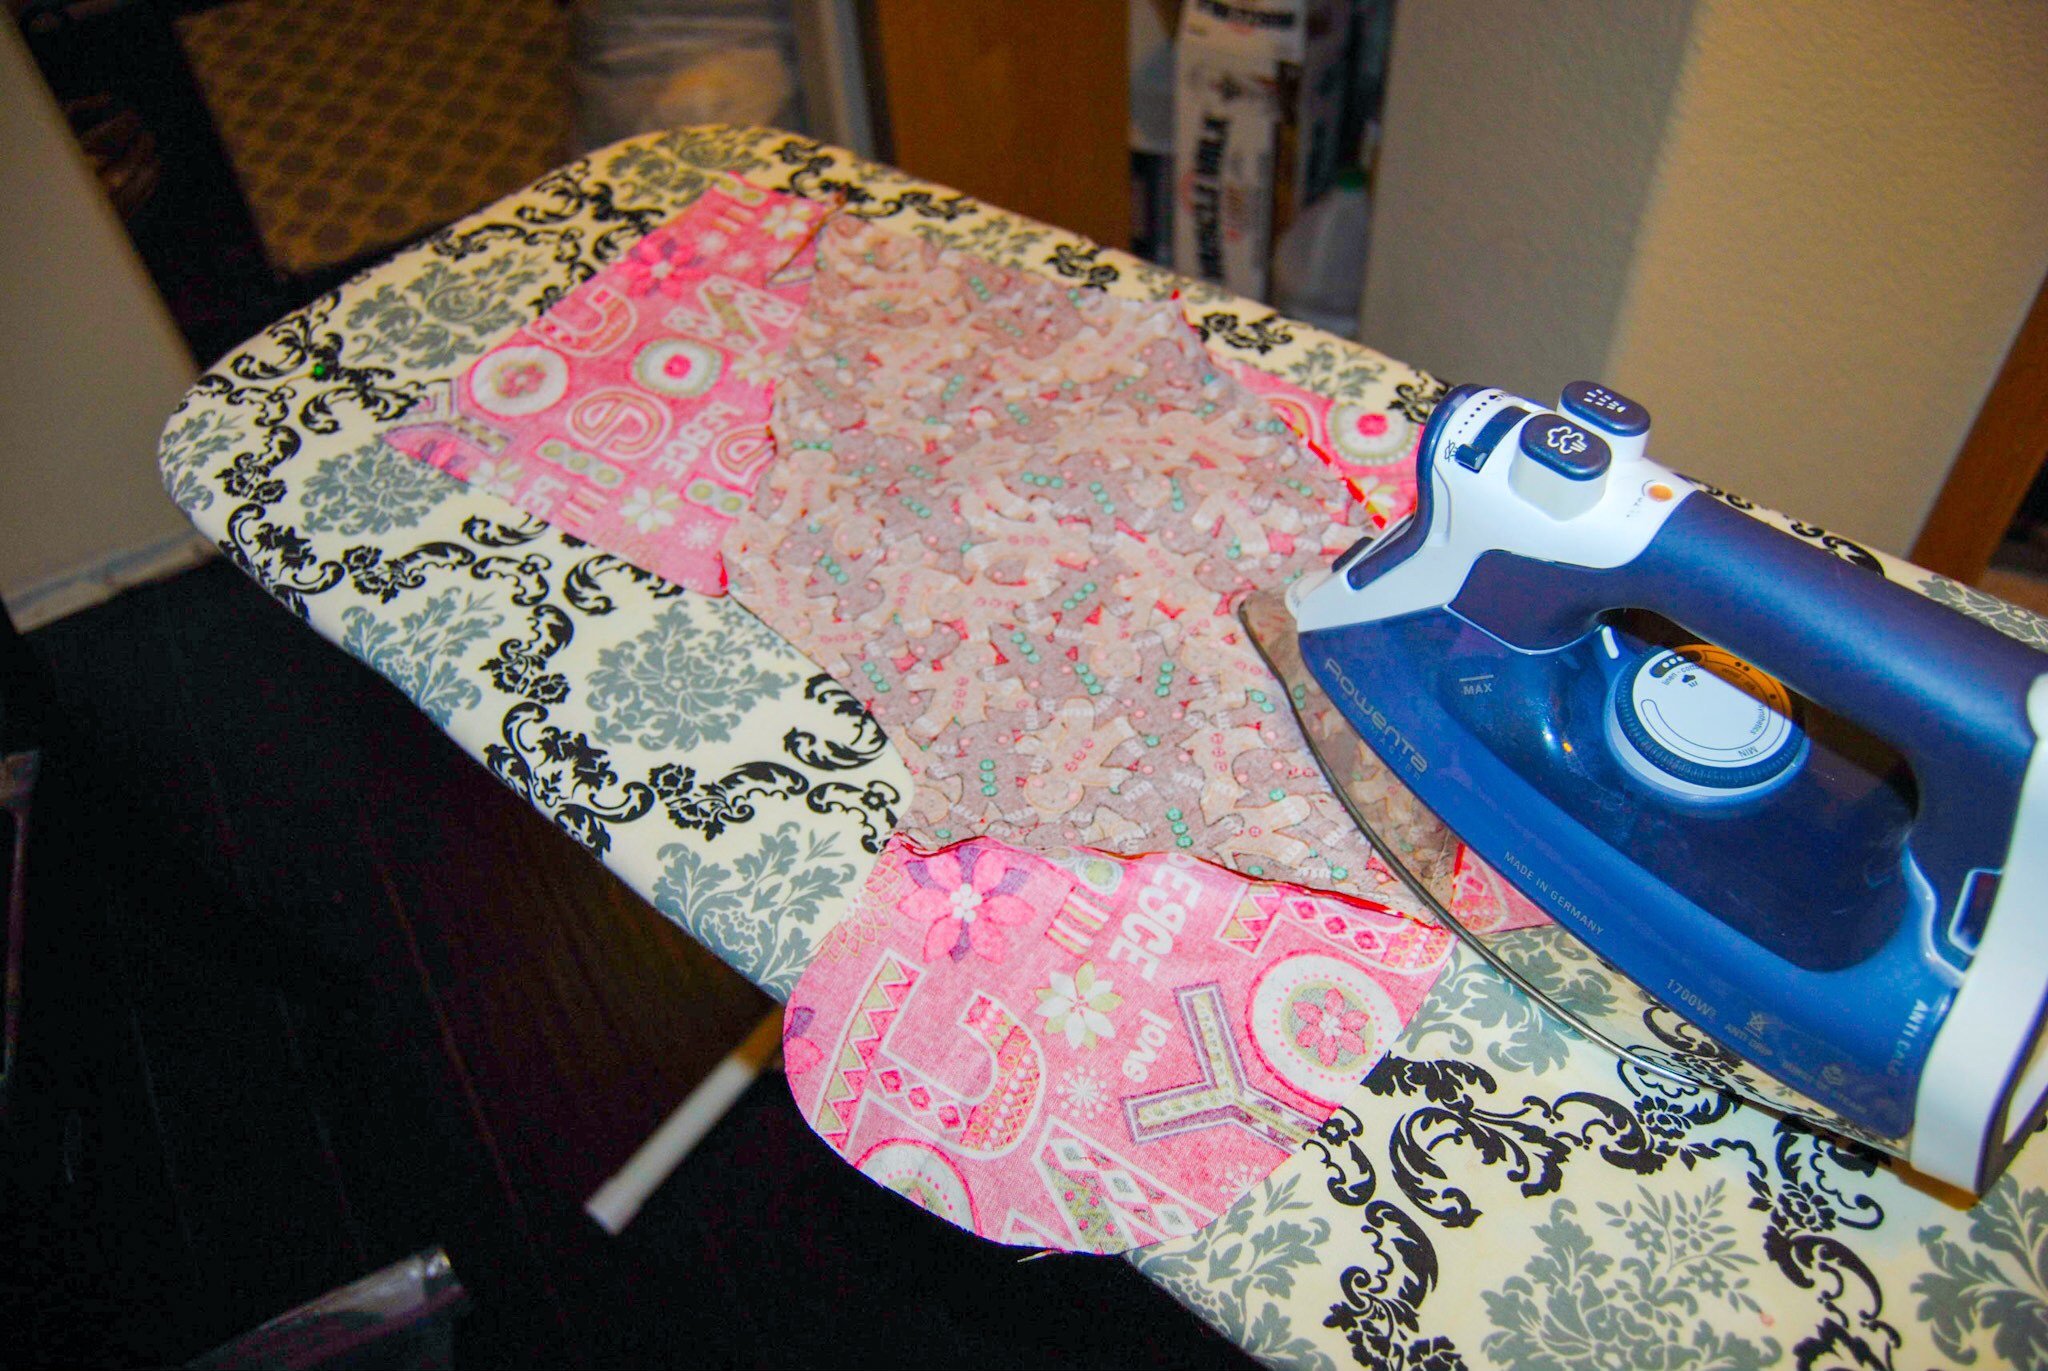
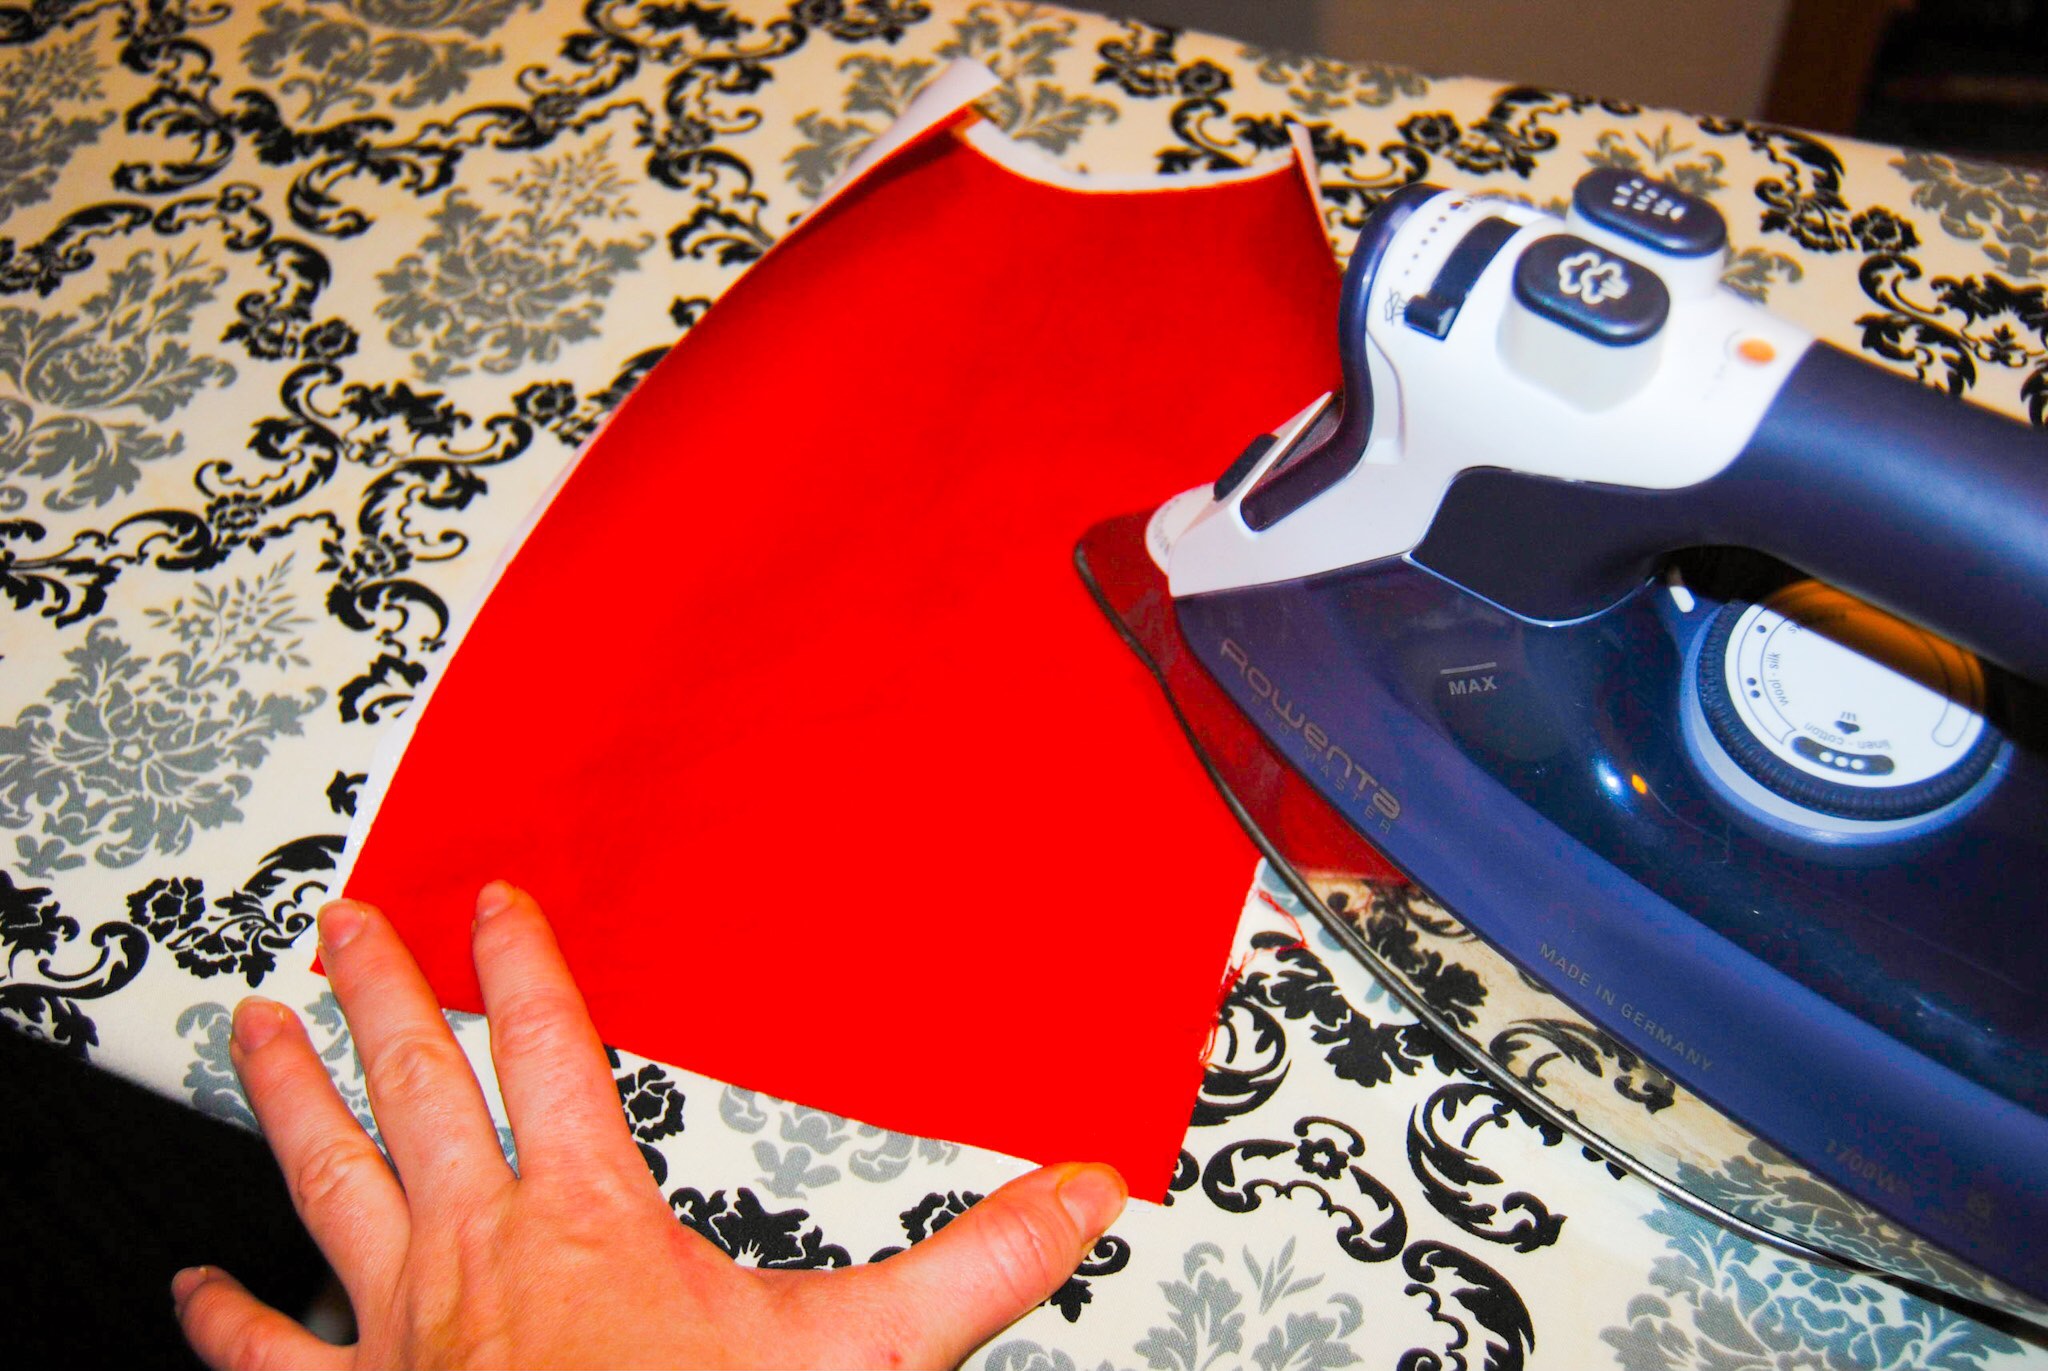
Sew pieced-front of stocking together with ¼ inch seams. Then press the seams with a hot iron.
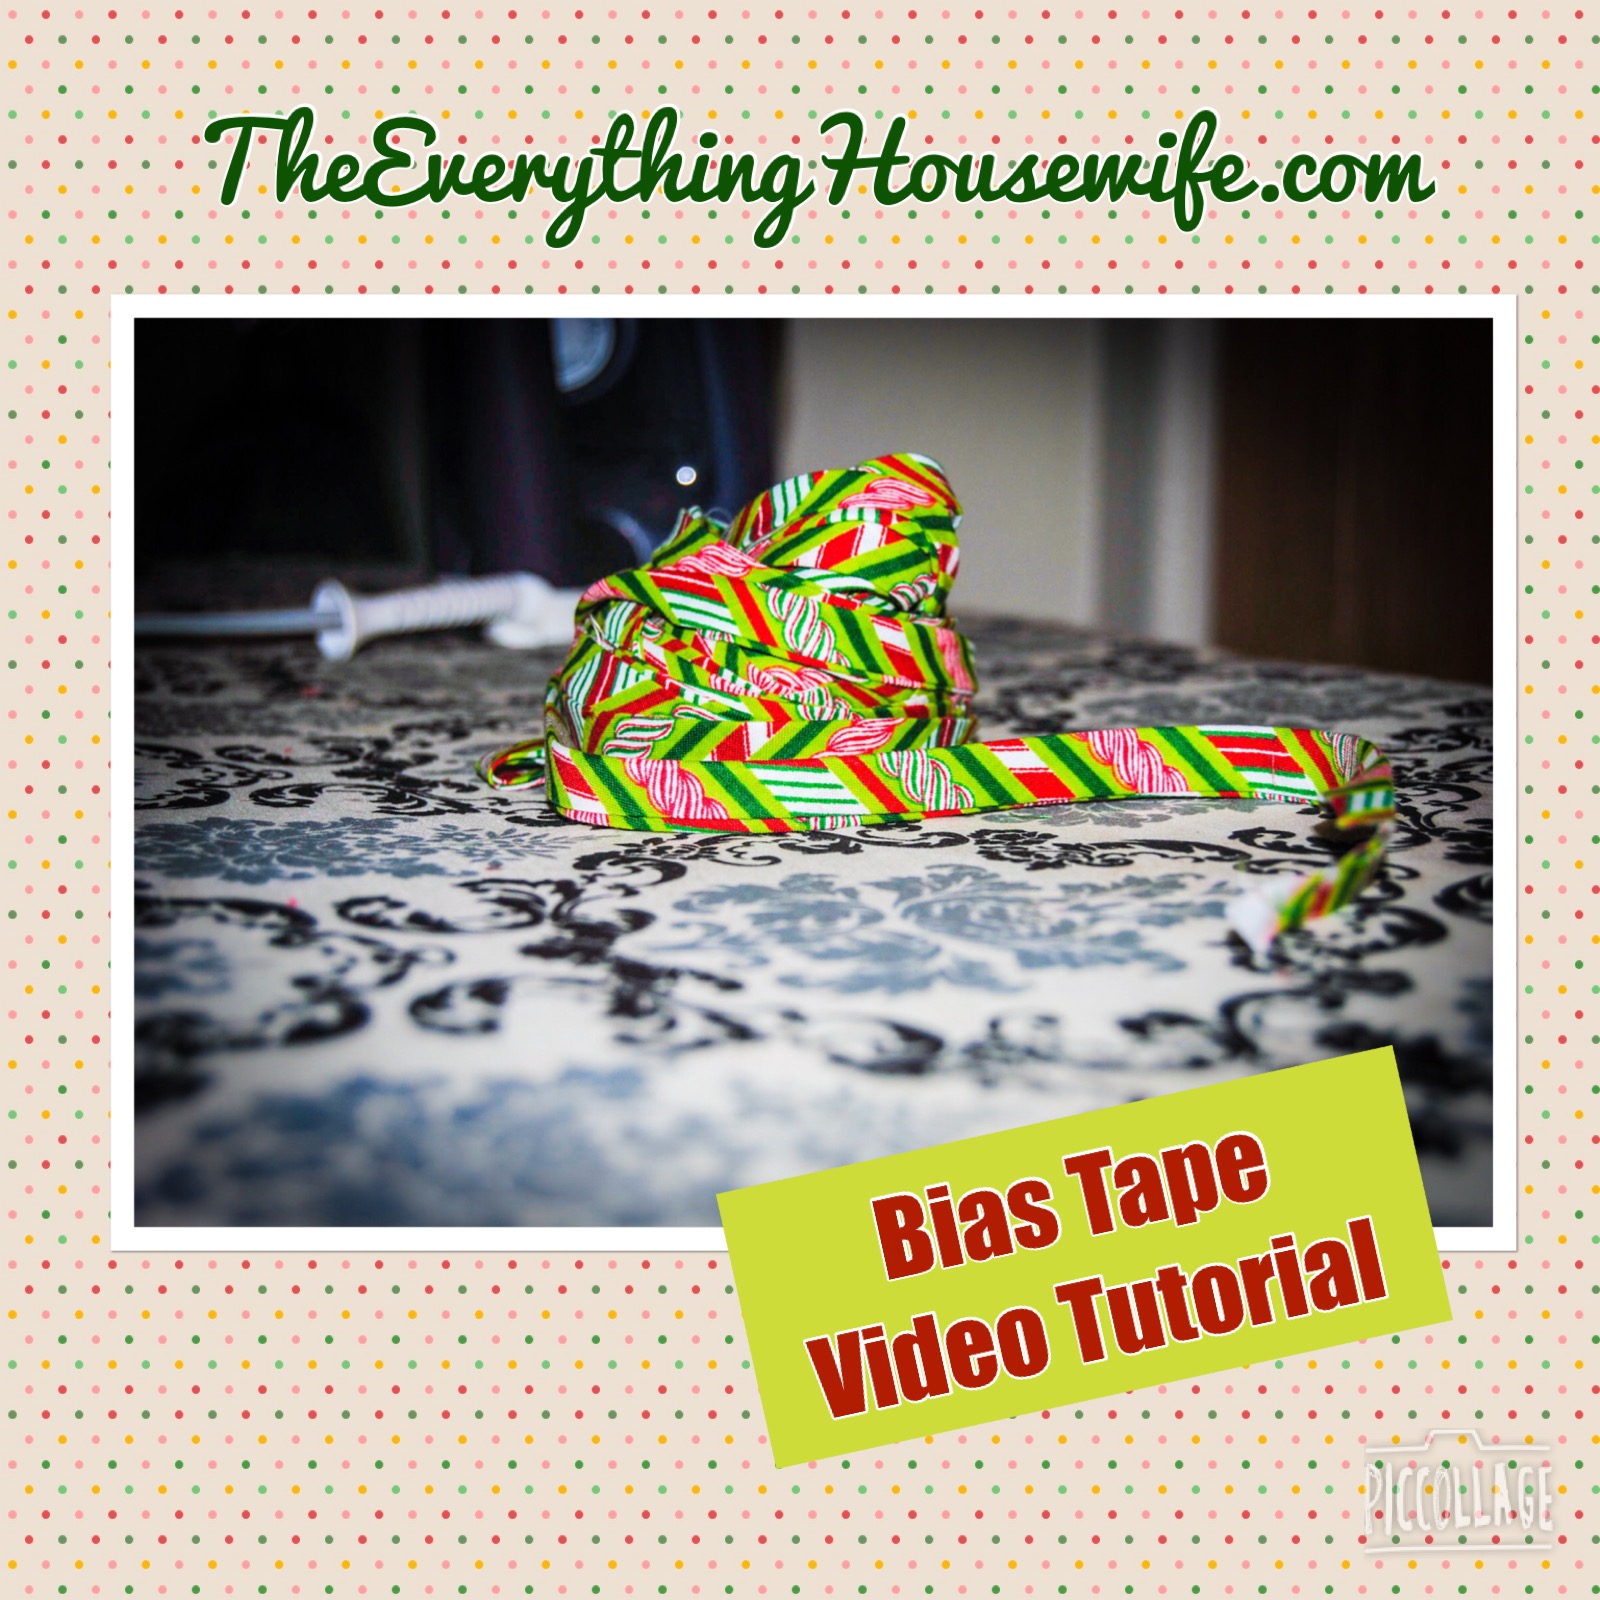
Now its time to decorate the stocking. I used bais tape, and appliquéd an “A” for Alora using heatbond. Here is my tutorial for the bias tape: Bias Tape Tutorial
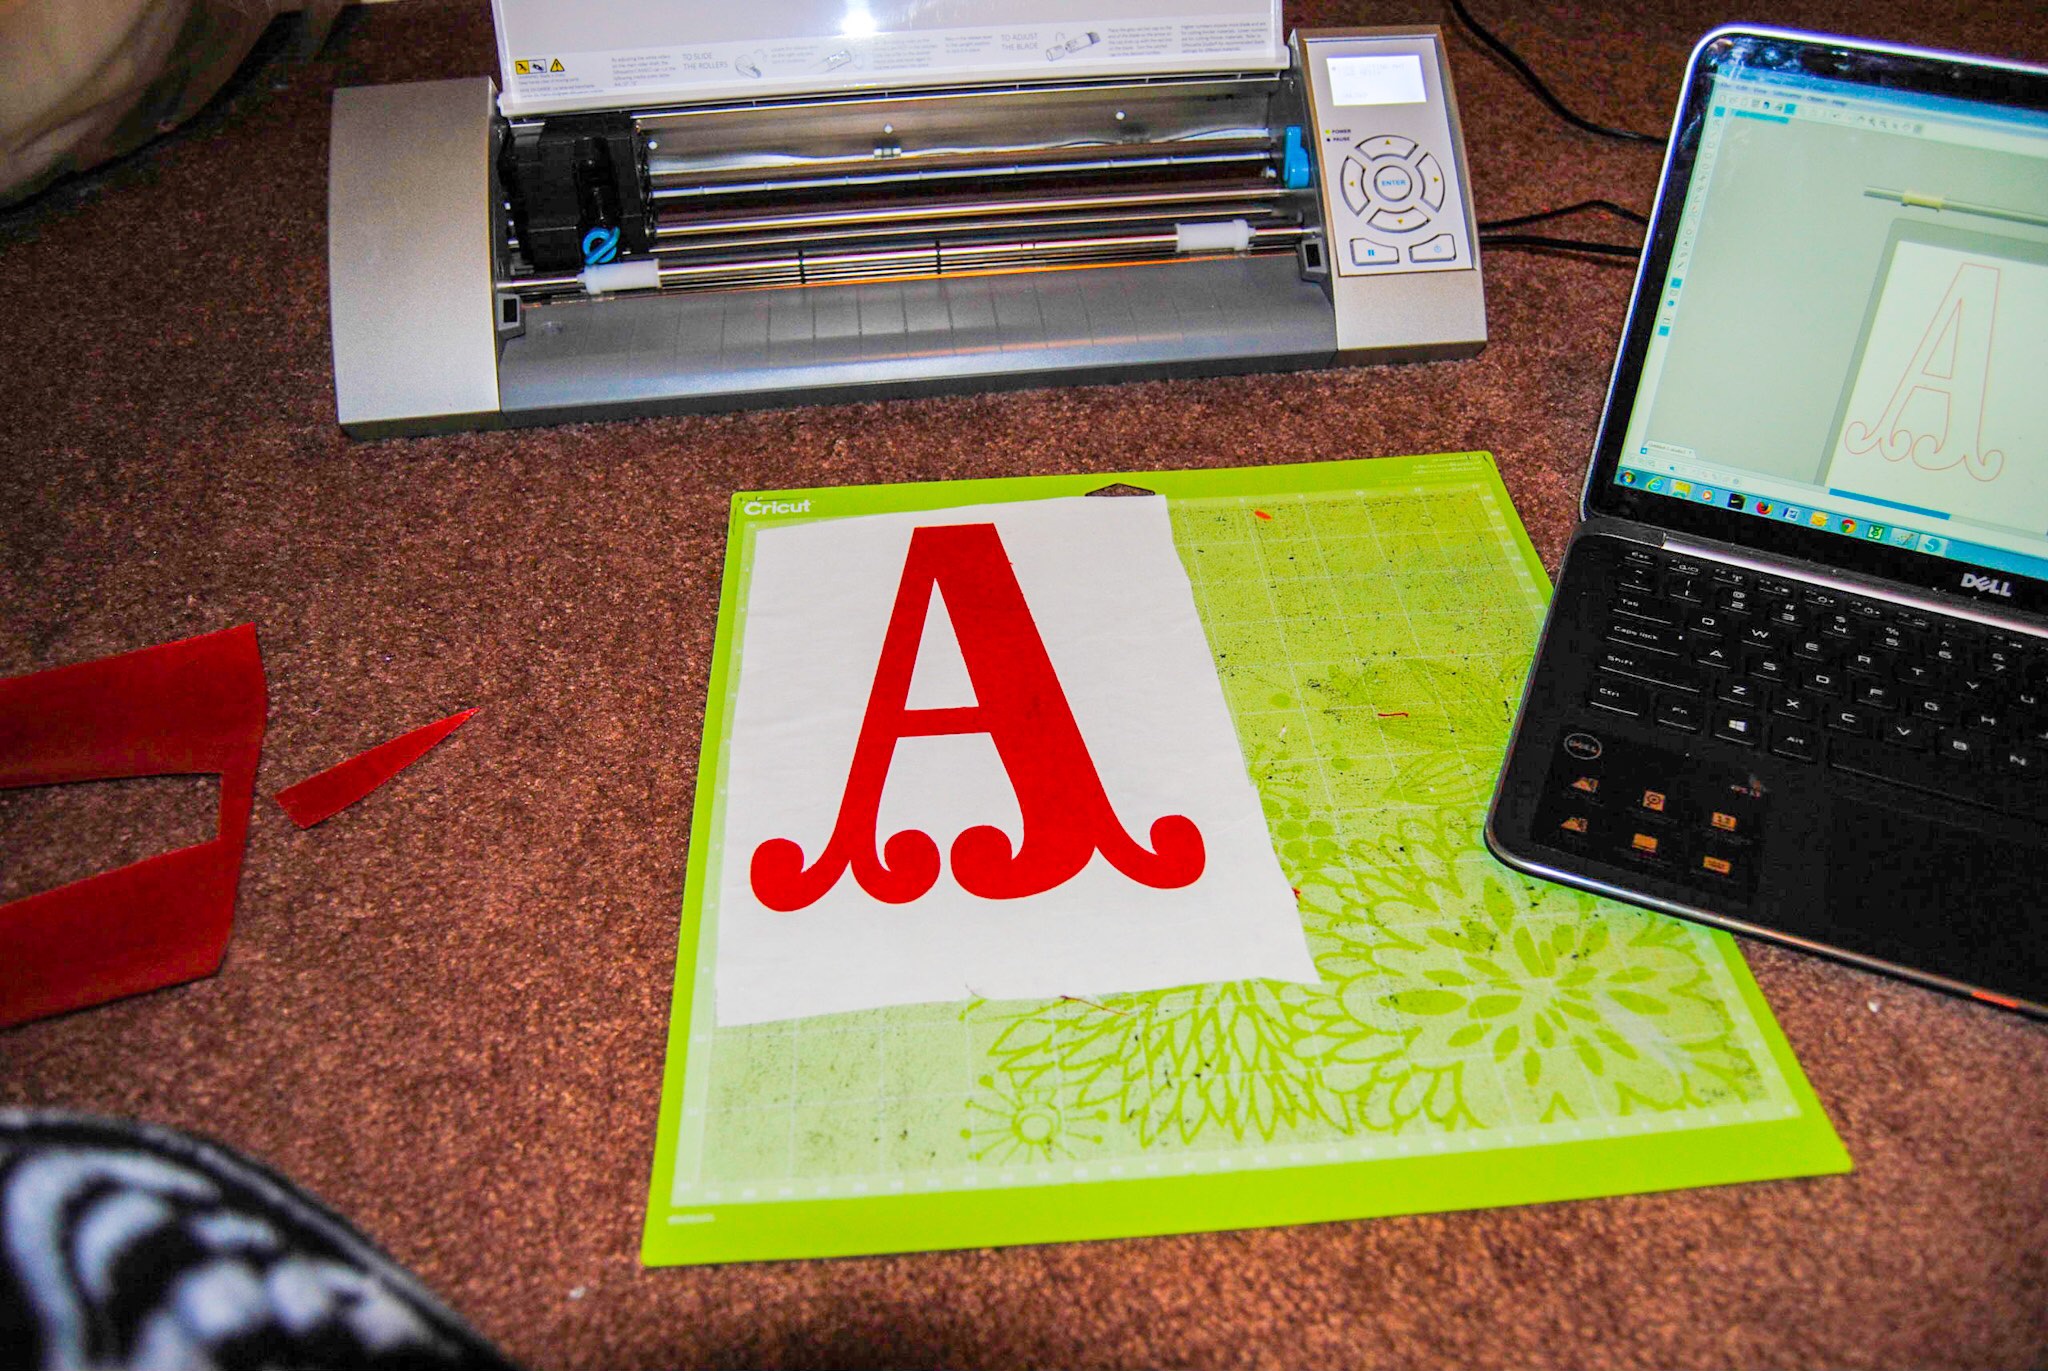
I applied heatbond to the back of some red fabric, and then cut out the letter “A” with my Silhouette Cameo.


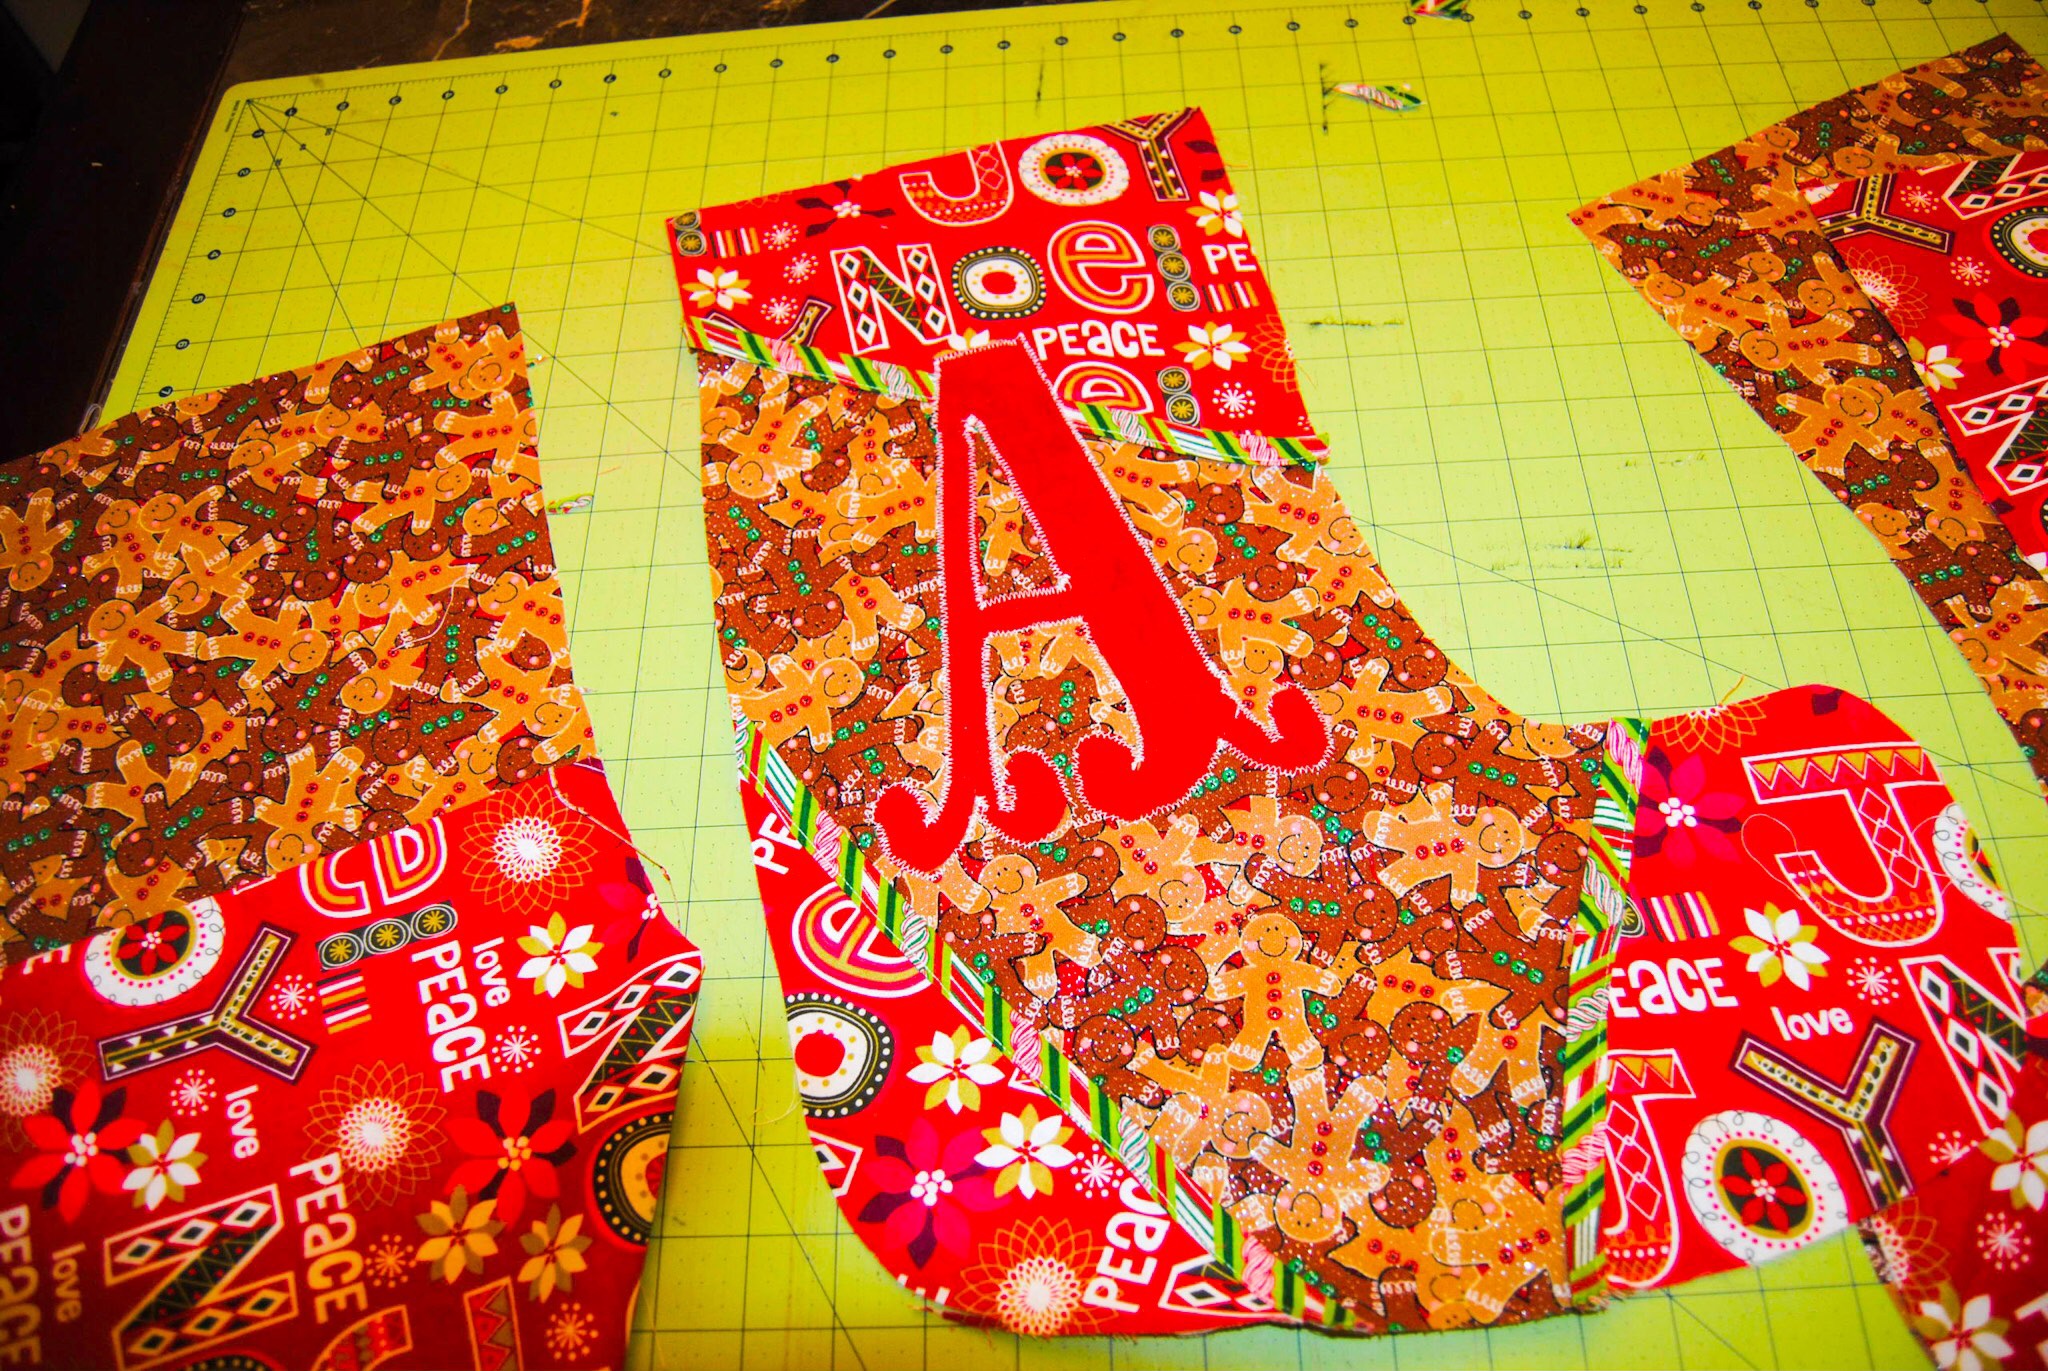
Here is what the finished decorated front looks like.
Now its time to sew the stocking pieces together. Layer,first, the backing of the stocking right side up, followed by the front piece of the stocking faced down, then place the batting on top. Then layer the lining pieces….face the inside lining pieces, right-sides together.

Sew around the edge leaving the top unstitched.