
O Holy Night Banner Free Download

My favorite Christmas song is “O Holy Night,” and not just any version of O Holy Night, it is David Foster’s rendition sung by Michael Crawford. If you have never heard this version of “O Holy Night,” it is an absolute must! I always get the chills when he sings the final lyric “Noel.” He hits this amazing high note, and there is a children’s choir singing in the background. It’s been my favorite Christmas song since the album was released, which I believe was well over 10 years ago, so I don’t think I plan on finding a new song. So, naturally, I had to make a banner for my mantle that was personal to me.
This is a one of a kind banner! I designed the graphic file myself, and I used my Silhouette Cameo for cutting. I am including a free downloadable cut file so that you can make the banner at home to display for the christmas holidays. Make sure you “select all” and size the graphic all at once. For each finished circle, I chose to size mine at around 5 inches in diameter. I wouldn’t recommend going much smaller than that.
Here is the free PDF Oholynightbanner. Select all, and copy and paste into silhouette software. Select trace button, trace the images, and click trace and detach.
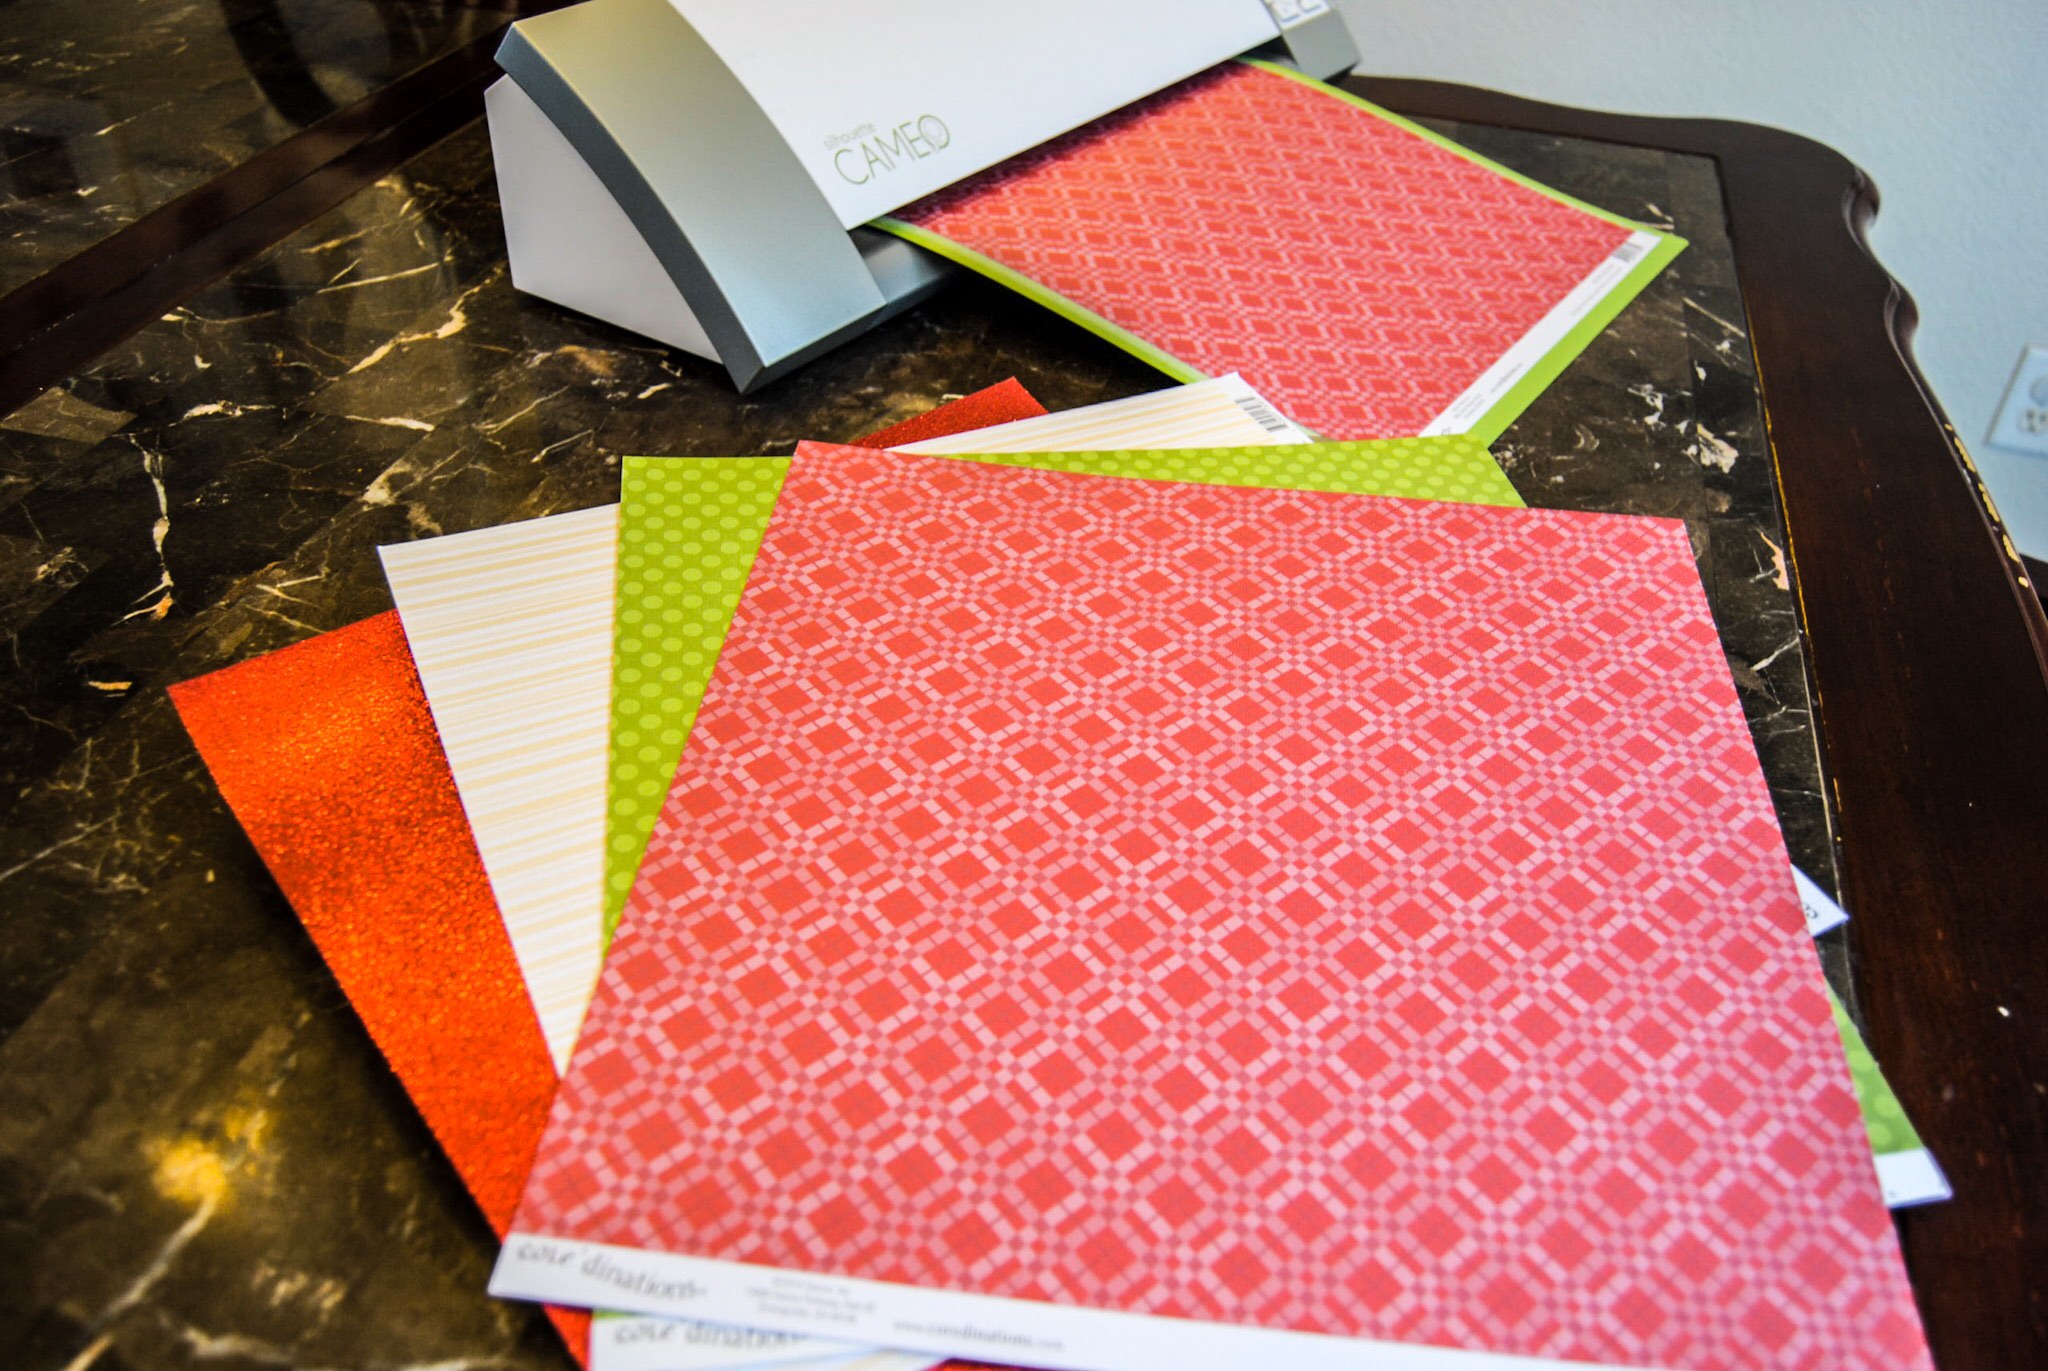
I bought my cardstock for half price at Joanns. I selected cardstock over lighter weight scrapbook paper because it cuts cleaner on my machine. I used four sheets of the plaid, 4 sheets of the green polka dot, 4 sheets of the cream stripes, 2 sheets of red glitter, and 1 sheet of black.


Once all your paper is cut, you will want to start folding your pinwheels on the seams like an accordian. Its a lot of folding, but the 3 dimensional look on the banner is well worth it.


It will take two pieces to make one pinwheel. Hot glue them together on both ends.

Lay it flat, and fill with hot glue. Top it off with one of your cut circles, and hold it in place until it dries. I like to do the backside first because its okay if it ends up looking a little messy.

Then flip it over, and glue the other circle on. This is the front side, and it looks a lot cleaner.

I wanted my green layer to pop out a little so that the banner has nice dimension. So, I added these foam stickers on the backside. I double stacked the stickers–using a total of 8 on the back of each green circle. You can purchase these foam stickers at Joanns.

This photo shows the dimension.

Glue your glitter letters on top of the black backing. The black behind the letters makes them pop!

Finally, glue the layers all together, and string ribbon through the green loops and the snowflakes. A little tip: I start from the center of the ribbon and work my way out. So, for example, I string the letter Y, and the snowflake into the middle first, and work my way outward. This helps prevent tangling and tearing. Once you string the circles and snowflakes on, you want to move them as little as possible.
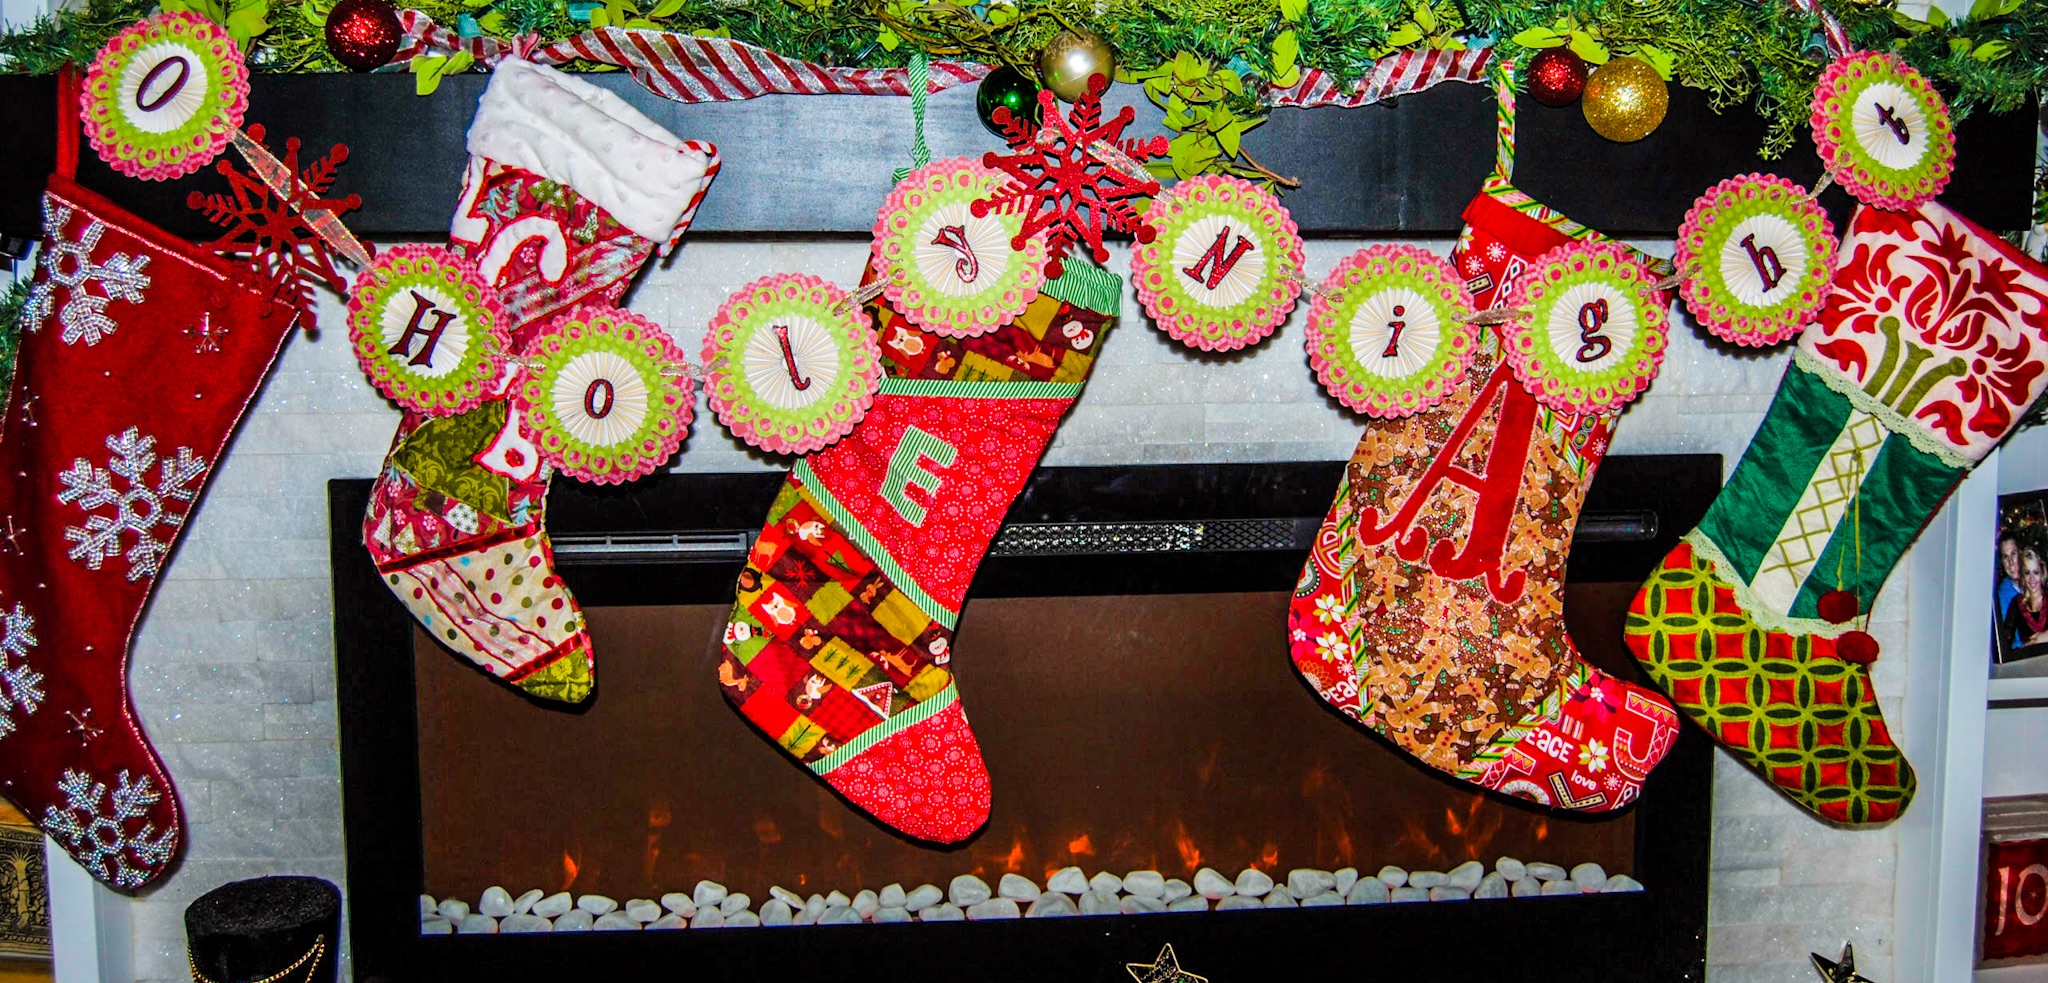
Here is a picture of the finished product! Check back in to TheEverythingHousewife.com to see my Glowing Reindeer Ornaments!