This Day-Before Apple Pie is our family’s favorite, and it tastes best when made the day before. This gives the crust time to soften and the apple pie filling time to thicken, and of course, it saves you time baking in the kitchen the day of.

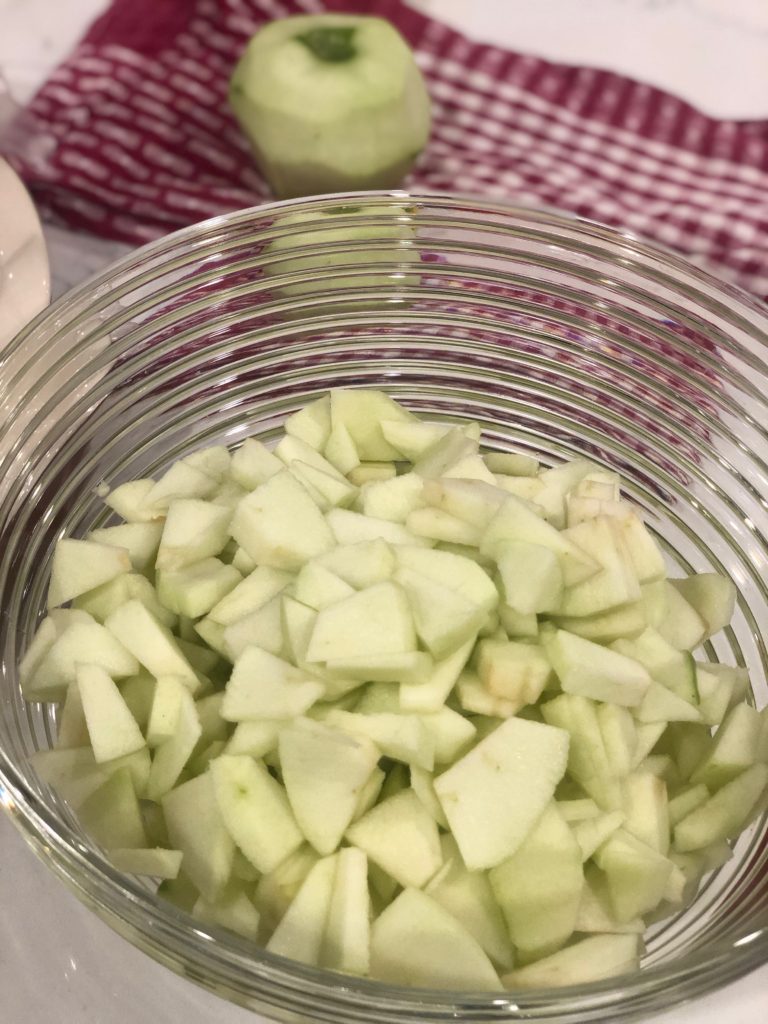
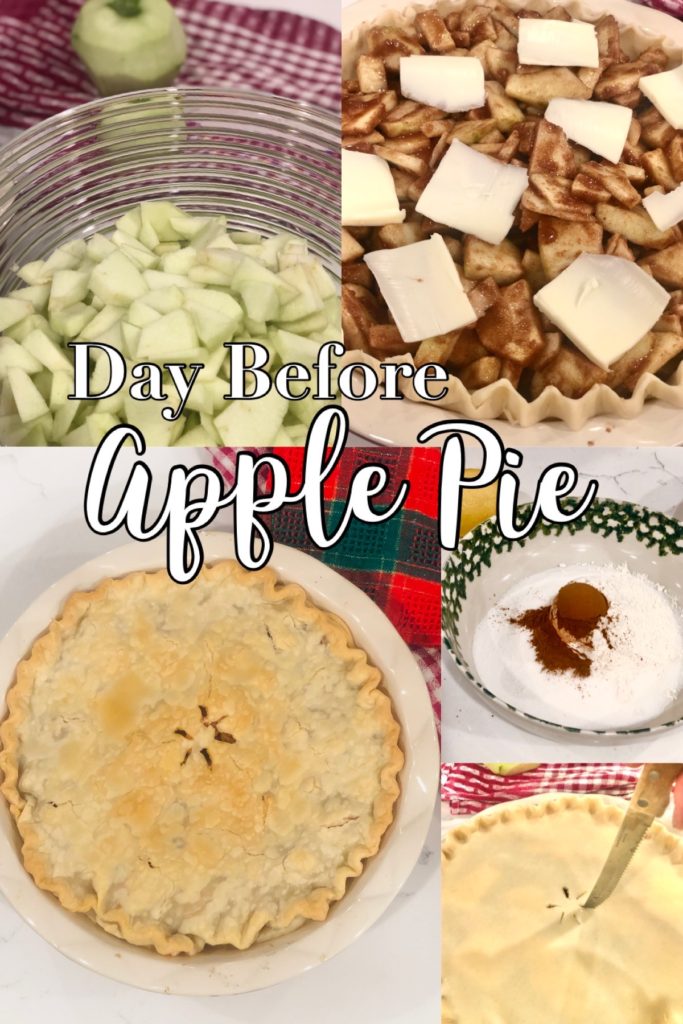
5 Medium Granny Smith Apples, peeled, cored, and thinly sliced
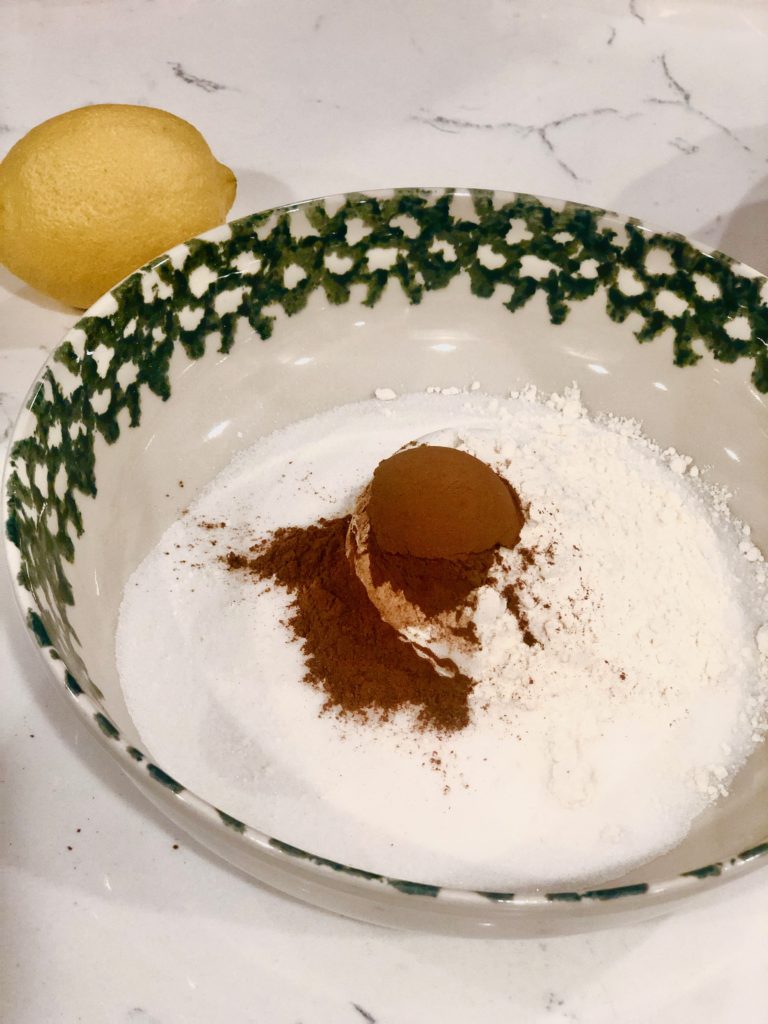
1 cup Sugar
1 Tablespoon Cinnamon
1/4 cup of All-Purpose Flour
Juice of 1/2 a Lemon
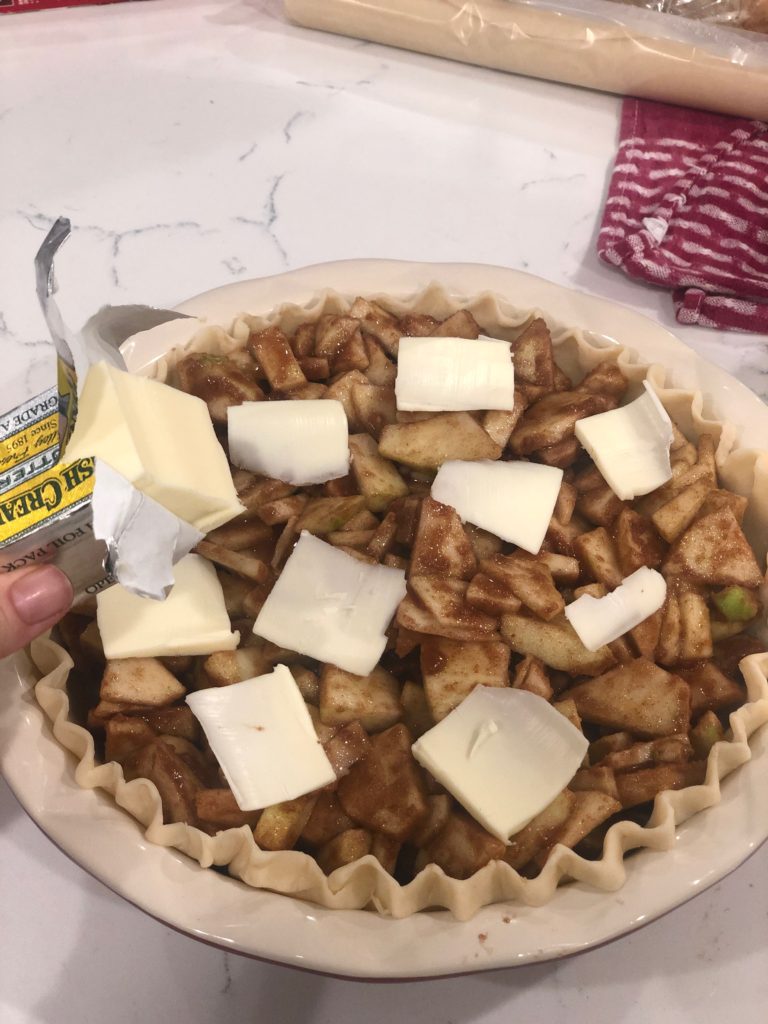
2 Tablespoons of Butter
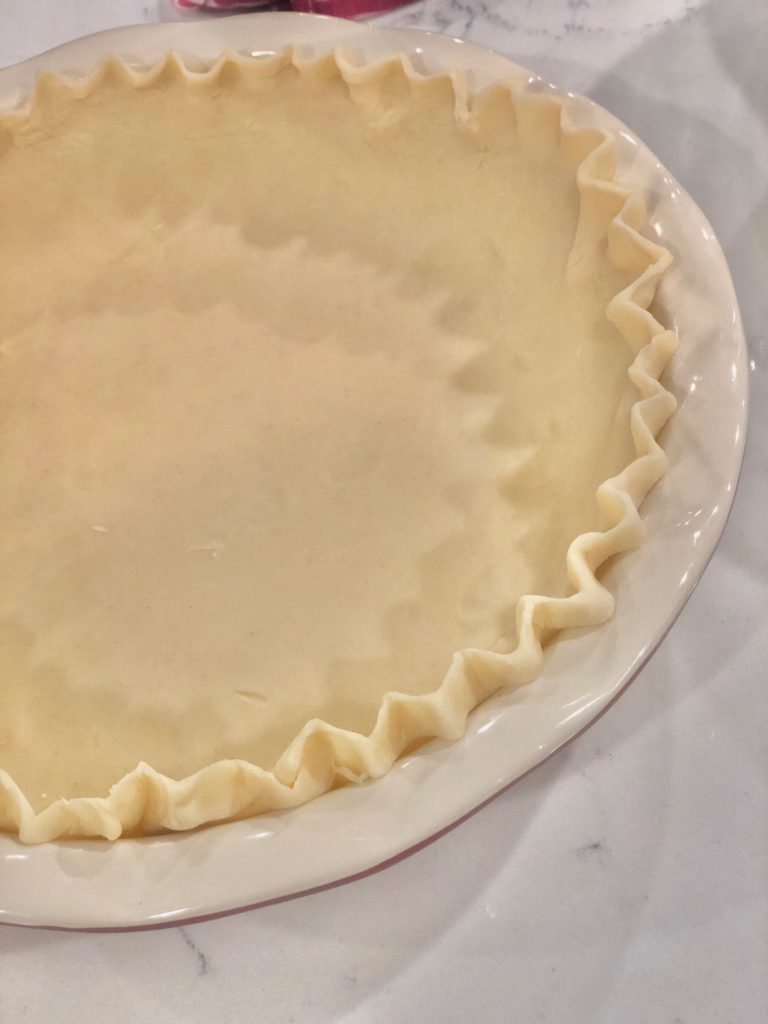
Refrigerated Pie Crust, top and bottom (I use pillsbury)
Aluminum Foil to cover edges of the crust
1 Deep Dish (9-Inch) Pie Plate

DIRECTIONS:
- I highly recommend using THIS apple peeler and corer to make your apple pie. It peels, cores, and slices your apple pieces. This little piece of equipment will save you loads of time. Either way, peel, core, and cut apples into thin slices. Place the apple pieces in a large mixing bowl.
- Add lemon juice, sugar, cinnamon, and flour to the apples. Stir until apples are well coated.
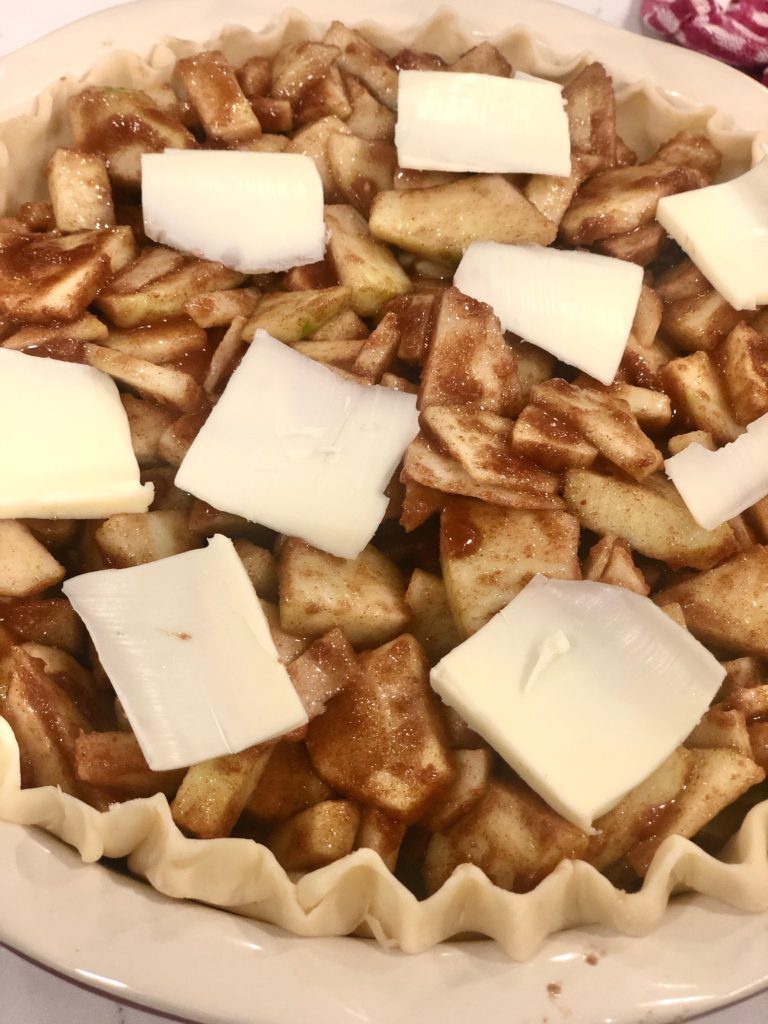
- Pour apples into unbaked pie shell. Top apples with thin slices of butter.
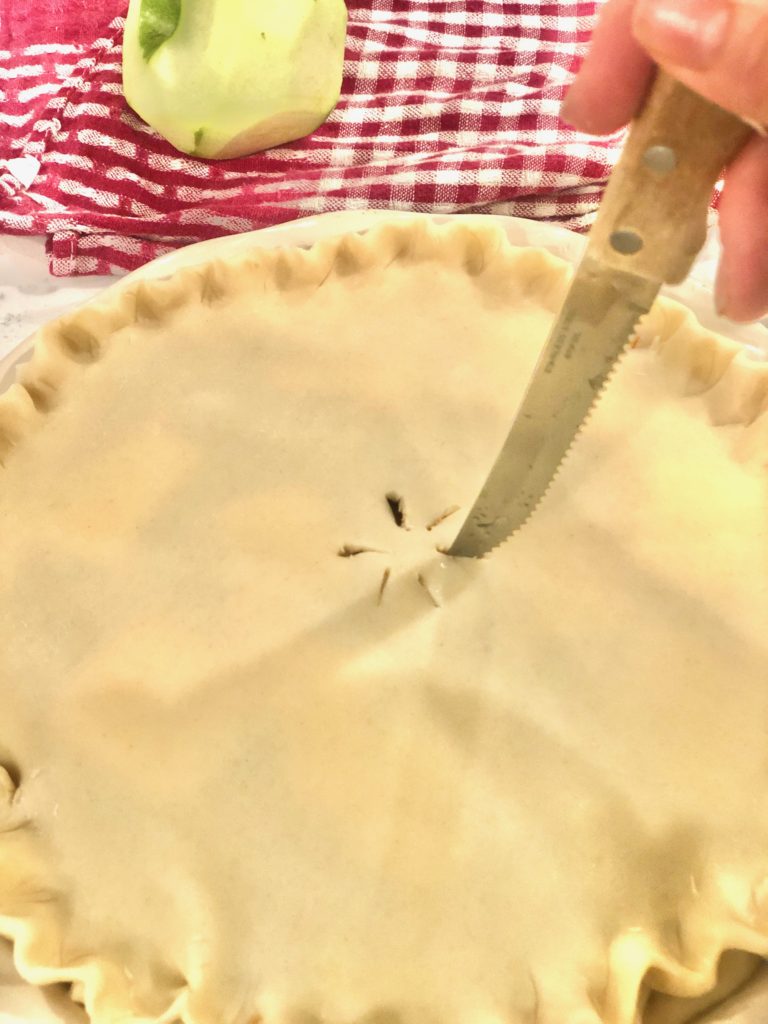
- Place top, unbaked pie shell on top of pie, and seal pie shut around the edges. Poke a few holes (decoratively) on the top of the pie to help vent the steam from the pie.
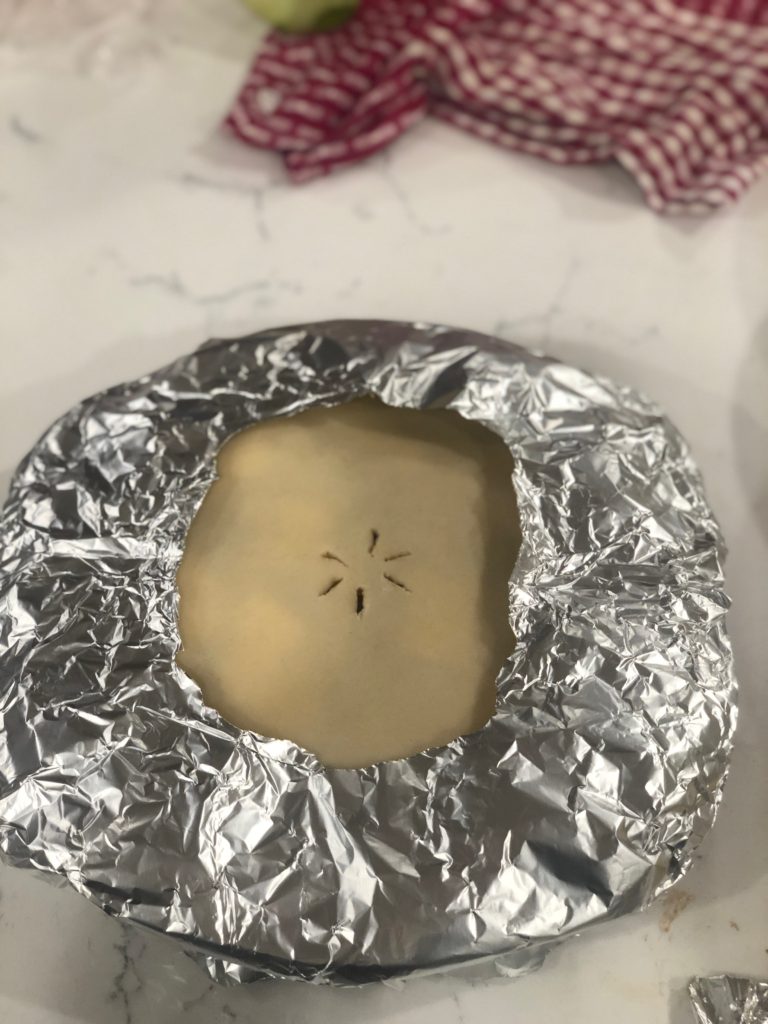
- Cover edges of crust with aluminum foil before baking (this prevents the edges of the crust from burning).
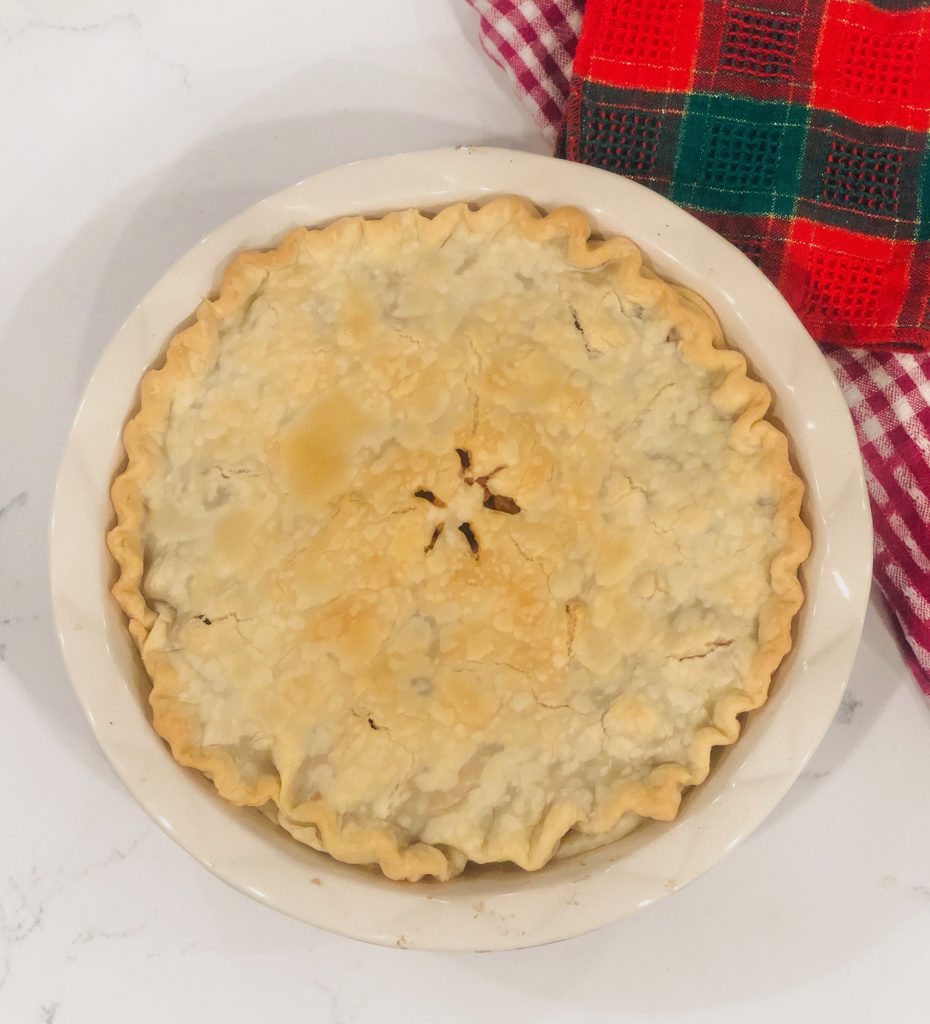
- Bake 425 degrees for 40-50 minutes. Removed the foil strips that were placed around the crust the last 15 minutes of baking so that the crust can brown a little. It should have a golden brown surface.
TIPS and POINTERS For Your Pie From The Everything Housewife:
- Don’t overfill your pie with apples or the juices will run over into the oven and burn while the pie is baking. Depending on the size of your apples, make adjustments as necessary.
- Granny Smith Apples are a must–don’t even try to substitute. The tartness of the apples are what make the flavor of this pie in my Everything Housewife Opinion.
- Bake this pie the day before! I prefer a soft and tender crust as opposed to a crisp, crunchy crust. Baking it the day before allows the crust to soften and the filling to thicken. Don’t forget to cover the pie with Saran Wrap after it cools–you don’t want the crust to dry out from getting too much air to it. The objective in baking it the day before is to allow the crust to soften and preserve its moisture, so be sure to cover it.
- Cover the edges of crust with foil while baking. No one likes a burned, crispy edges on a pie . I mean, maybe someone does, but NOT ME.
- Cut your apple slices thin. The easiest way to do this is by using THIS apple corer. Thinly sliced apples will ensure that they get cooked through. The worst thing is the taste of crunchy apples that didn’t soften while baking.