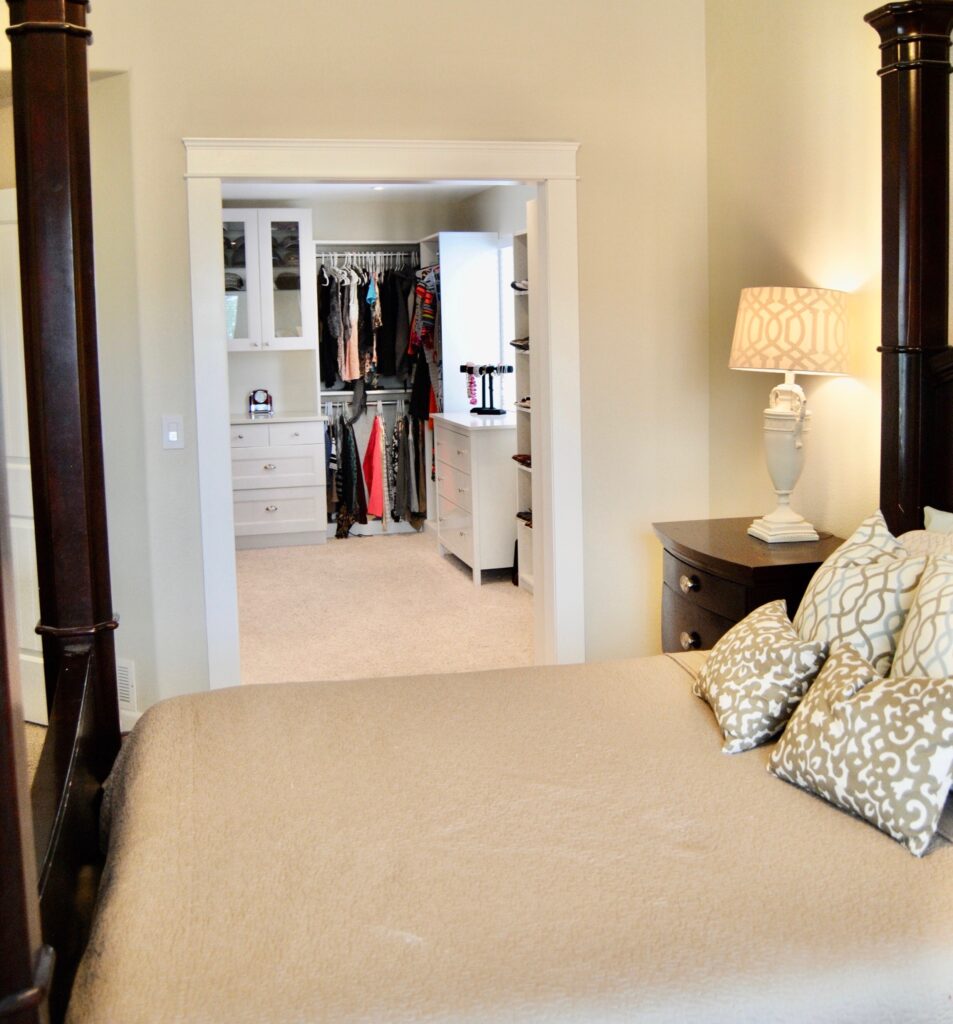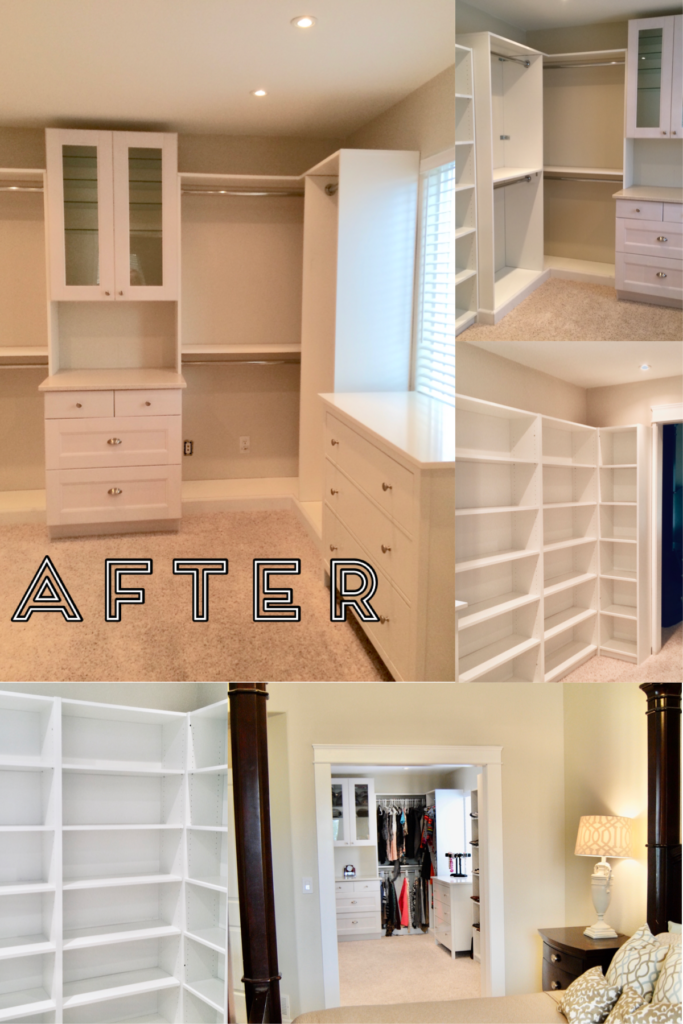
I wrote this article in a two part series because this renovation had many moving pieces. To read part 1, Click HERE. To create THIS closet, we would lose a next-door bedroom, but gain a large, master closet as well as a hall closet. In the process it also meant that our original tiny master closet would be converted into a Master bath, and then, our awful “jack and jill” Master/Main bath would be converted into a half bath. This was a big renovation, and we did it one step at a time. We started with the closet because that’s what we needed most at the time.
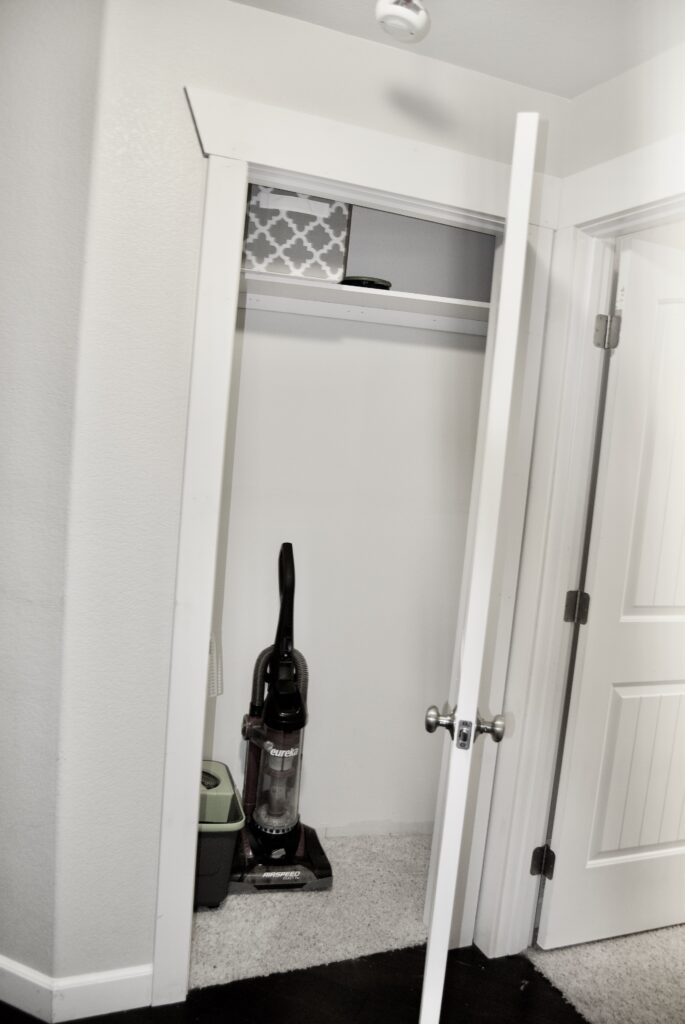
CREATING THE HALL COAT CLOSET BEFORE THE THE MASTER CLOSET
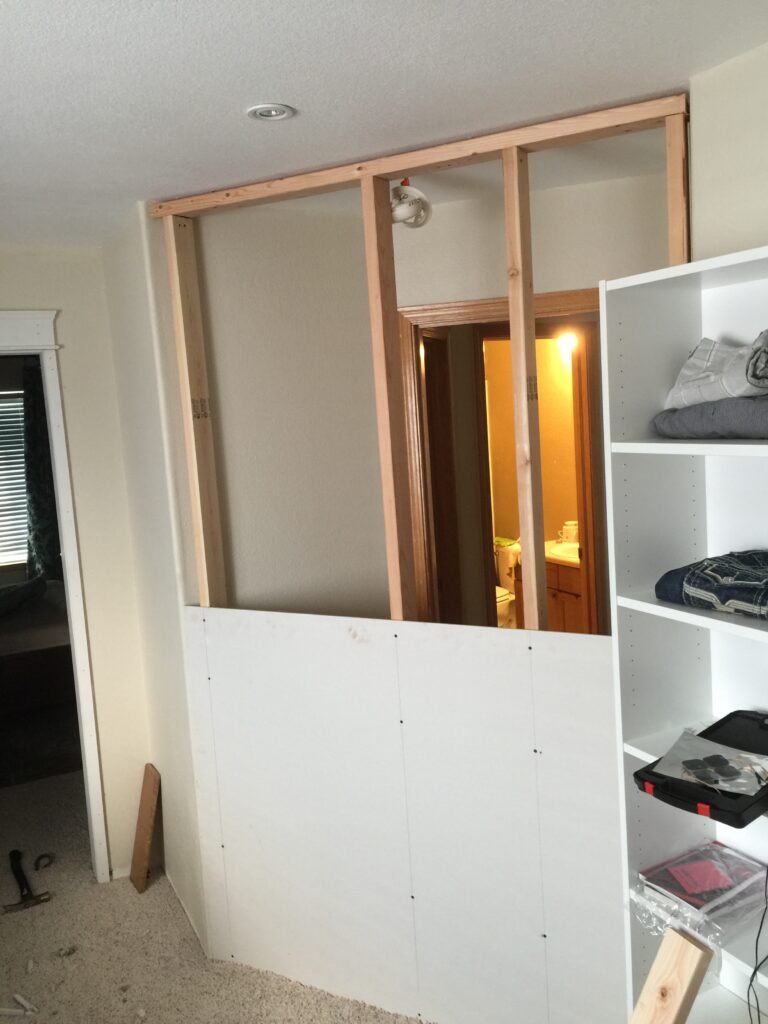
Believe it or not, I didn’t have a coat closet on the main floor–no coat closet, no storage closet, no linen closet, not even a broom closet. The shape of this room had a little nook right at the entry. Rather than have a weird angle in my master closet, we decided to frame it off “flat” and put a hall broom/coat closet on the other side. This was one of the most beautiful “tiny” spaces that was created by choosing to do the entire master closet reno.
BUILDING THE ACTUAL CLOSET
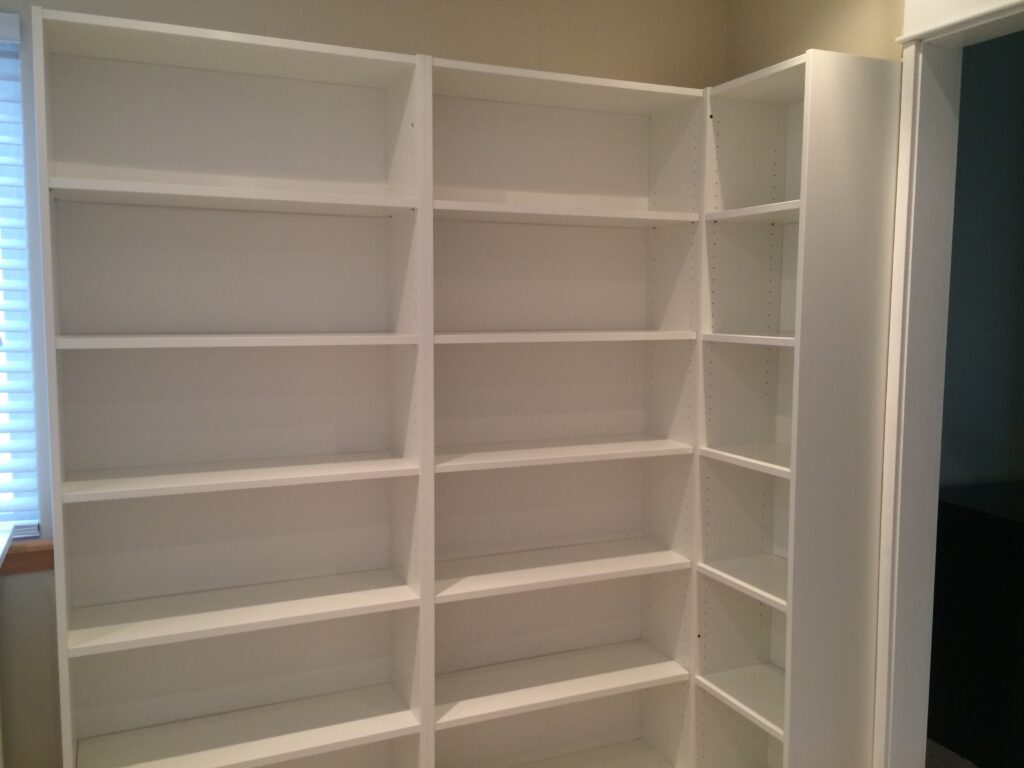
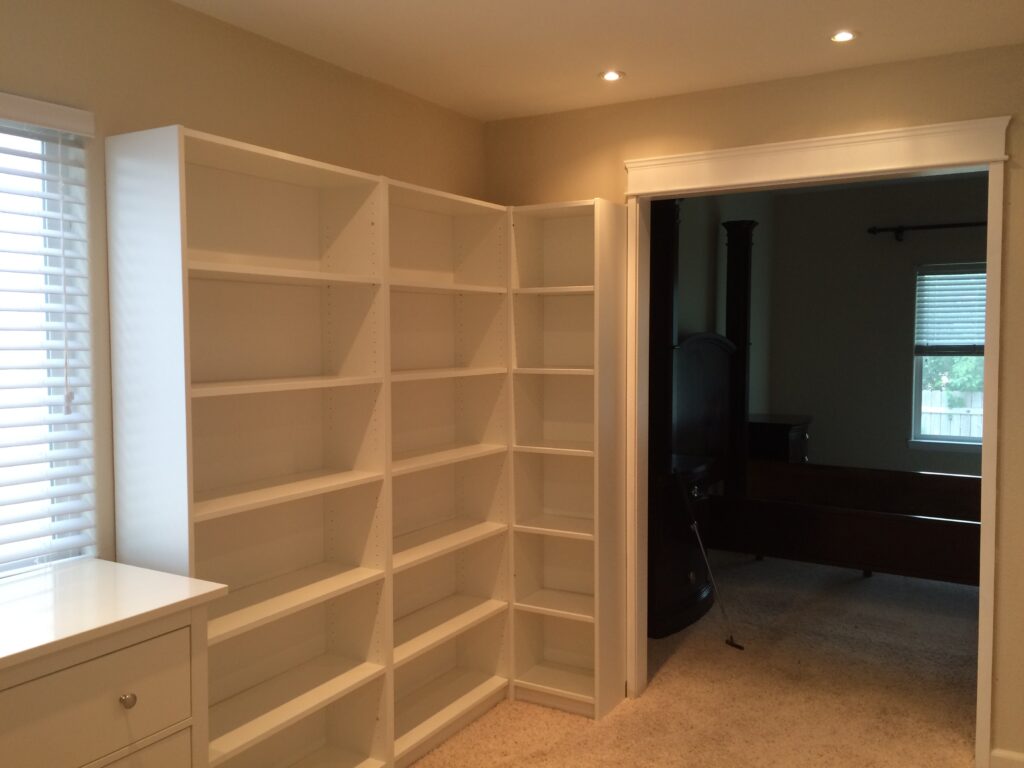
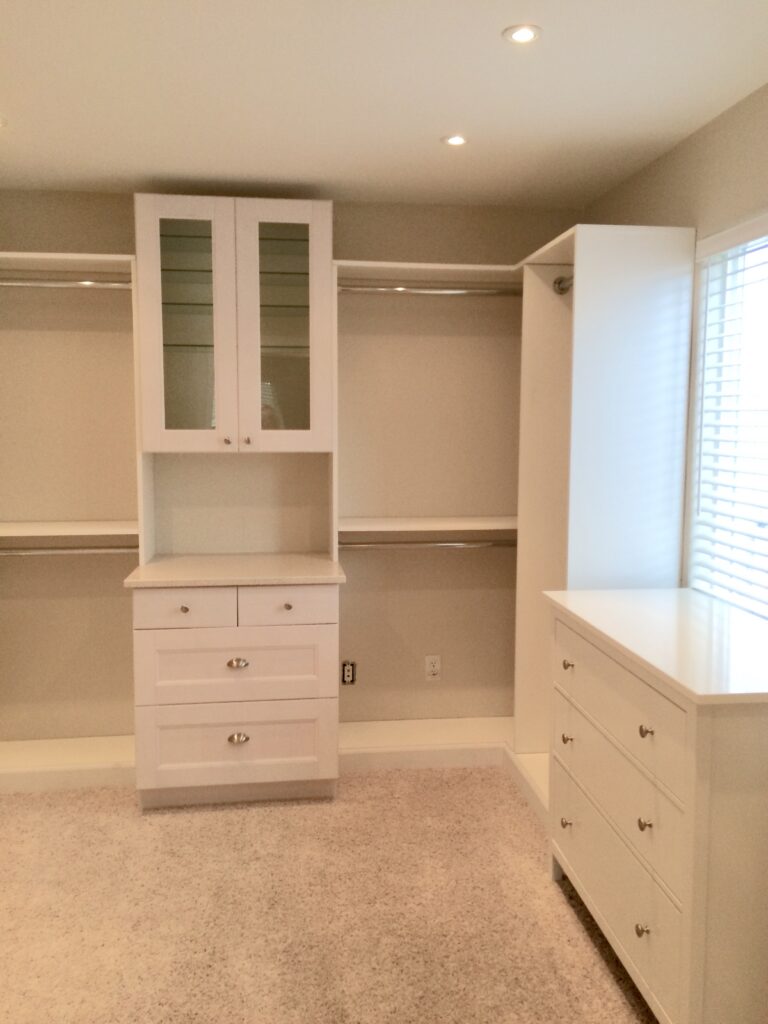
For the closet, we used a partial IKEA hack. We used billy bookcases, IKEA ramsjo kitchen cabinetry, and custom pieced shelving with supplies from Home Depot. This project took longer than most of our other home projects, not because it took several weeks to finish, but because it had to be completed in sections. First we gutted, then we wired for recessed lighting, then we had to sheet rock and mud, then new carpet, and finally installation of the actual cabinetry. It was a big project because it required us to get everything else in the house ready for carpet. I’m not sure “exactly” how long this project took us, because it truly was a little here and a little there. Excluding the lighting and carpet, this project cost us around $1500 for all the cabinetry and moulding. Well worth the beautifully completed master closet.