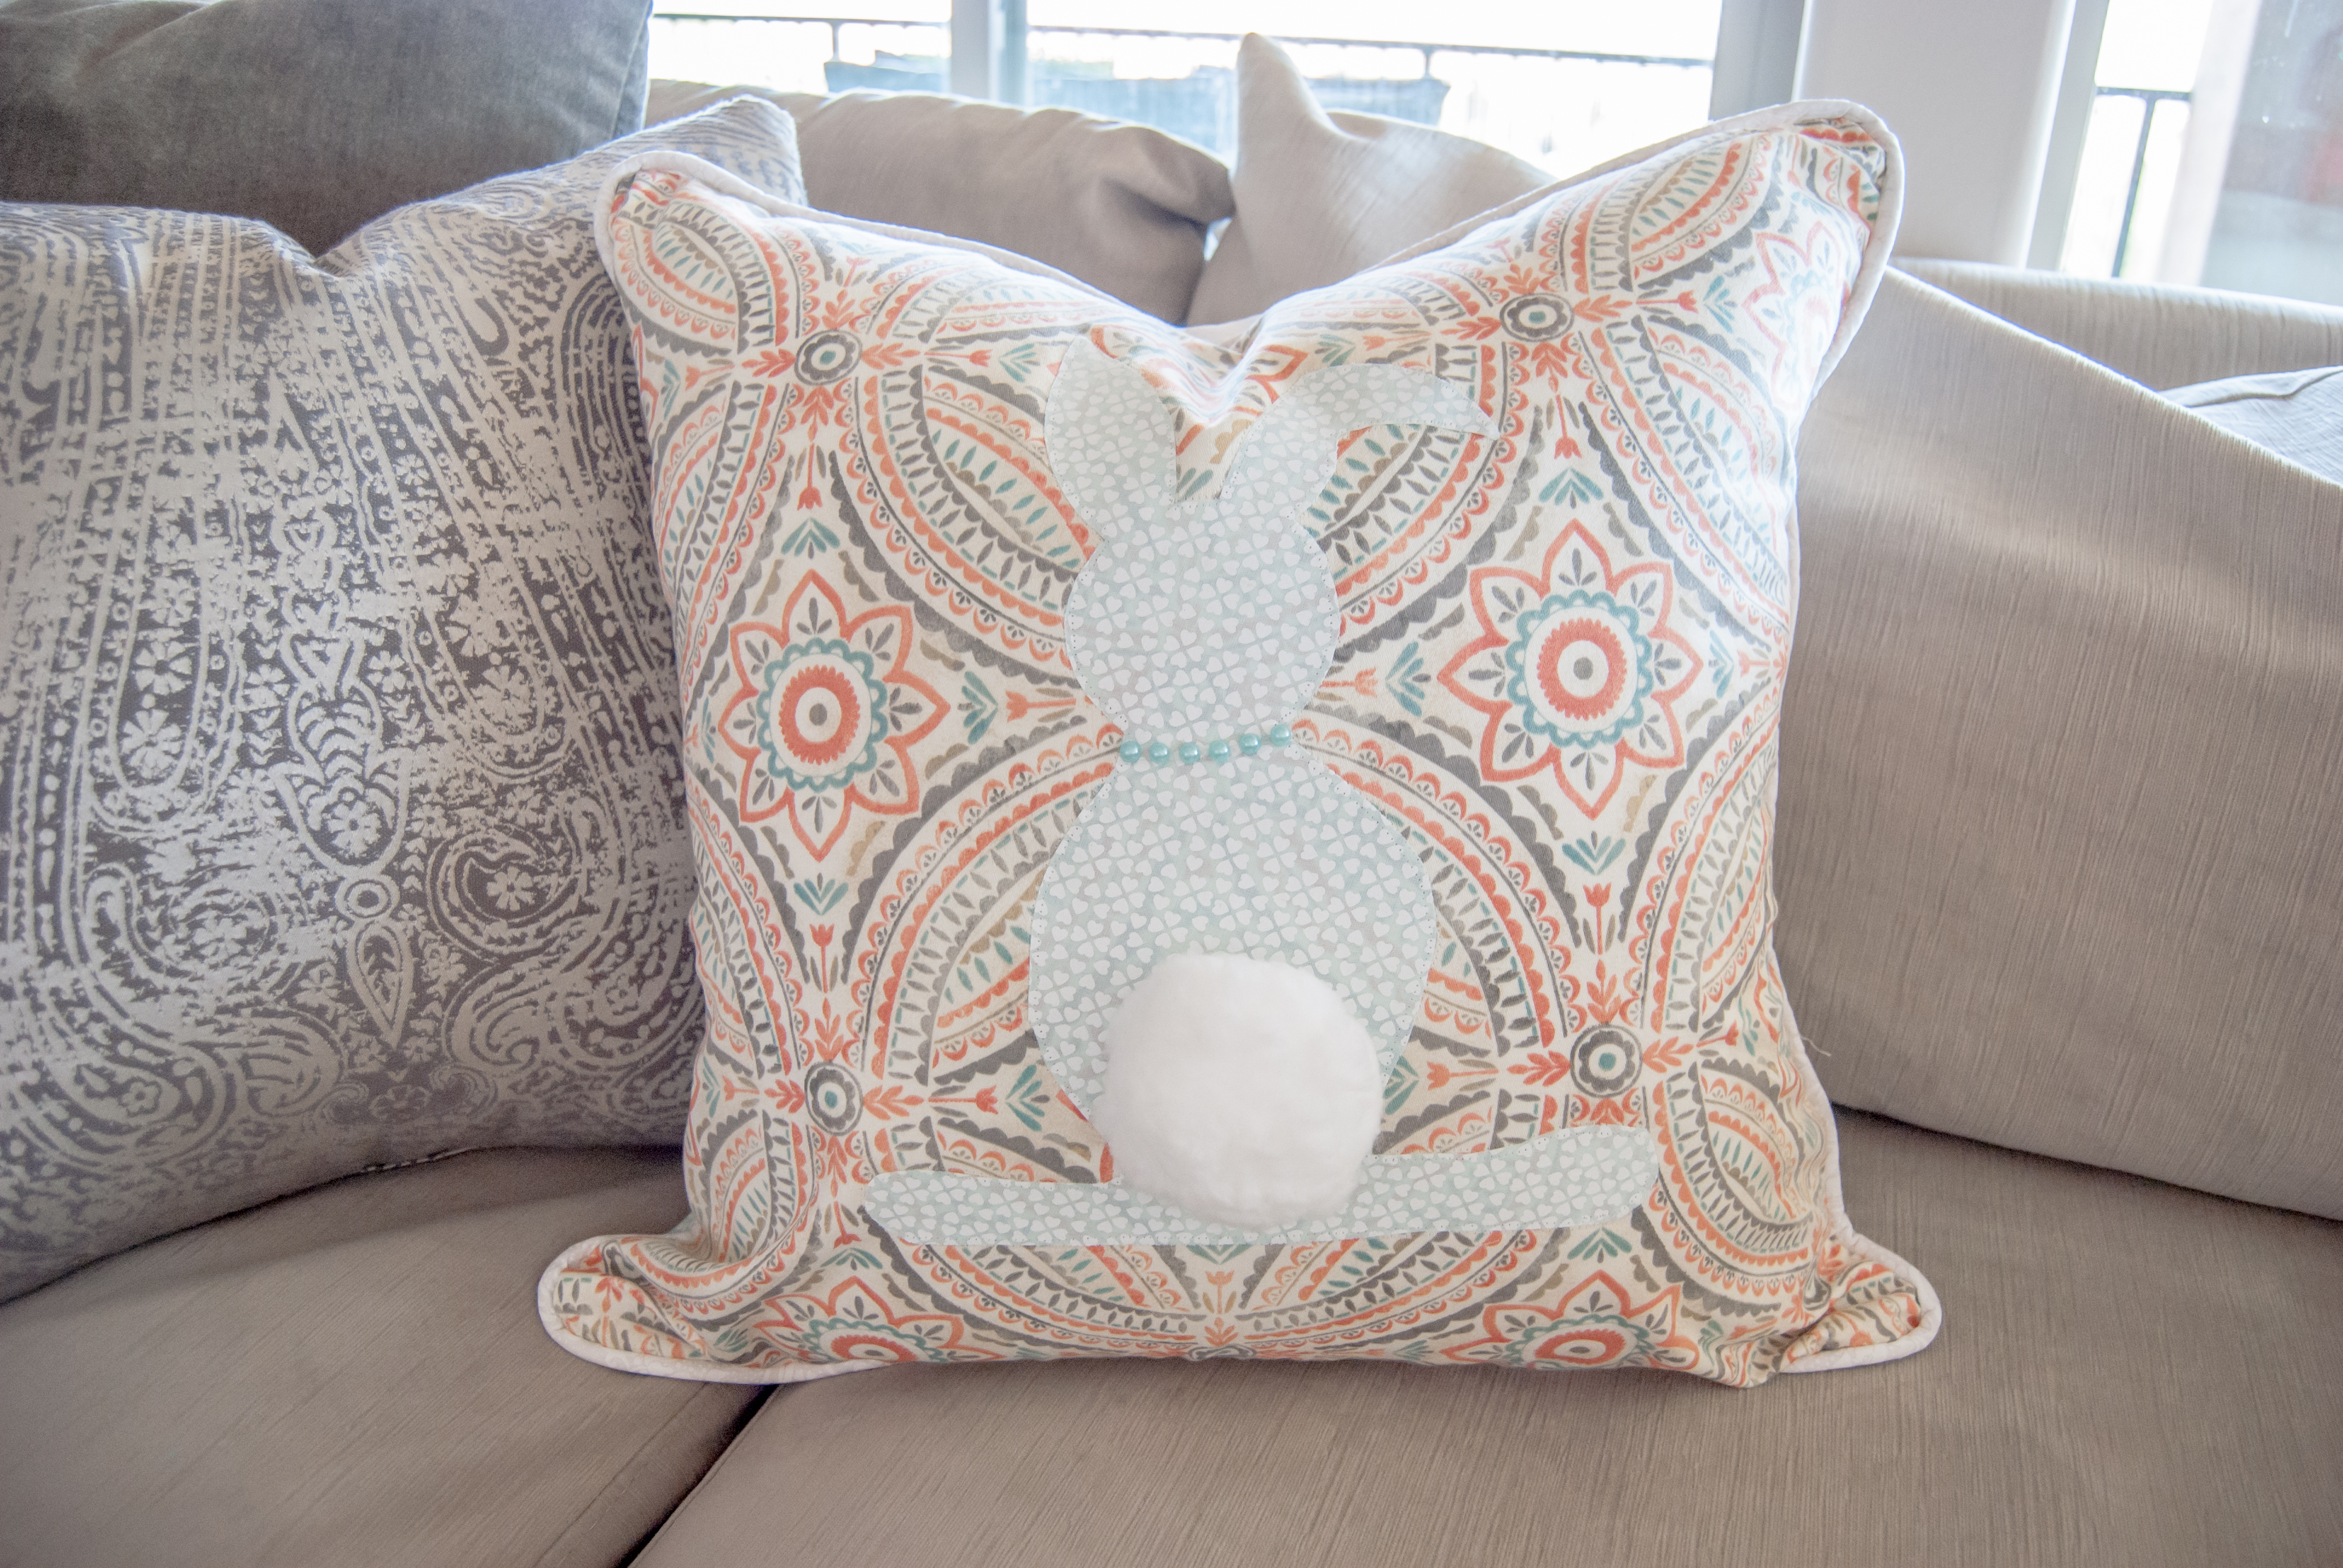
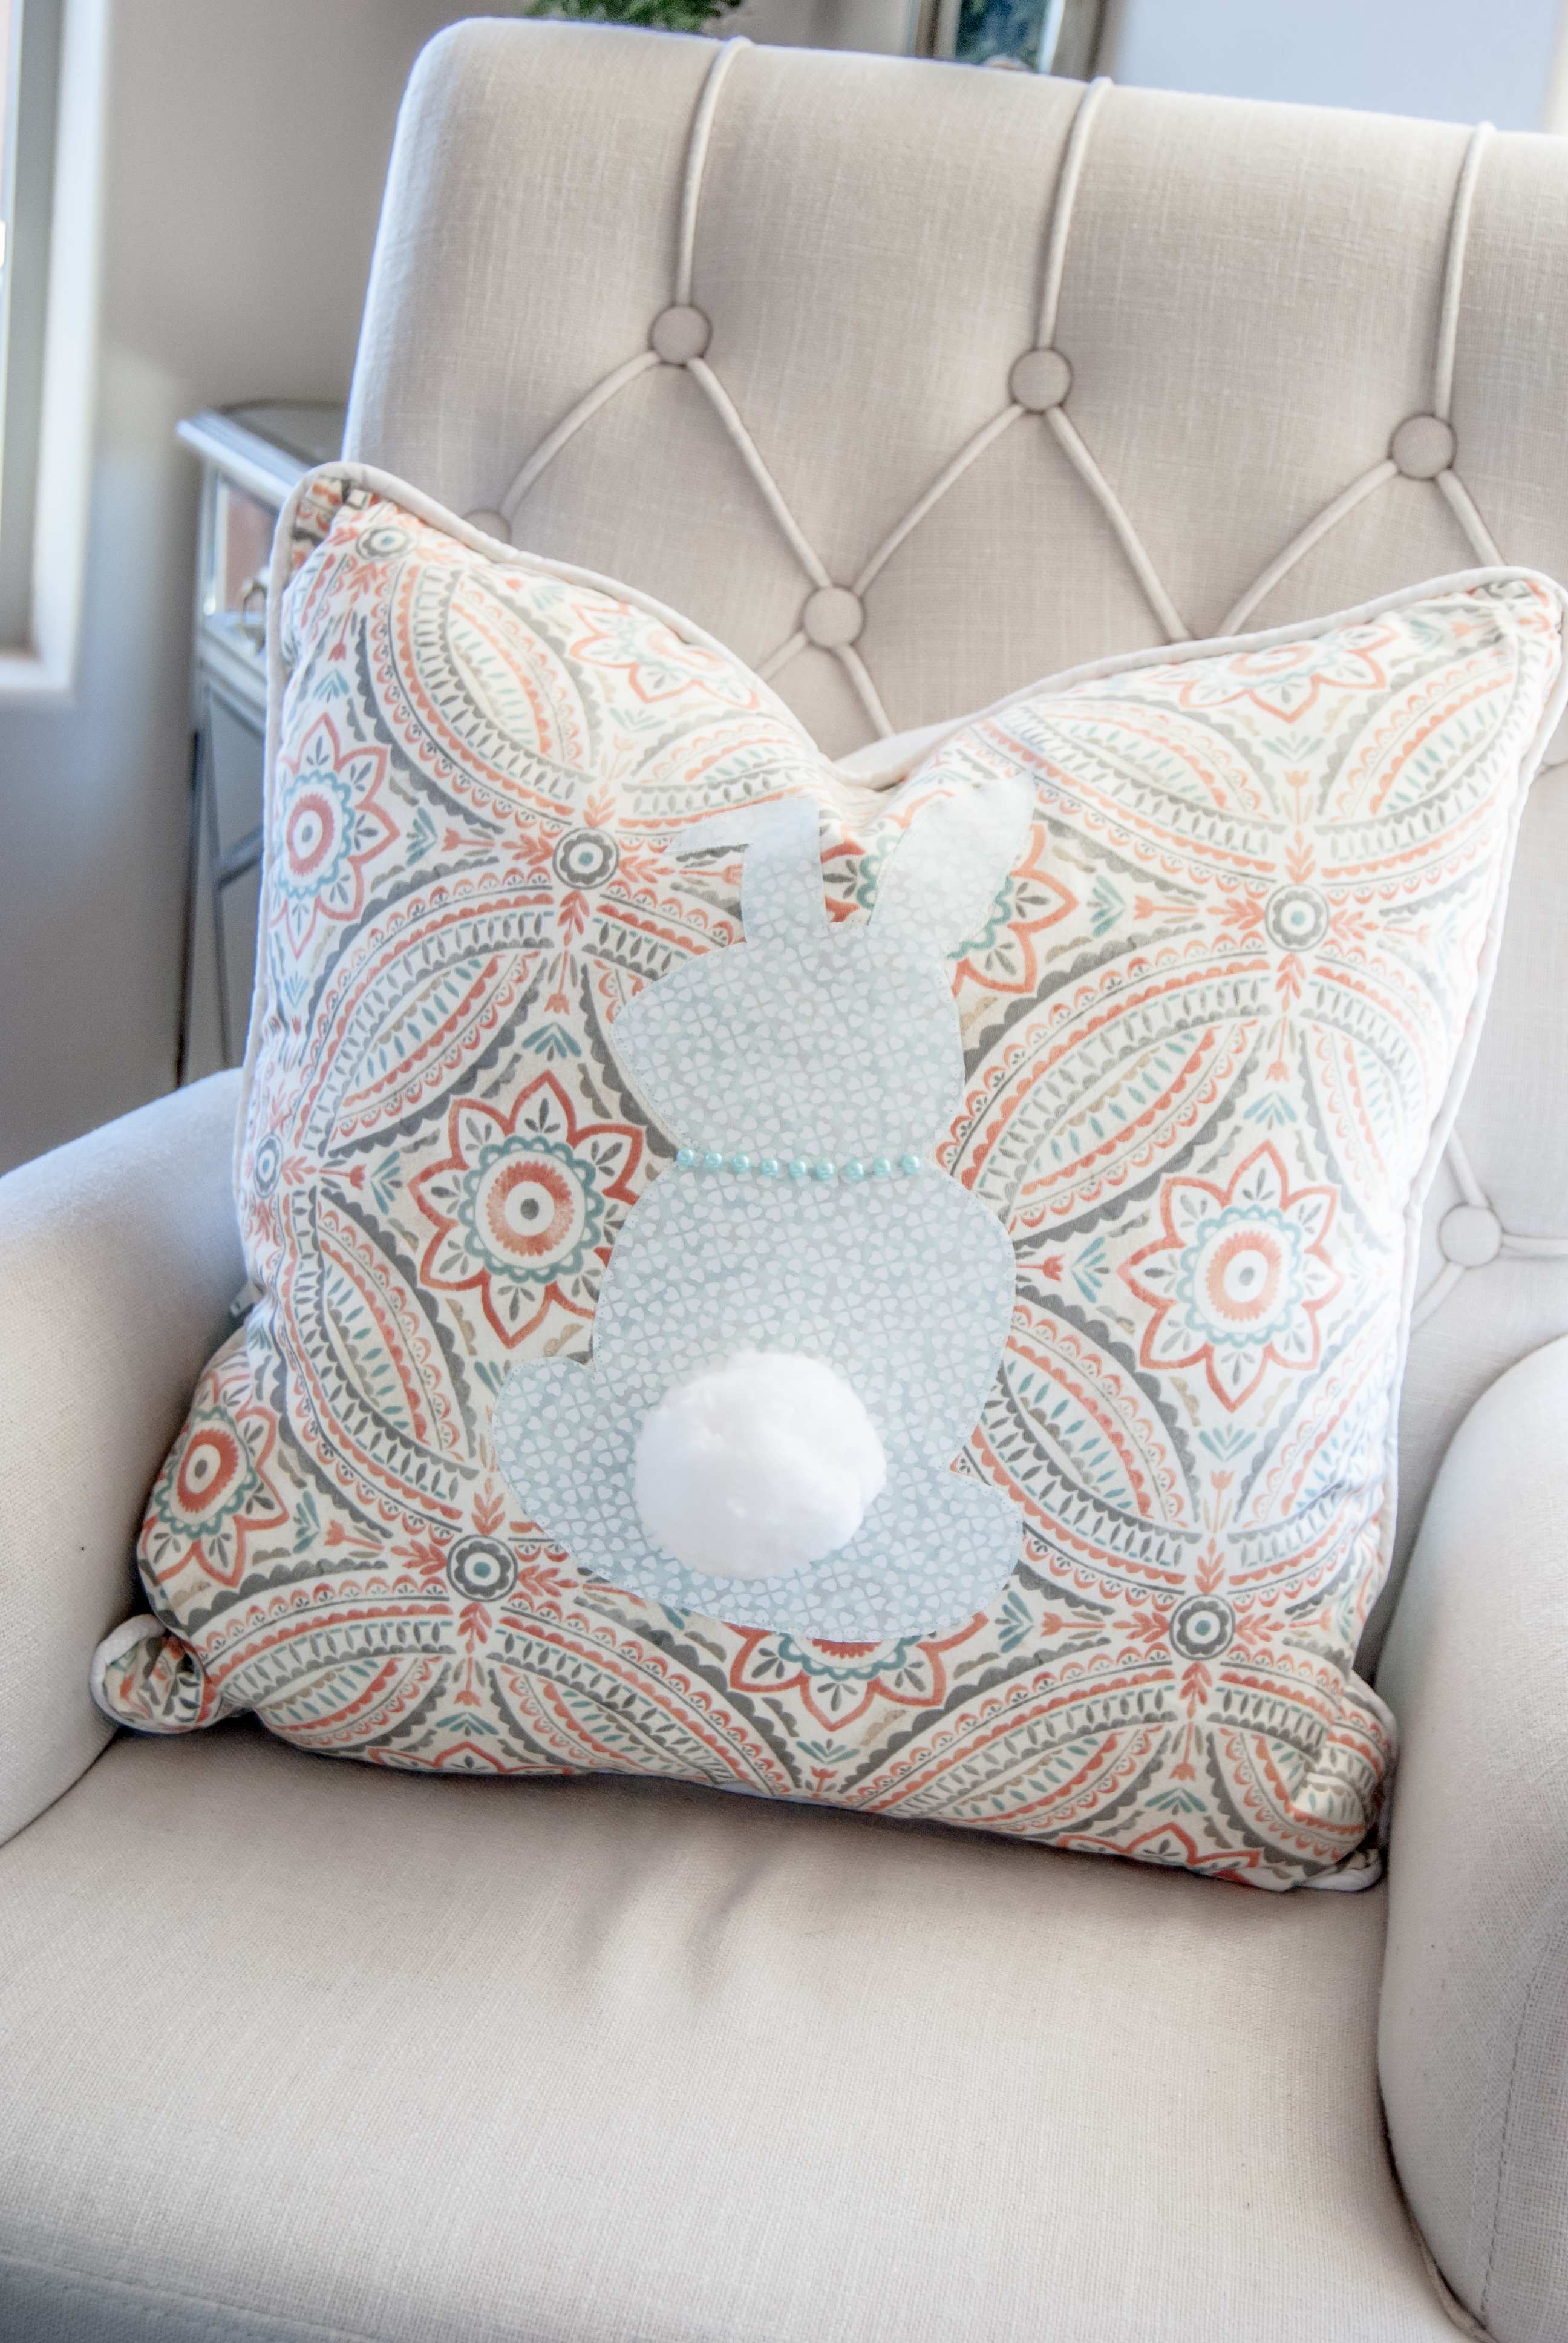
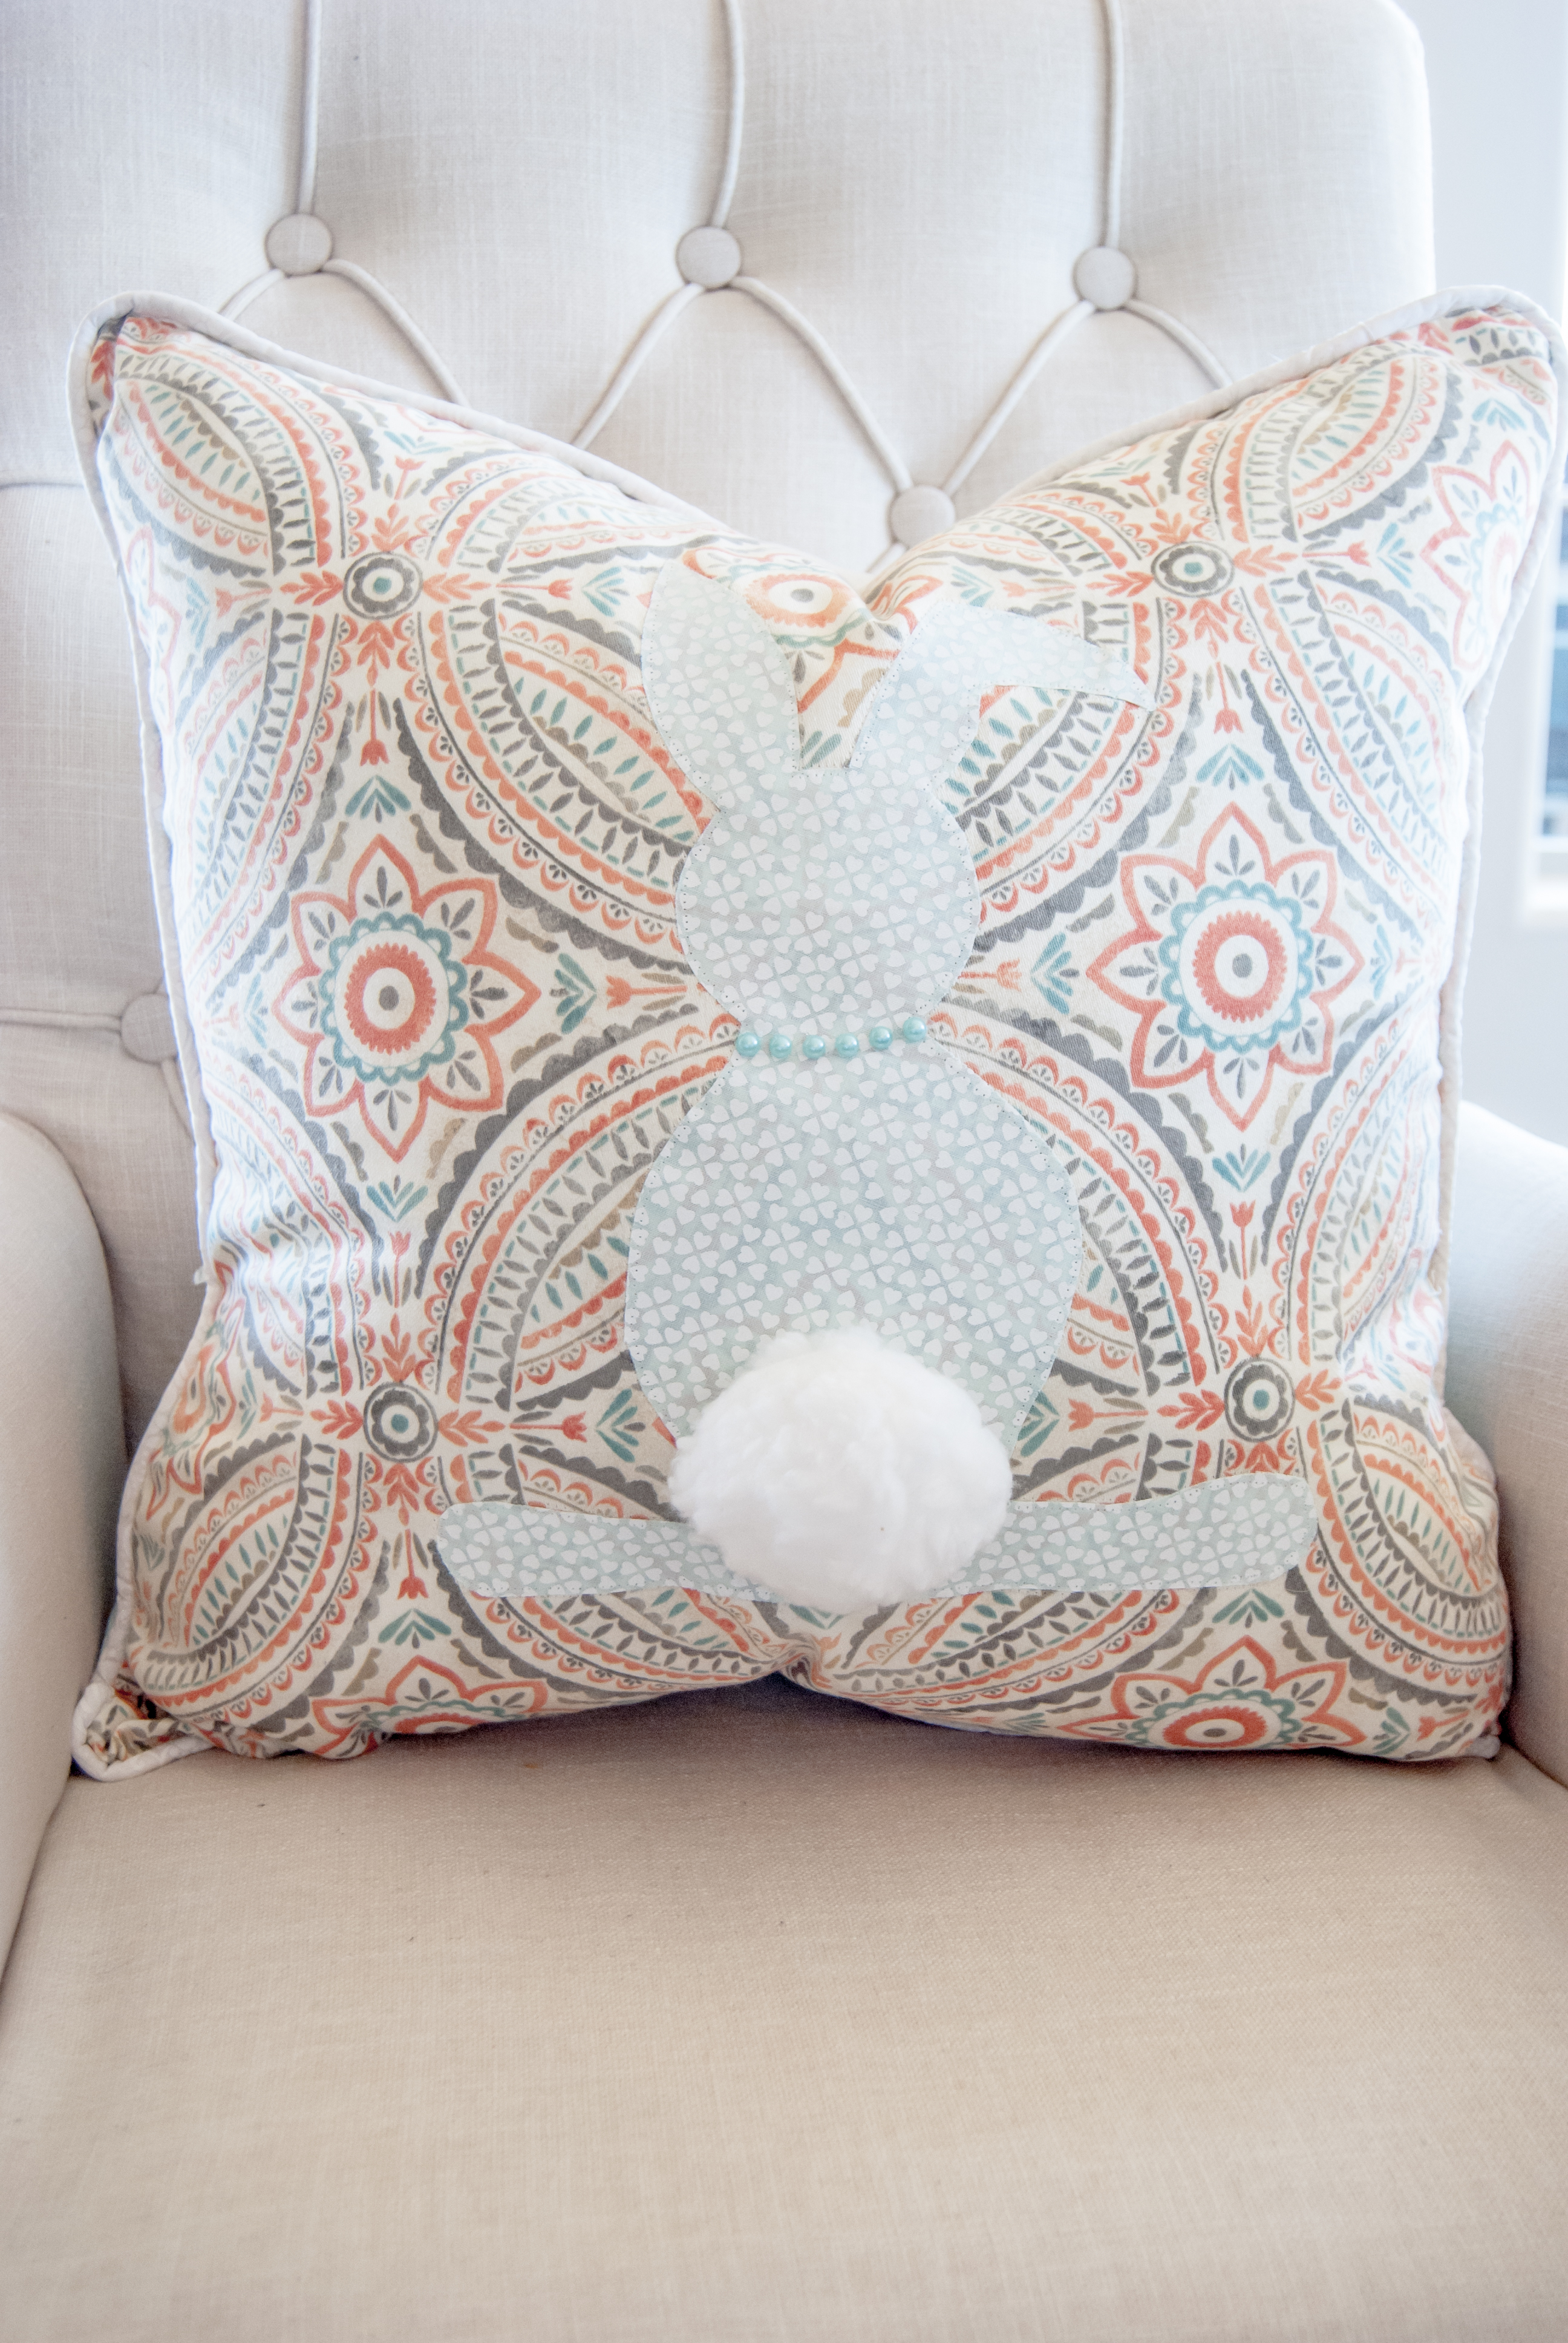
These DIY Easter Pillows are simple, yet elegant. They compline beautiful patterned decorators fabric, with a cut out Peter Cotton Tail, and a beautiful beaded necklace. The pillows are trimmed with white piping, and have a zipper back.
Everyone knows I love holiday pillows, and so here is another tutorial for you for this DIY Easter Pillow. Please also take a look at my other holiday pillows, you will find some for Halloween HERE, Thanksgiving HERE, and Christmas HERE.
Directions for your DIY Easter, Peter Cotton Tail Pillows.
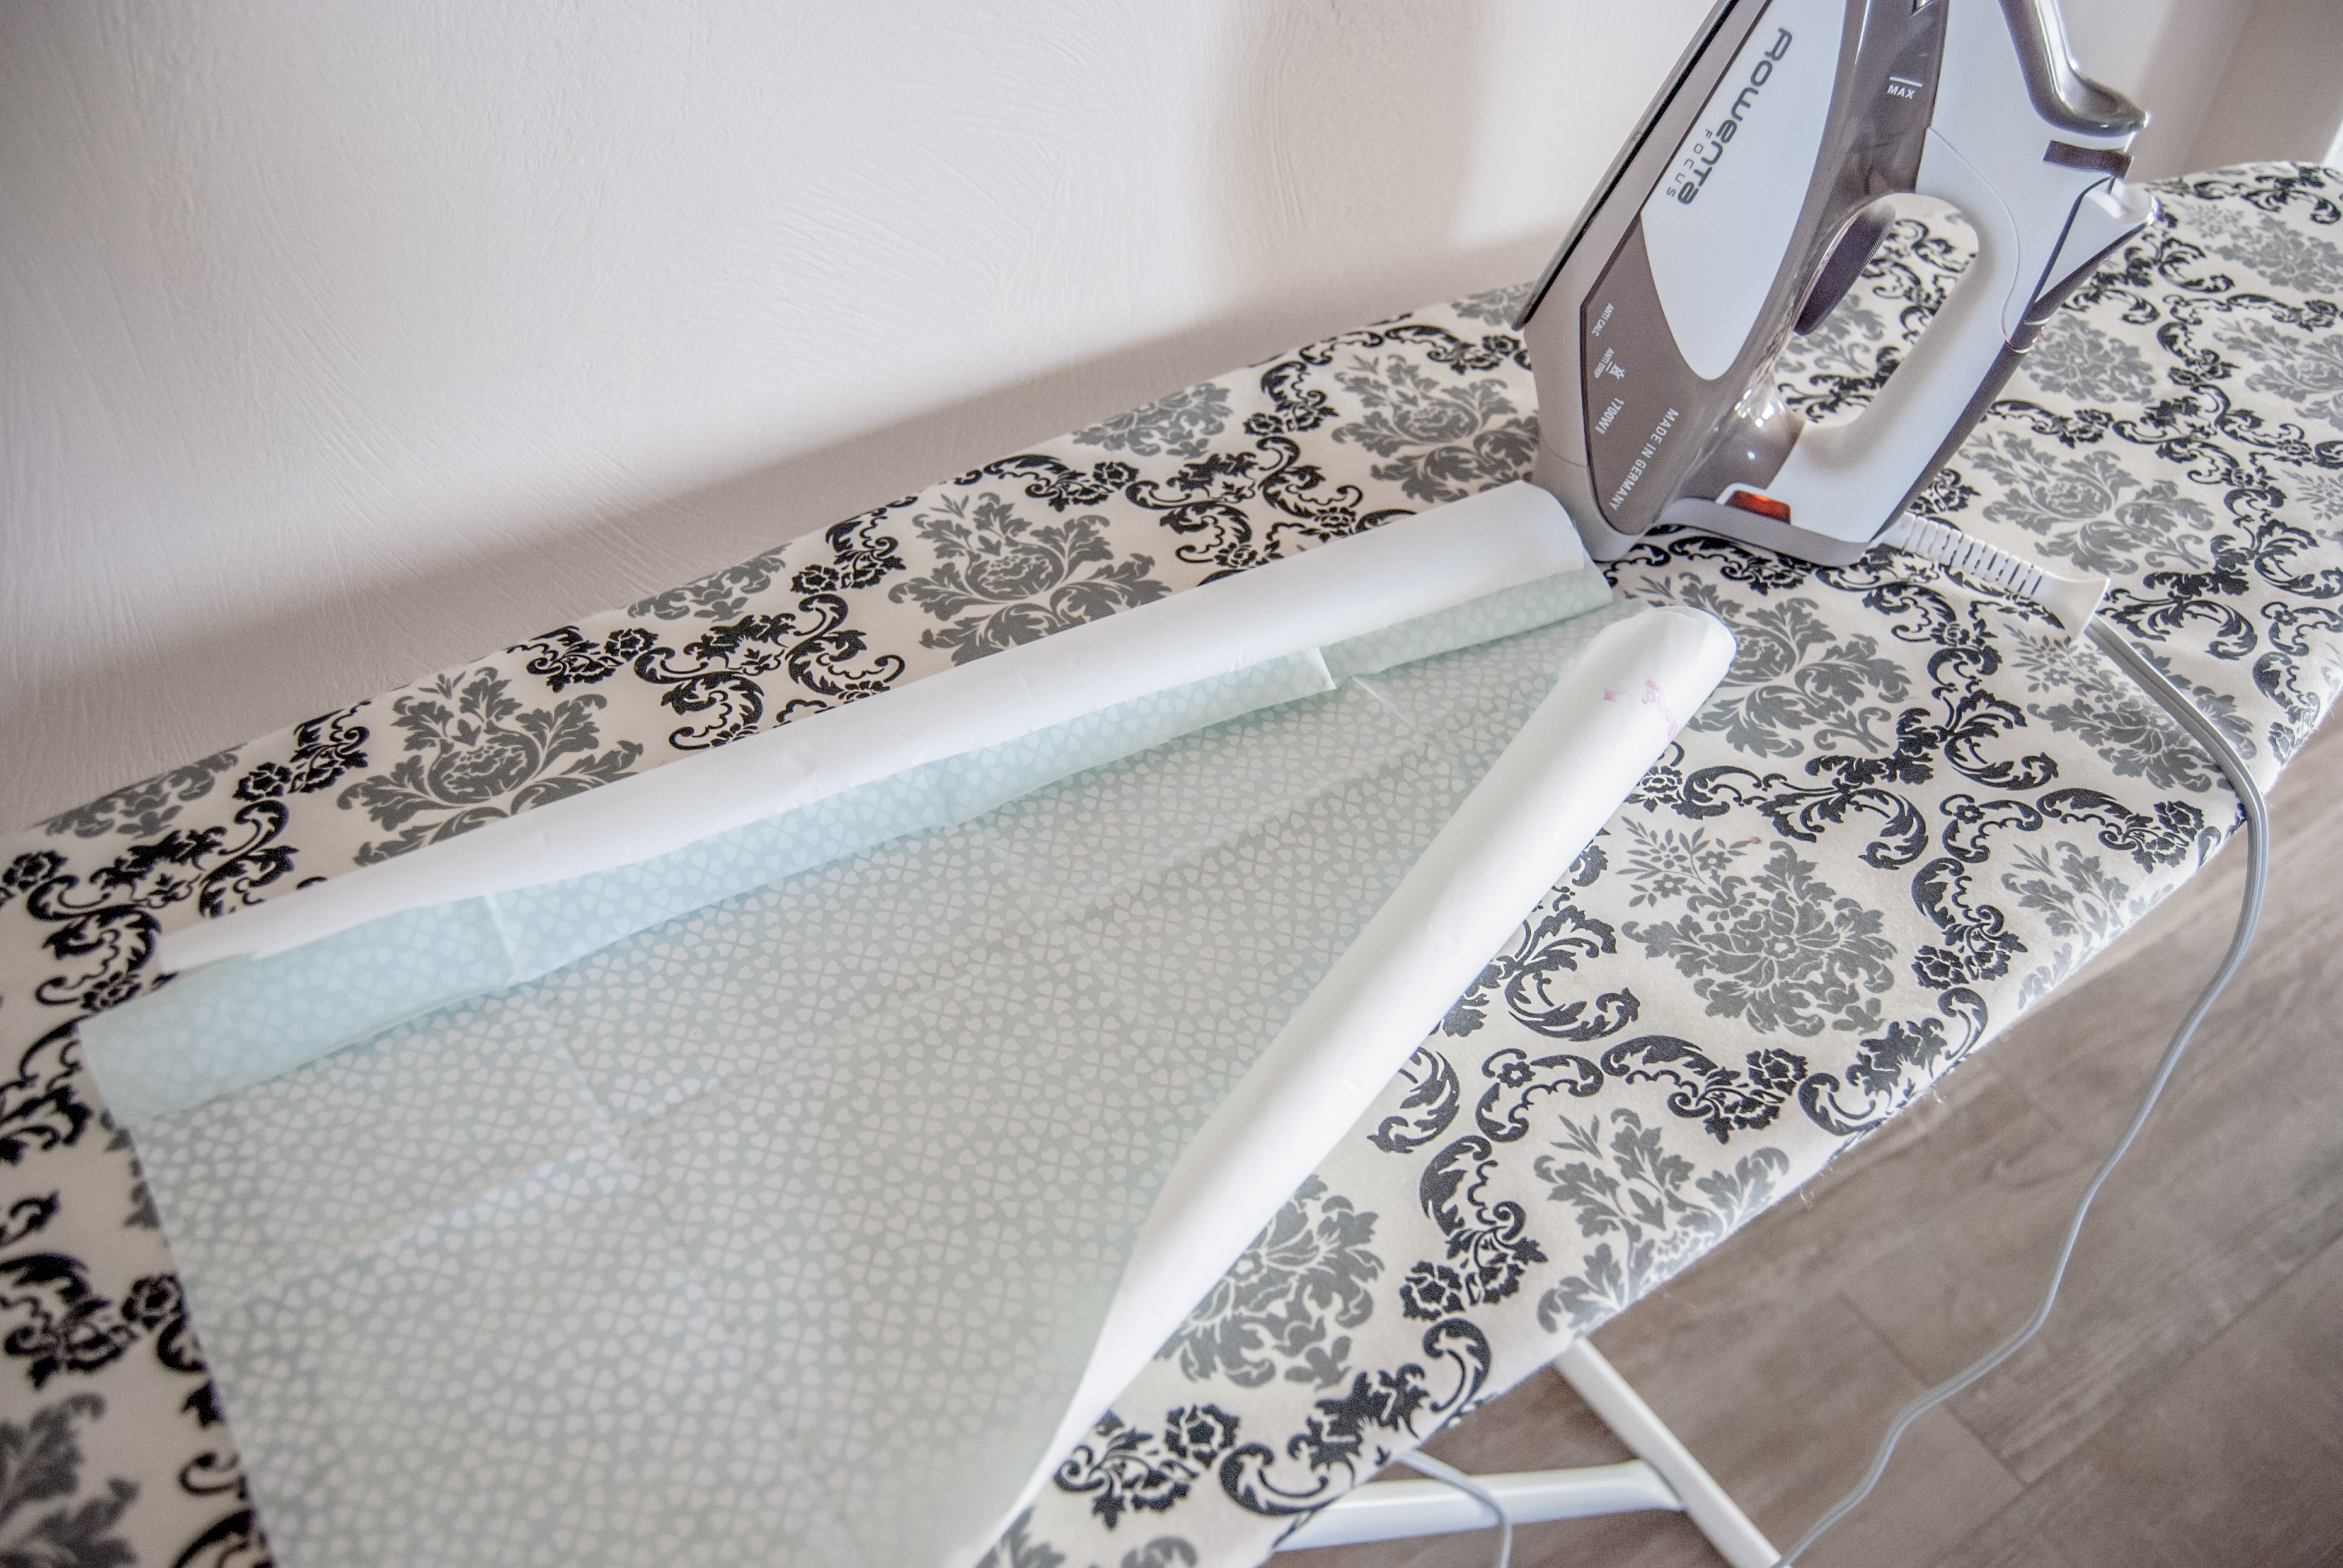
- Print off Peter Rabbit Patterns and cut out. Use these for tracing. You should select a fabric, line it with iron-on backing, and trace the rabbit on to it. This rabbit should be ironed on to the surface of the fabric you have selected to make your pillow.
- After you iron Peter Rabbit to the front of your fabric (this fabric should be cut to the size of pillow you are making), stitch the outside edges of Peter Rabbit with clear thread to prevent fraying.
- Sew Piping to the outside edge of pillow. (see photo)
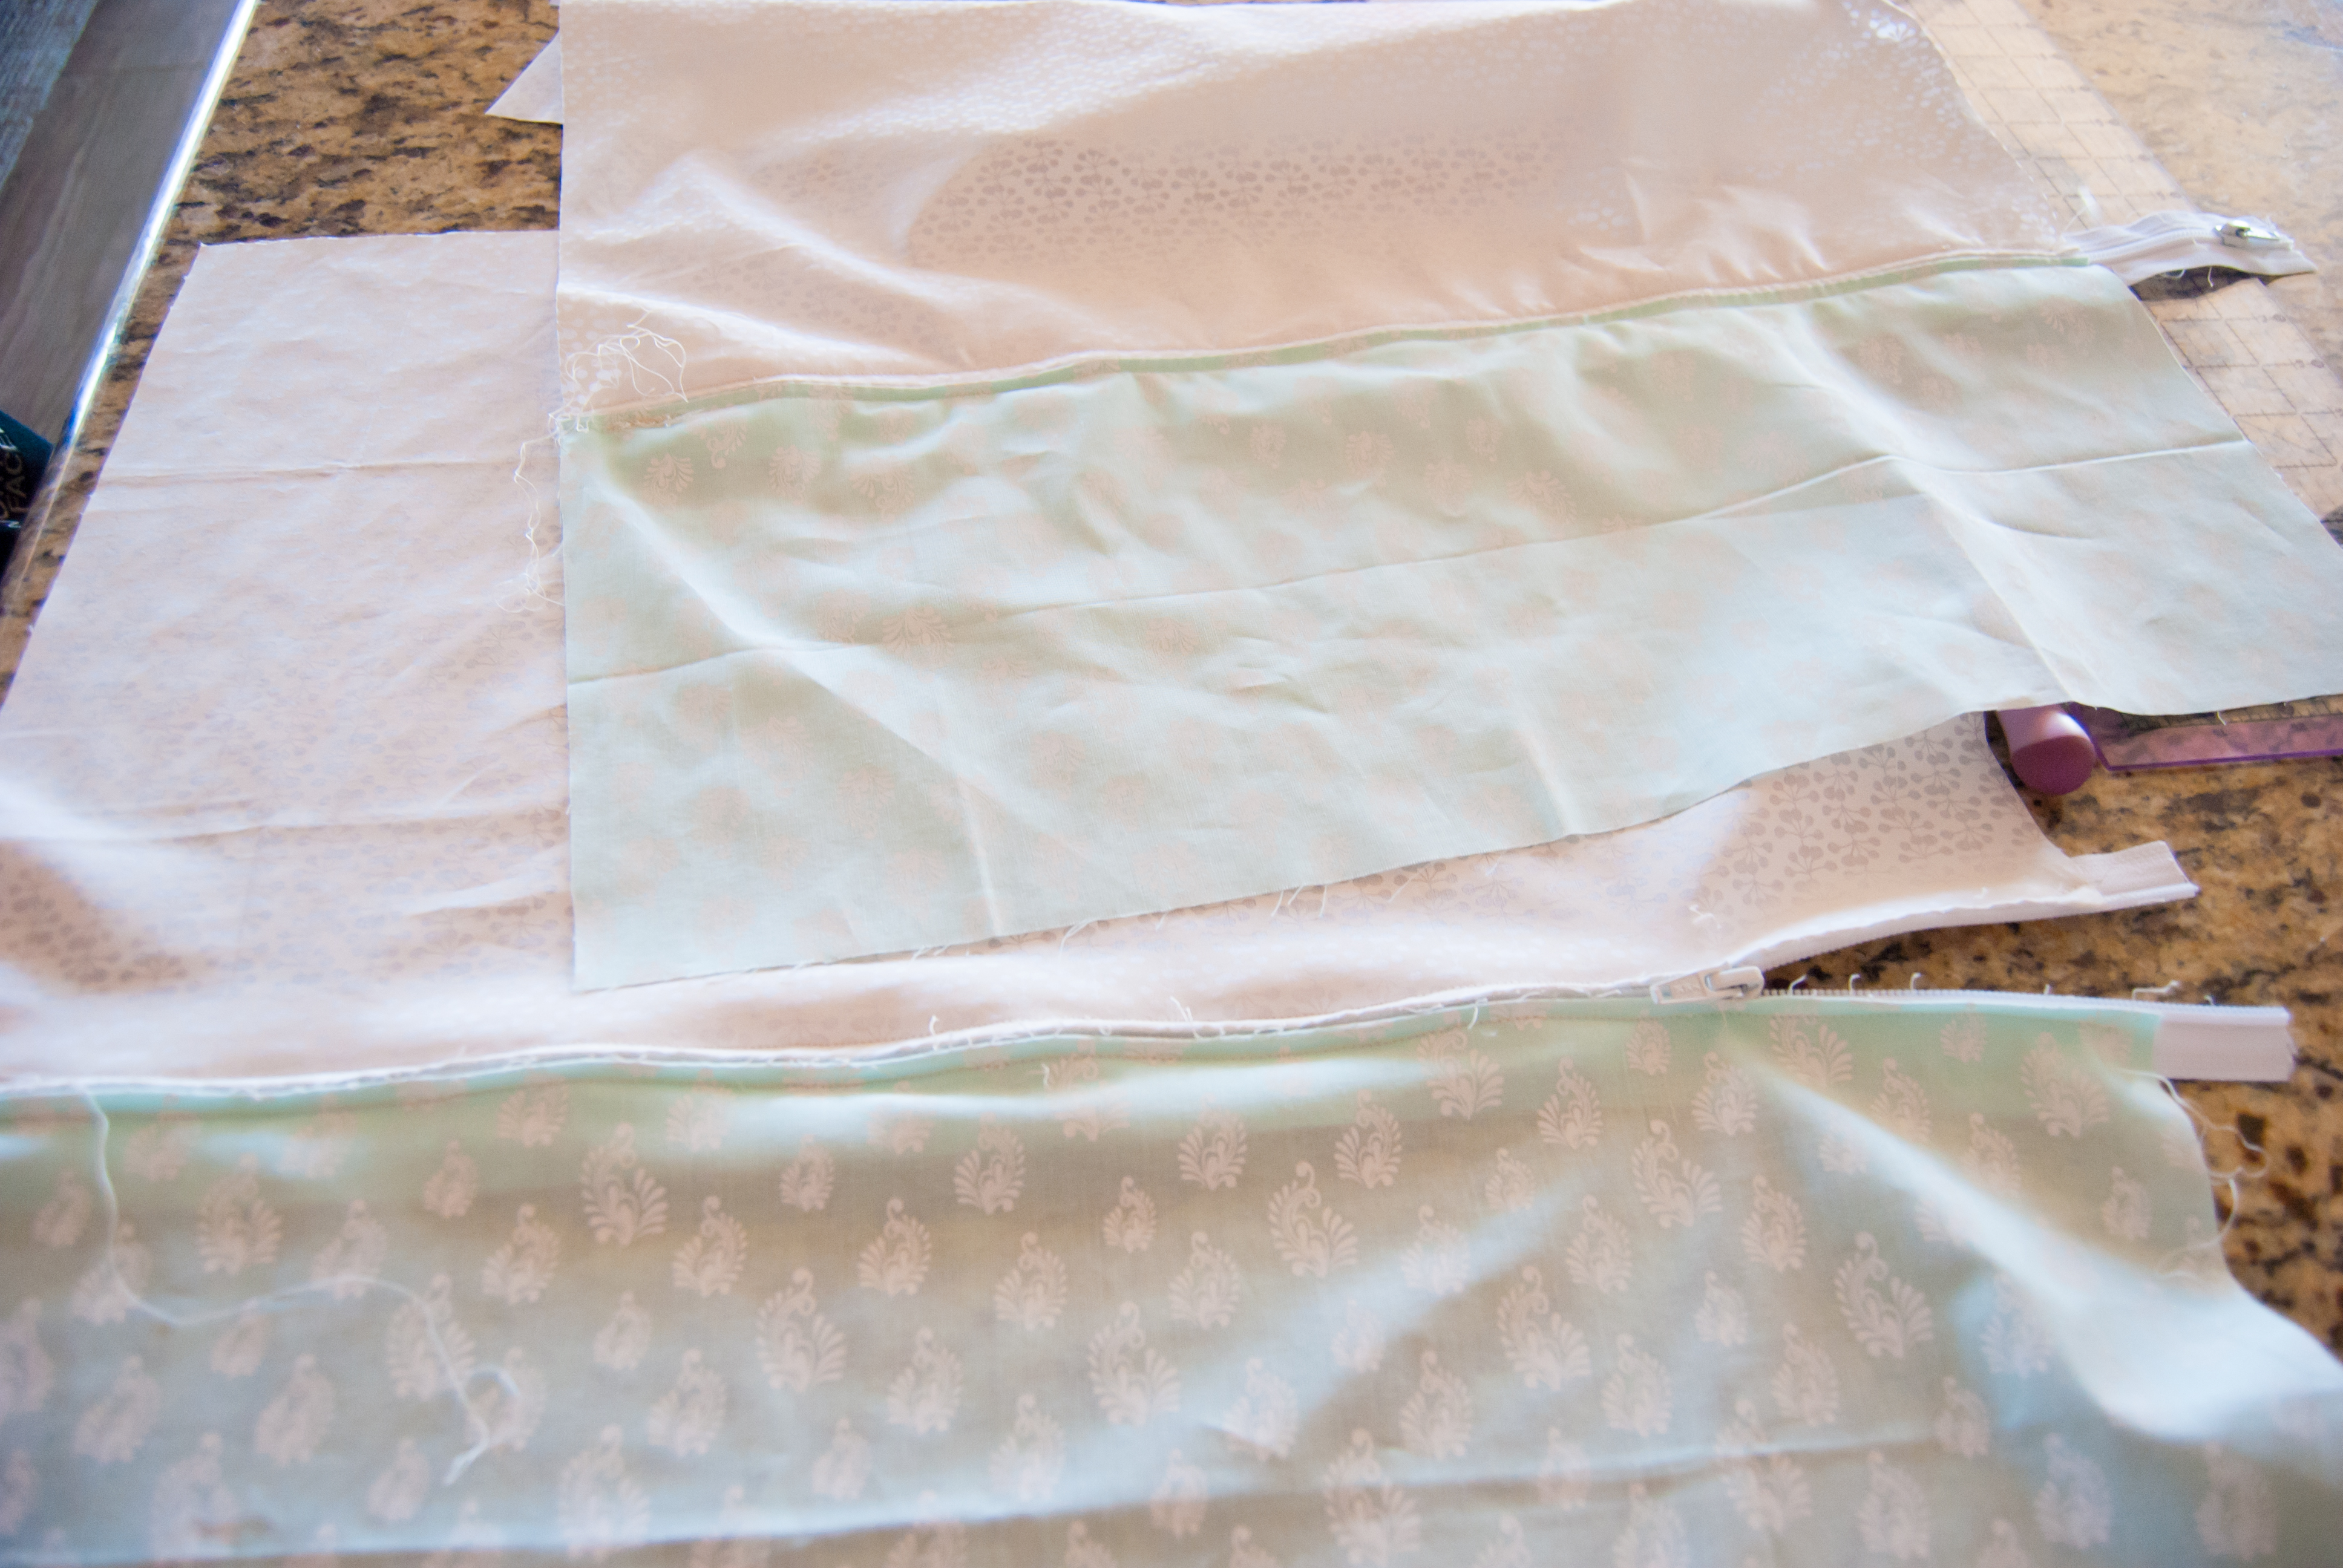
- Add Zipper to the backside of pillow. (see photo or youtube tutorials on zipper placements).
- Sew pillow together.
- Finally, using E6000 glue, glue the cotton tale to Peter Rabbit, and glue a beaded necklace around his neck. I got the beads I used from the dollar store.
*There are two different Peter Rabbit Pattern cut-outs. They differ slightly in appearance, and compliment each other well if you choose to make two pillows.