
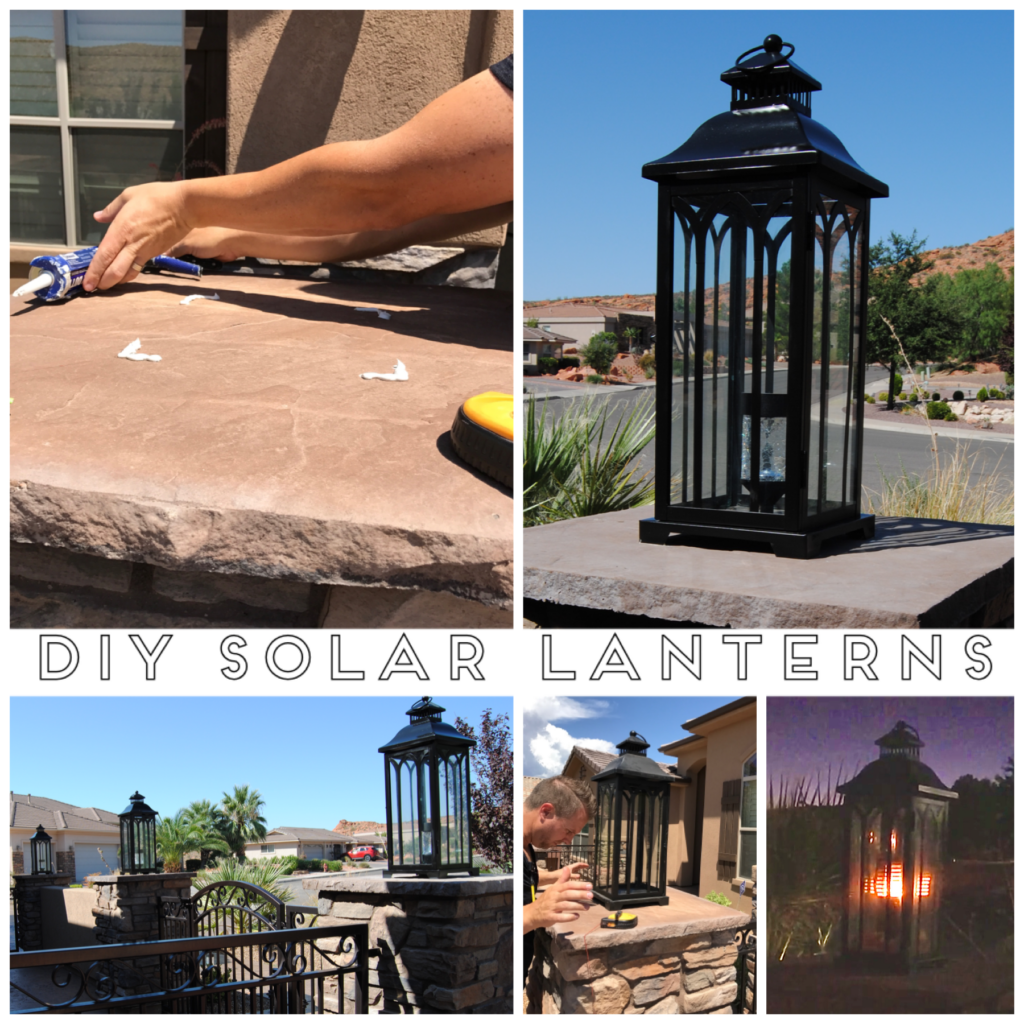
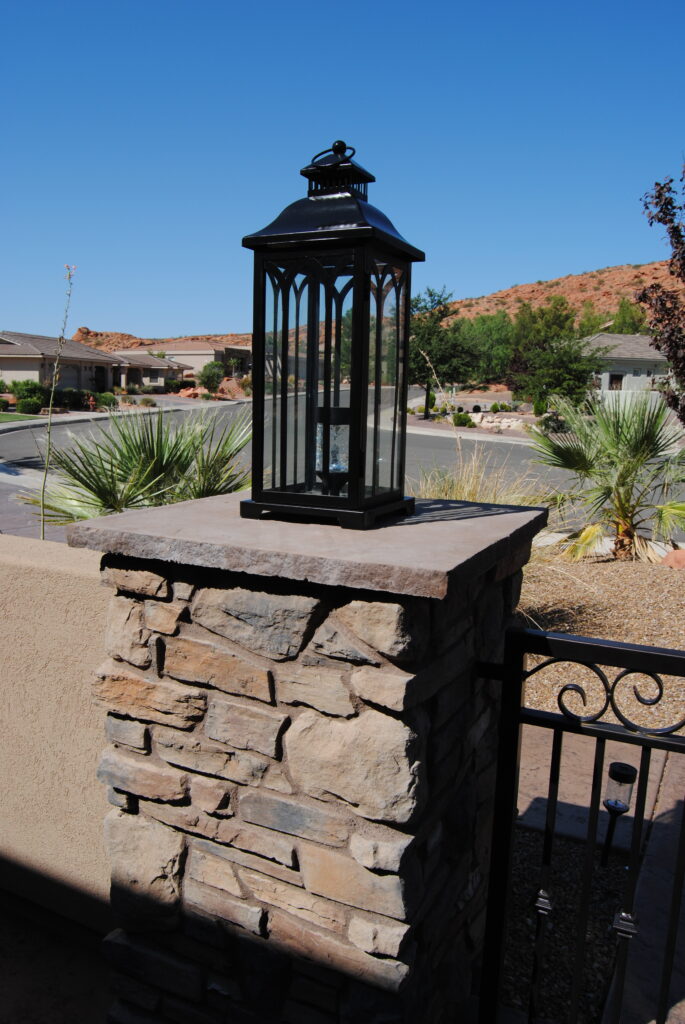
These DIY Solar lanterns were the perfect solution to our courtyard predicament. The total cost of the project was just under $200. We purchased these oversized lanterns from Home Depot, and then we used “liquid nails” to glue these “flame” solar lights in place on the inside of the the lanterns. Voilà!!!! Beautiful solar lanterns for our courtyard.
YOU CAN WATCH THE FLAME SOLAR LIGHTS HERE IN THIS YOUTUBE VIDEO
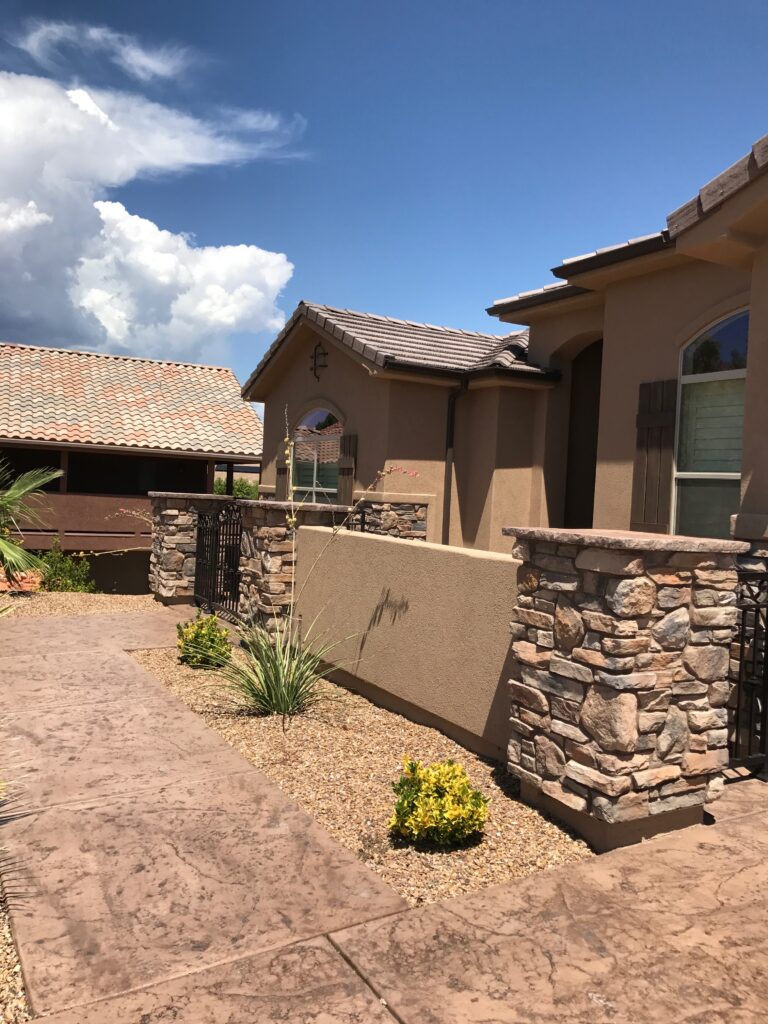
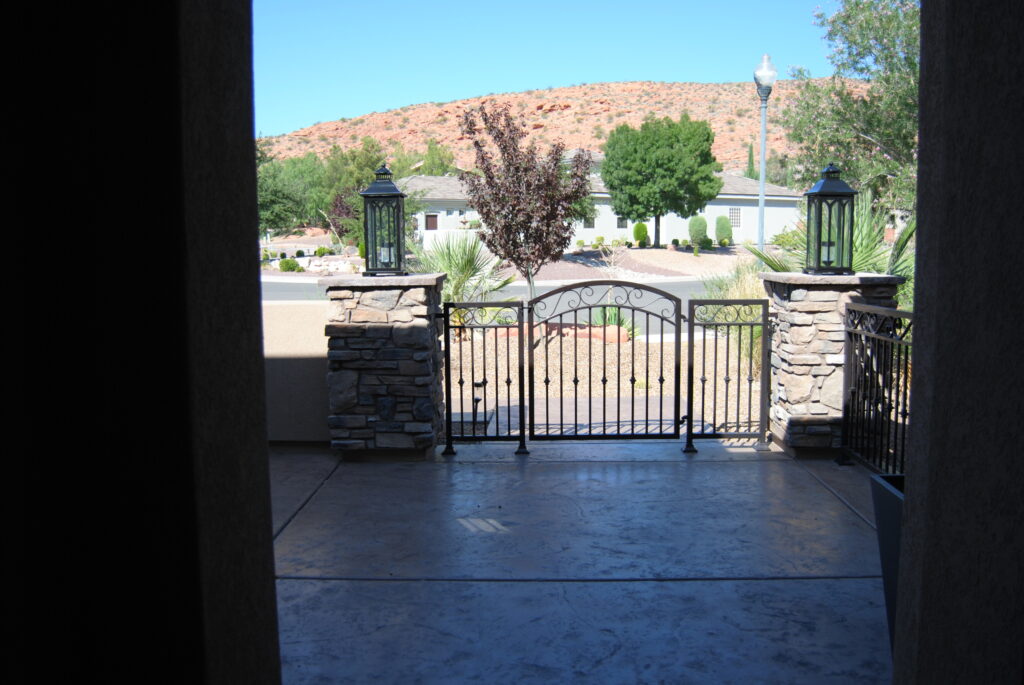
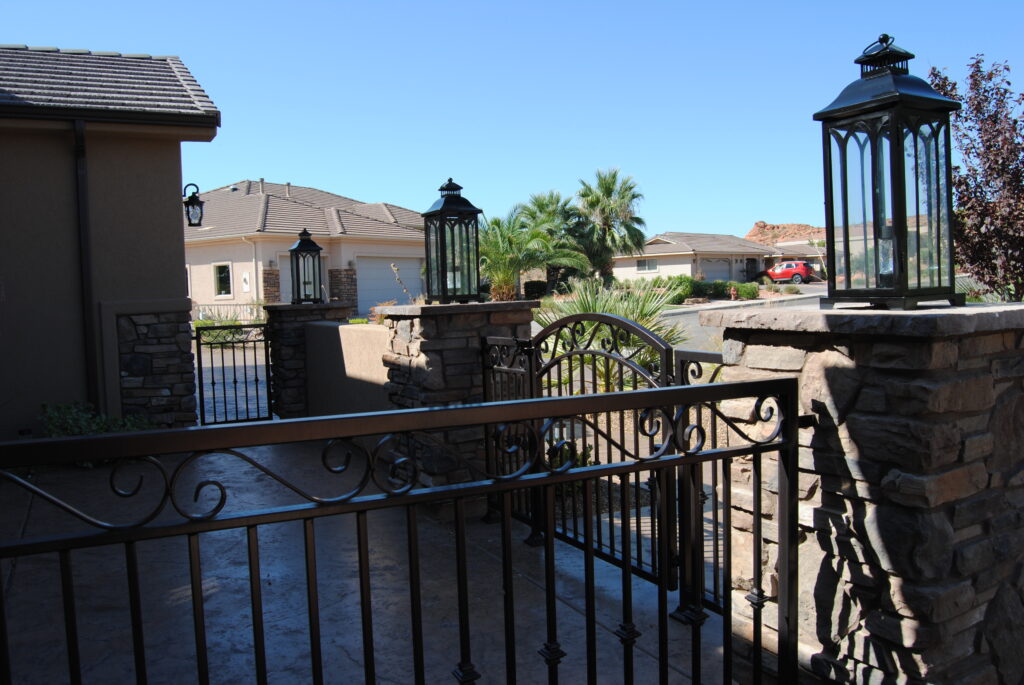
THE COURTYARD PREDICAMENT
I live here in sunny St. George, and if you ever get the chance to visit, you will discover that a lot of the homes around here are built with outdoor courtyards. These courtyards make beautiful entrances to your home, however, these can become “awkward” to decorate because of the “rocked” posts that gate them off.
“NAKED” POSTS
The courtyards are often built with beautiful rocked posts that often feel “naked” without some sort of outdoor decor sitting on top. I have seen people decorate these outdoor posts with beautiful potted flower arrangements, or even “metal” faux flower arrangements, however, when the summer heat hits, it often becomes difficult to keep flower arrangements alive.

GAS LANTERNS WITHOUT THE GAS
I love the look of “gas” lanterns, but those have to be “pre-plumbed” with gas lines to use a gas lantern, meaning, it would have to be done when the home was being built. This project is my DIY solution to the problem–DIY outdoor solar lanterns.
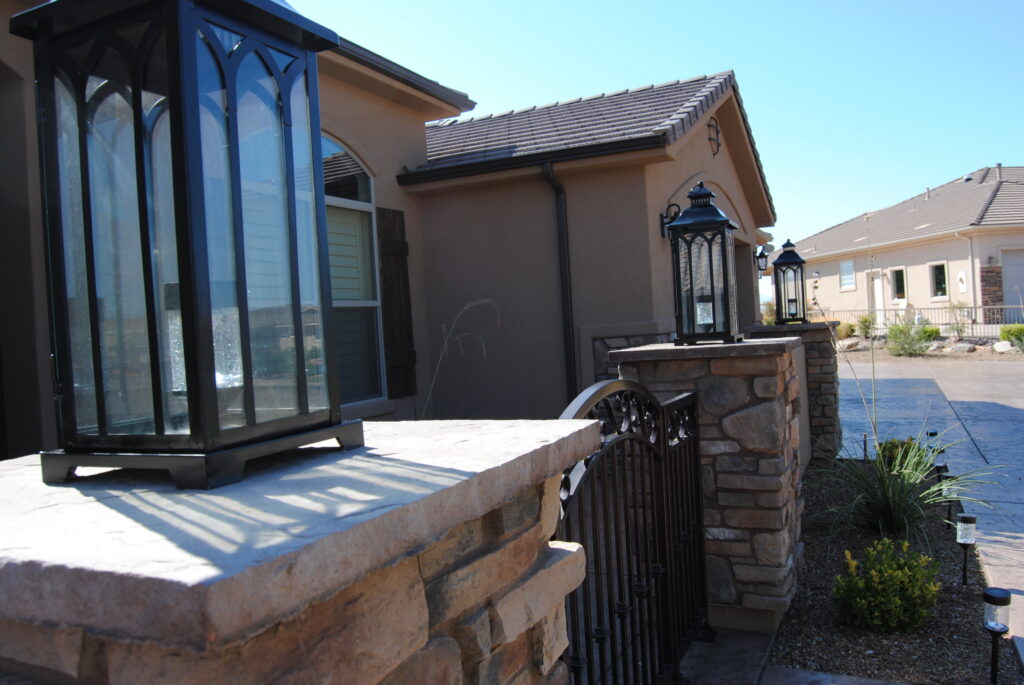
PREPPING THE LANTERN
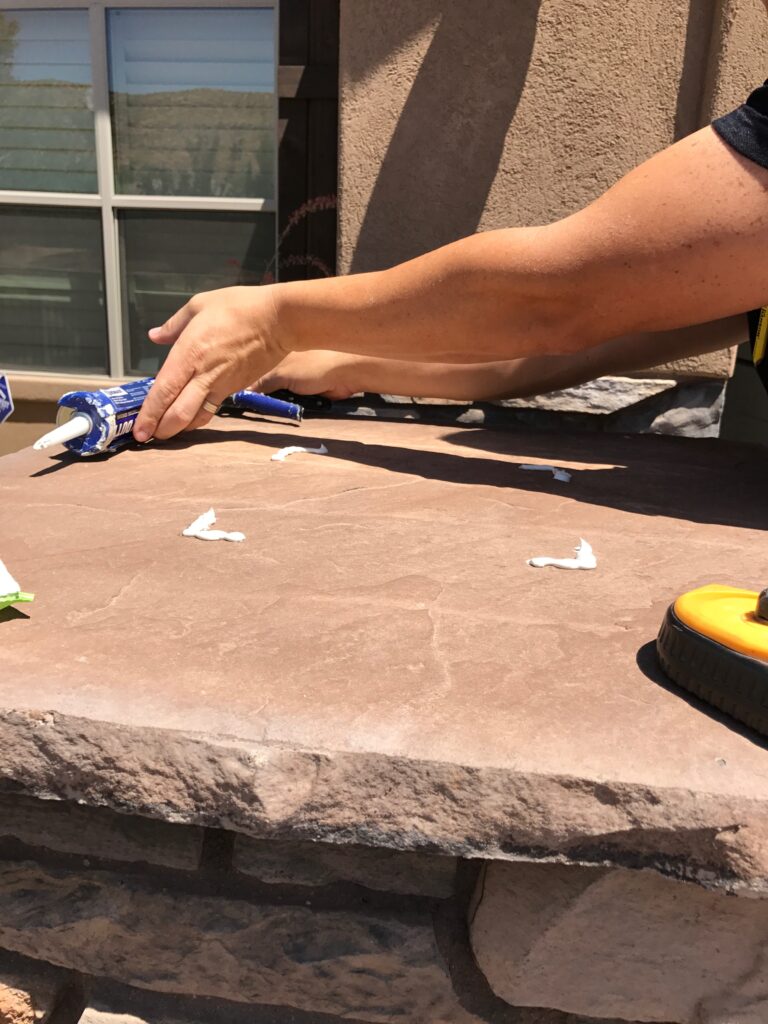
You’re going to want to use some sort of glue to hold the lanterns in place. We used “liquid nails”. Also make sure you measure and mark off the “area” where you will be gluing the lantern, because YOU CAN’T MOVE it once you glue it. We occasionally have had high winds in the area we live, and I am confident these lanterns would have blown off and shattered had they not been glued in place. Make sure you glue them if they are going to remain a permanent feature in your outdoor atmosphere.

UPGRADING TO SOLAR “FLAME” LIGHTS
For the lights, initially we installed regular outdoor solar lights, and they looked great. HOWEVER, we discovered solar “flame” lights and eventually upgraded to those. These “flame” lights give the appearance of outdoor gas lanterns without the gas. You can watch a video of these “gas” solar lights at night HERE.

HOW TO KEEP YOUR LANTERNS CLEAN AND POLISHED
These lanterns take a beating in the sun, and so the best way that I have found to keep them looking “clean” and “polished” is to wash them with warm water, and then “polish” them with olive oil. Olive oil works the best! Just take a fuzzy microfiber cloth and oil the outside, and then go back with a rag that is sprayed with a little bit of windex to clean the glass window panes on the lantern. I do this every couple months, and they stay beautiful.
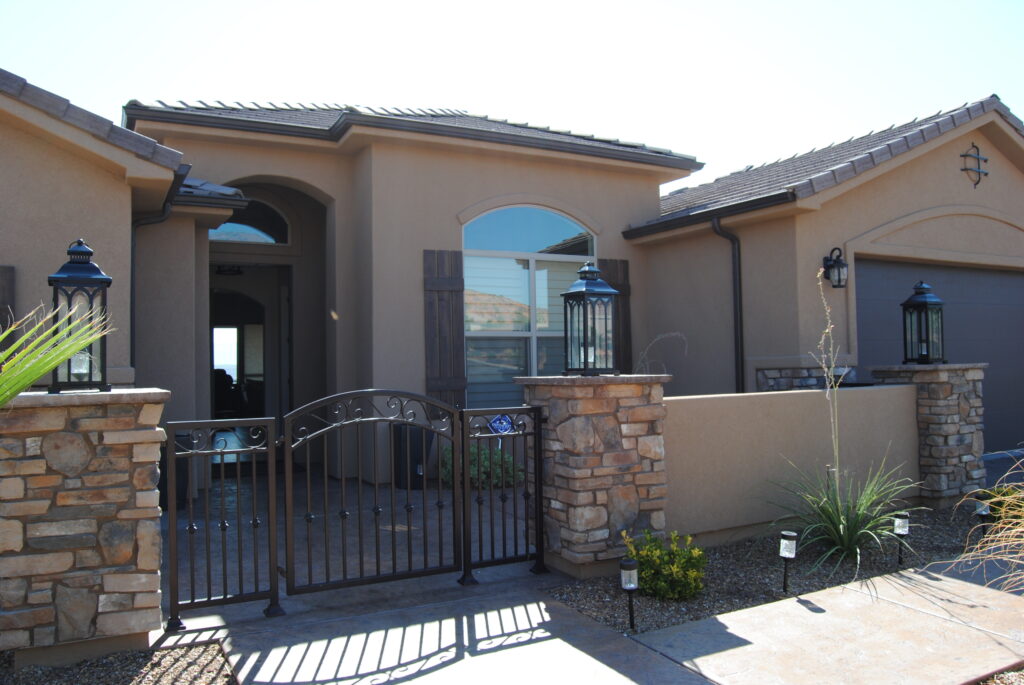
DIY SOLAR LANTERNS: OUTDOOR Front view
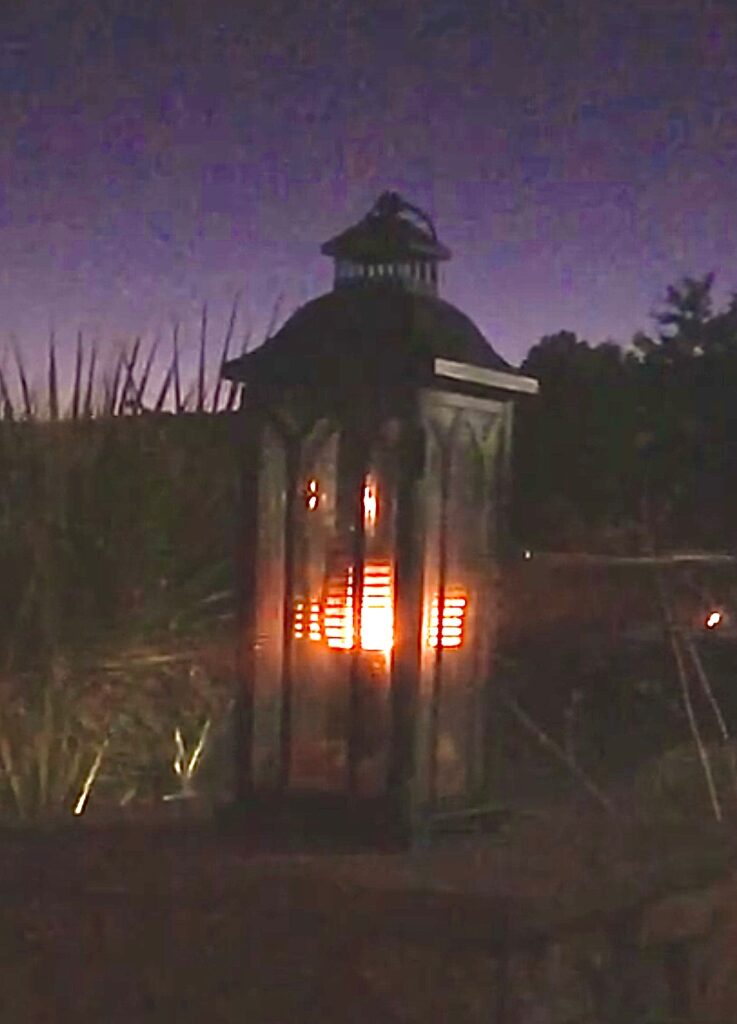
 DIY SOLAR LANTERNS: OUTDOOR Night view with flame
YOU CAN WATCH THE FLAME SOLAR LIGHTS HERE IN THIS YOUTUBE VIDEO